7-17
1
2
3
4
5
6
7
8
9
10
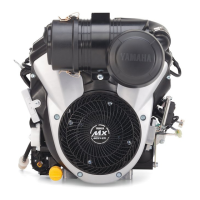
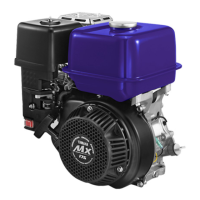
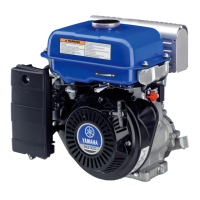
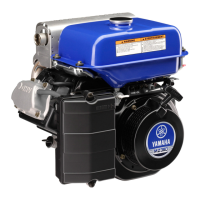
SPECIFICATIONS
WIRE ROUTING DIAGRAM
1. Rectifier/regulator 6. Starter motor
2. Earth terminal 7. Rectifier/regulator lead (white)
3. Spark plug cap 8. Rectifier/regulator lead (red)
4. Starter motor lead 9. Rectifier/regulator lead (black)
5. Starter relay lead
A. Tighten the earth terminal together with the mounting bolt in the direction shown in the illustration.
B. Install the spark plug cap in the direction shown in the illustration.
C. Engine side
D. Tighten together with the vehicle battery positive terminal.
E. Starter motor lead installation details
F. Connect with the magneto assembly lead connector (female). (Polarity does not matter)
G. Connect with the wire harness connector (male/black).
H. Connect with the wire harness connector (male/red).
I. Rectifier/regulator lead installation details