VALVES AND VALVE SPRINGS
5-12
REMOVING THE VALVES
The following procedure applies to all of the
valves and related components.
Before removing the internal parts of the cylinder
head (e.g., valves, valve springs, valve seats),
make sure the valves properly seal.
1. Check:
• Valve sealing
Leakage at the valve seat → Check the valve
face, valve seat, and valve seat width.
Refer to “CHECKING THE VALVE SEATS”
on page 5-14.
a. Pour a clean solvent “a” into the intake and
exhaust ports.
b. Check that the valves properly seal.
There should be no leakage at the valve seat “1”.
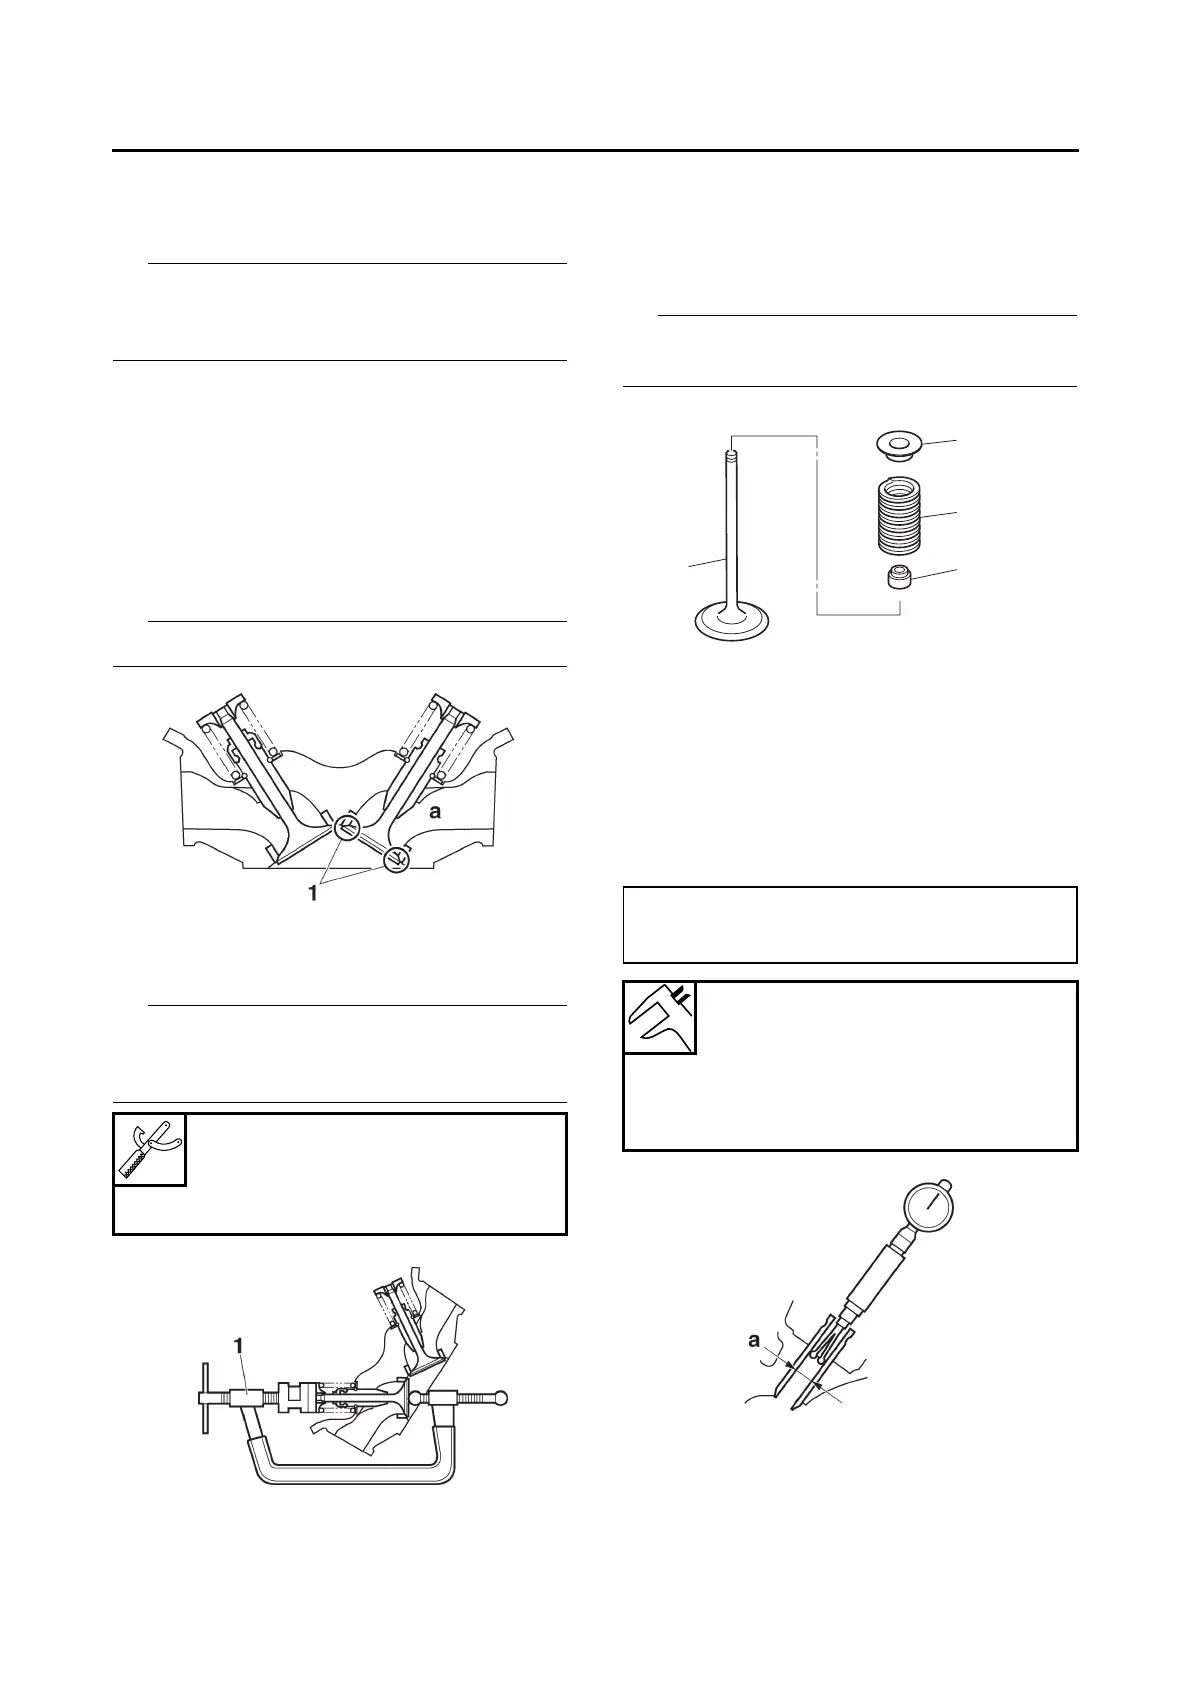
2. Remove:
• Valve cotter
Remove the valve cotter by compressing the
valve spring with the valve spring compressor
“1”.
3. Remove:
• Valve spring retainer “1”
• Valve spring “2”
•Valve “3”
• Valve stem seal “4” (intake side only)
Identify the position of each part very carefully so
that it can be reinstalled in its original place.
CHECKING THE VALVES AND VALVE
GUIDES
The following procedure applies to all of the
valves and valve guides.
1. Measure:
• Valve-stem-to-valve-guide clearance
Out of specification → Replace the valve
guide.
Valve spring compressor
90890-04019
Valve spring compressor
YM-04019
• Valve-stem-to-valve-guide clearance =
Valve guide inside diameter “a” -
Valve stem diameter “b”
Valve-stem-to-valve-guide clear-
ance (intake) limit
0.080 mm (0.0031 in)
Valve-stem-to-valve-guide clear-
ance (exhaust) limit
0.100 mm (0.0039 in)