Working with MotoAdmin 25
NX100:
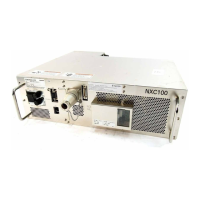
In case of NX100 controller two pins on MTX connector block (-X18, see cabinet door) have
to be connected. There are two different types of MTX block:
MTX block old version:
Connect pin 29 - EXSVON+ and pin 30 - EXSVON- on MTX-connector block -X18.
MTX block new version:
Connect pin 23 - EXSVON+ and pin 24 - EXSVON- on MTX-connector block –X18 terminal
–X6.
DX100:
No special wiring is necessary.
4.9 Change operation mode
To set robot controller in teach or play mode use the Play or Teach button. Please notify that
it is not possible to use each function in each operation mode..
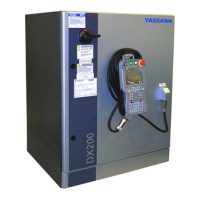
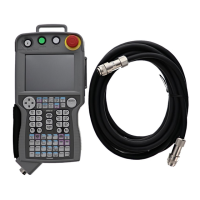
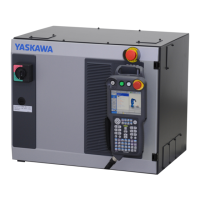
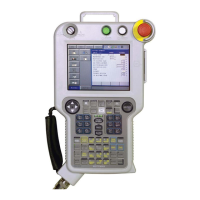
In case of NX100 and DX100 controller full functionality is only available if rotary switch at
programming pendant is set to Remote. This mode is called Remote/Play mode. In MotoAd-
min it is possible to change to Remote/Teach mode, if parameter S2C177 (NX100) respec-
tively S2C225 (DX100) is set to 0.
4.10 Cycle mode
There are 3 different Cyle modes. Die Zyklus-Auswahl gestattet die Auswahl des Operations-
zyklus, d.h. sie legt fest, ob nach Betätigen von Start ein Job einmal ausgeführt wird (Cycle),
permanent (Auto) bzw. ob jeweils nur ein Schritt ausgeführt wird (Step).
4.11 Job execution / Job control
With MotoAdmin a job can be started remotely. Therefore the controller must be in Play
mode (see chapter 4.9) and the Servo power must be switched on (see chapter 4.8).
By pushing Start button the job is executed. Job execution can be stopped at each time by
selecting Hold button. To exit job execution Hold button must be selcted again. With Start
button job execution can be resumed. Different button colors show the current status of job
execution.
4.12 Display Jobs
After connecting to MotoAdmin the current job of the main task is displayed. The job window
is called by selecting Job button.
Yaskawa Europe GmbH 22.08.2011
 Loading...
