13-7
IM CW240E
Using Analog Input/Output (Optional)
13
13.2.3 Setting Analog Input
Settings are made on the analog I/O screen.
TOP
MENU
ENTER
LIGHT
TOP
MENU
SAVE
A
RANGE
START
&STOP
ESC
ENTER
F
1
F
2
F
3
F
4
F
5
DISP COPY
RANGE
ENTER
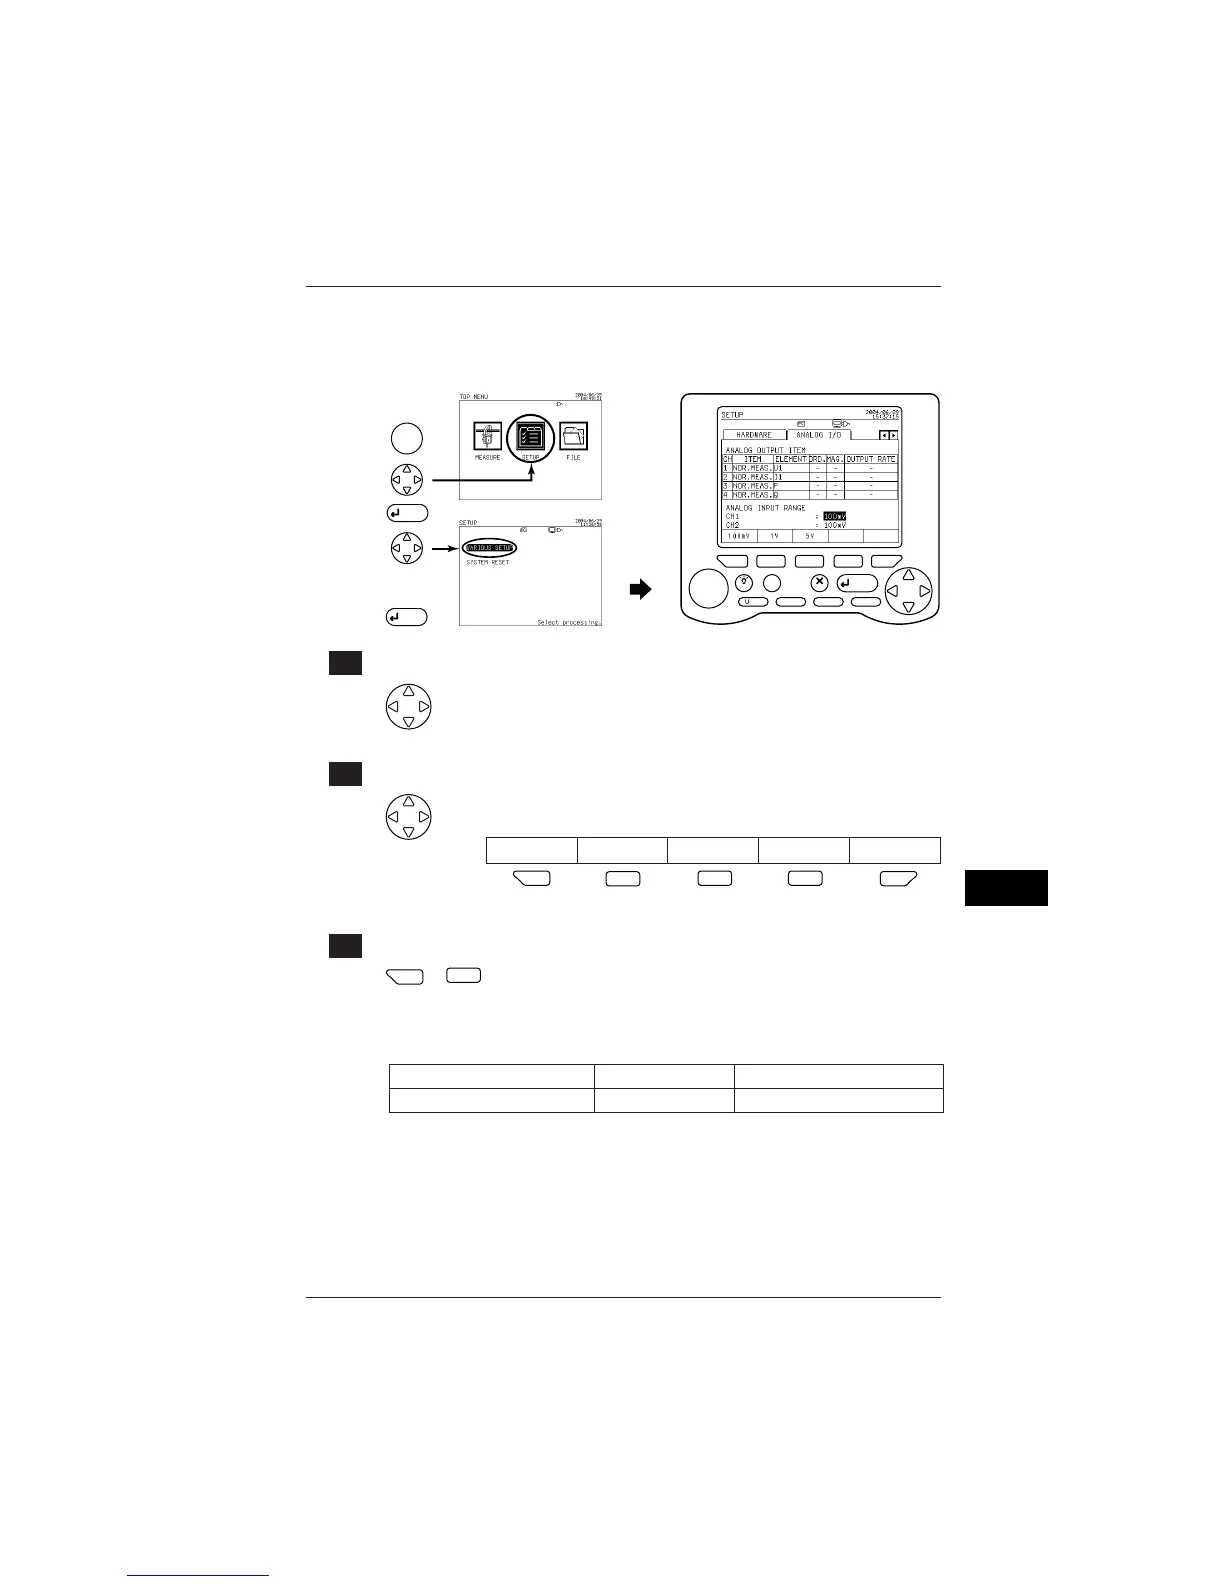
[ 1 Displaying the Analog I/O Screen
Using the right and left cursor keys, select the Analog I/O tab
(highlighted).
[ 2 Changing the range
Using the up and down cursor keys, select CH1 (highlighted).
The function key labels change.
100mV 1V 5V
F
1
F
1
F
2
F
3
F
4
F
5
Default: 100 mV
[ 3 Setting a range.
F
1
F
1
to
F3
Press the corresponding function key to set the range.
Repeat steps
䊏
2
and
䊏
3
to set CH2.
Ending setup:
To also change another setting:
To return to the Top Menu:
To switch to the measurement screen
Select a desired setting using the cursor keys.
ESC key
ENTER key
SEE ALSO
For more information on the setting method, see Section 6.9, Analog I/O Settings.
13.2 Analog Input

 Loading...