13
EN
1
2
2
1
2
1
2
1
1
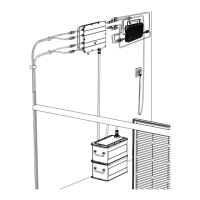
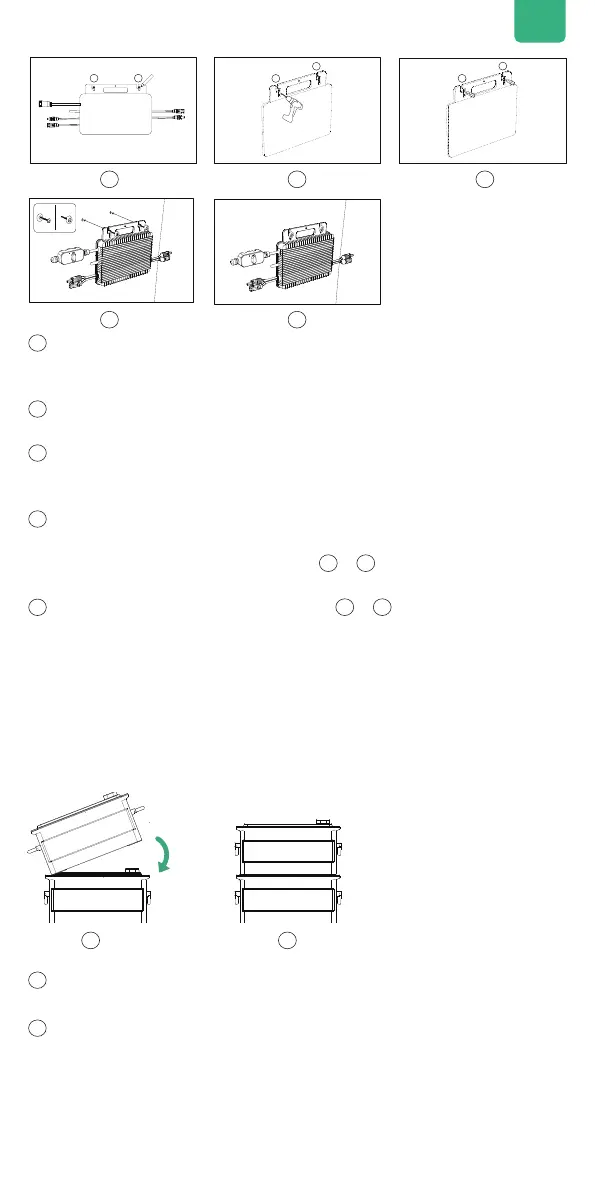
Mark Location, Find a position next to Hub 2000, one person xes the
Microinverter on the wall with his hands, and the other person marks
the positions of the two screw holes of the Microinverter with a marker.
2
Drilling,drill two diameter 8mm mounting holes at the two marked
positions.
3
Installing yellow plastic expansion tube of screws, Respectively Install
the yellow plastic expansion screw tube into the two holes which step
2 drilling.
4
Installing Microinverter, One person xes the Microinverter with both
hands on the wall and align the hole drilling in step 2, then put the at
Washers on the screws,at last screw
1
&
2
screws with at Washer
into the yellow plastic expansion tube .
5
Tighten the screws,screws the rest of
1
&
2
screw into the
wall completely.Then you also have completed the installation of
Microinverter.
1
Remove the plastic protective covers on the connection port ,then
please align the left side rst.
2
Slowly insert the battery connection port.
Tips:The Hub 2000 can only be connected to a SuperBase V without a
Satellite Battery, or it can only be connected to one Satellite Battery
without a SuperBase V. Multiple batteries are not supported.
Before stacking AB1000 or AB2000, please pay attention to the note on
the top of AB1000 or AB2000.
1 2 3
4 5
5.3.6 Stack AB1000 or AB2000
1 2
 Loading...