Customize channel names by using your own custom
channel labels
To Program a Channel Label
First select a channel using the NUMBER keypad and ENTER or
the Channel Up/Down arrows, on the remote control.
(To select a deleted channel, use the NUMBER keypad and
ENTER.)
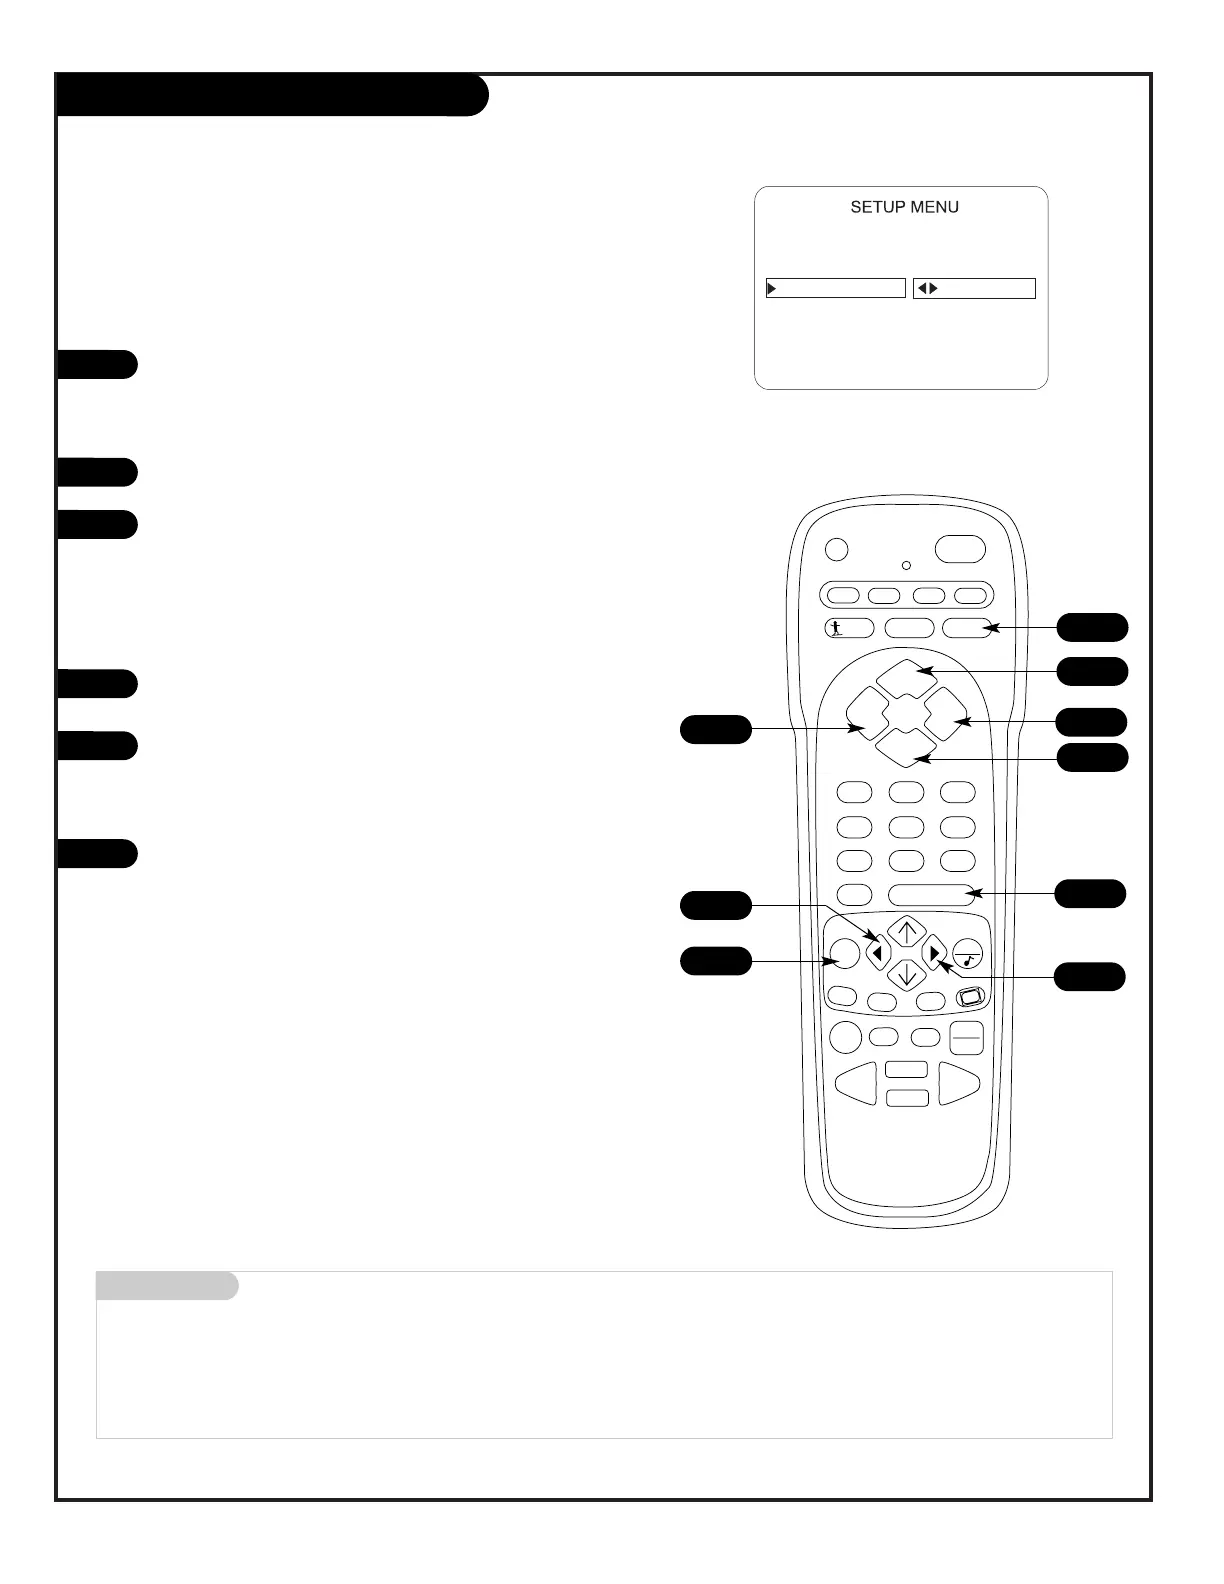
To program a channel label, press MENU repeatedly to go to
the Setup menu, then select CH LABELS.
Press the Right Adjust arrow to scroll the available preset
labels. Scroll past - - - -, scroll past NONE, to go to the first
programmable label slot, LAB 1 (Label 1). Notice that the
label appears with the title LAB 1, and is also on a dark back-
ground; which will distinguish it from the preset labels.
Operating the Custom Labels Menu
Use Volume Up/Down to select the first letter.
a. Press MUTE to clear the label if necessary.
Use Channel Up/Down to scroll through and change the char-
acter to one of the 255 characters available.
Repeat Steps 4 and 5 to set characters for the other spaces
available on the label.
Press ENTER to remove menu when finished.
Menu Operation Notes:
Adjust Left/Right Switches to the next label.
- - moves to the next or previous
label.
Volume Up/Down Selects character spaces
- - moves to the next or previous
character space.
MUTE Removes current label,
- - if first character space is
selected.
Channel Up/Down Scrolls through the available
characters.
ENTER Accept the channel label and
removes the menu.
1
2
3
4
3