Smart Connect Single Loop Touch Screen Panel
Doc: GLT-229-7-1 42
Issue: 3
Date: 12/05/2017
7.1 INITIAL PANEL SET UP
The Smart Connect panel is supplied configured ready for installation. But there are a few settings that may need to be altered.
7.2 SETTING TIME AND DATE
Press the screen. The panel prompts for a user and password.
Select Engineer, and enter the Engineer (Access Level 3)
password (default is 9999)
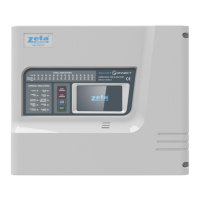
Press the access menu icon, followed by the System Icon.
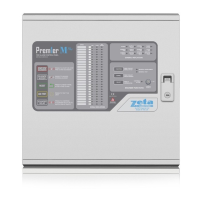
Select the Clock tab.
Alter the time as required.
Press the exit button to leave the menu.
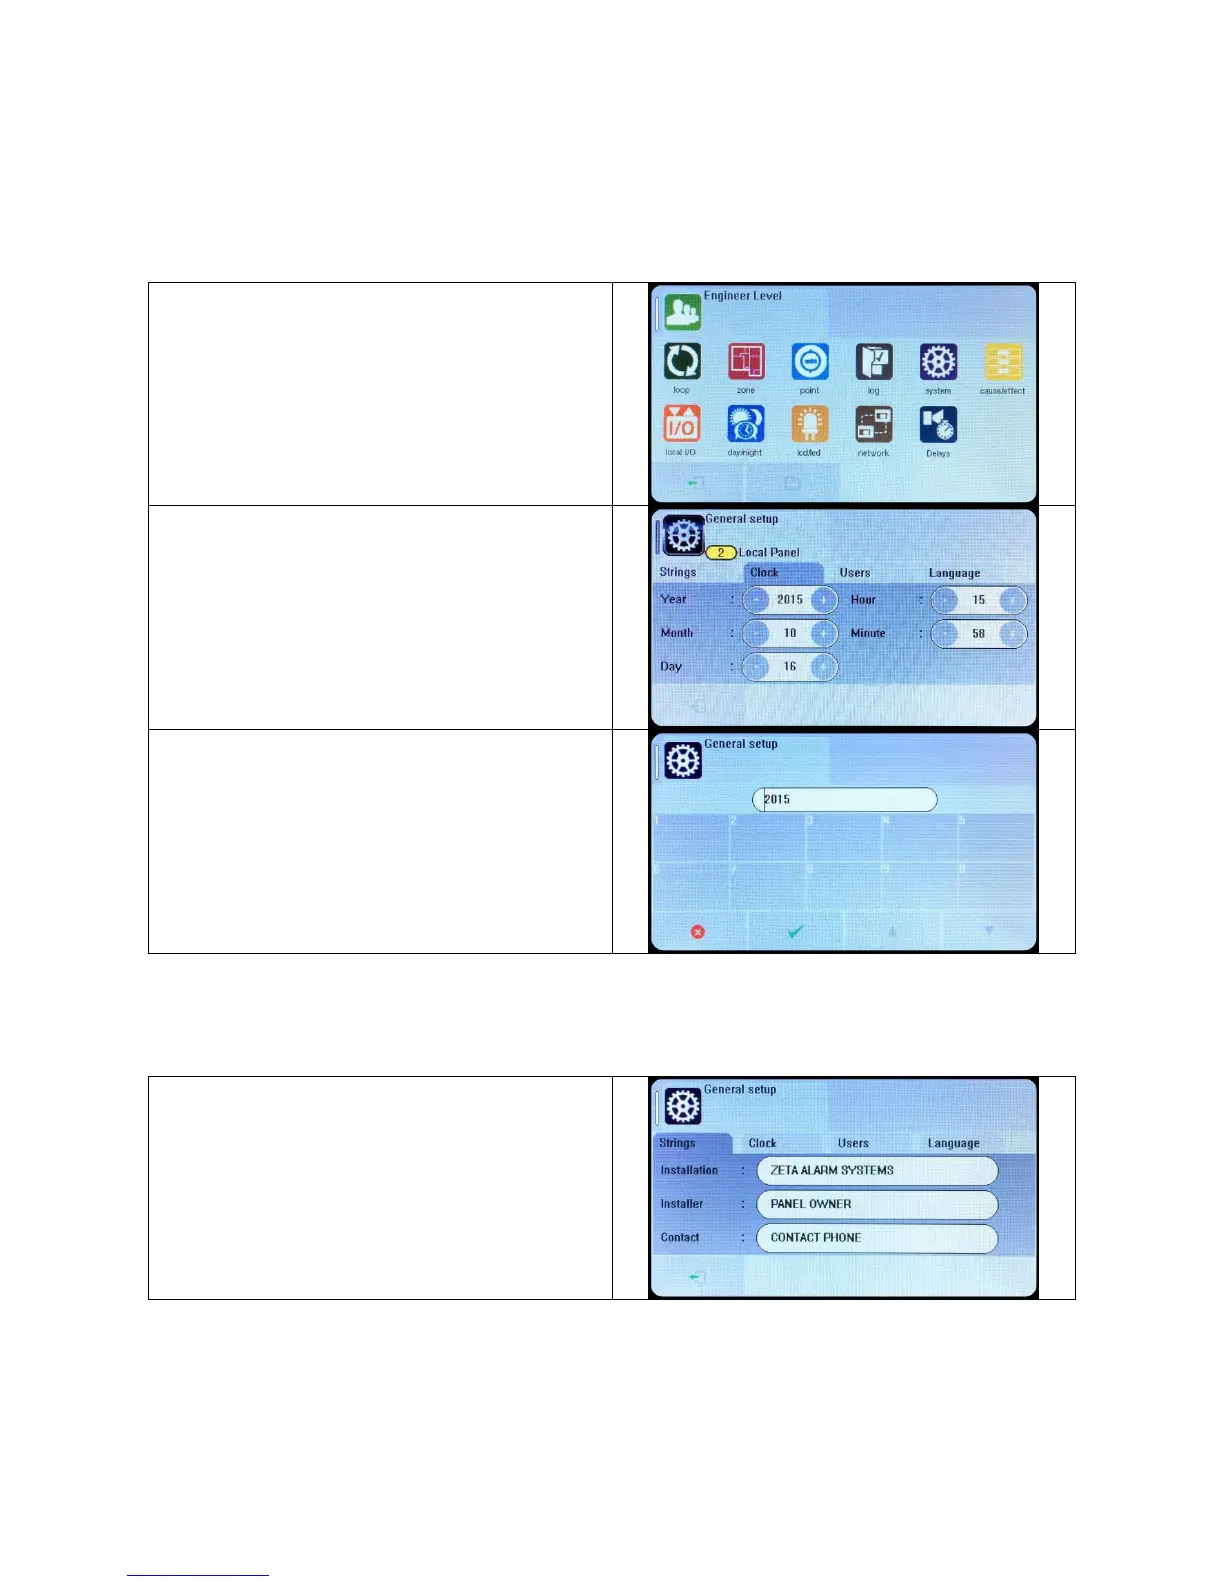
Pressing arrow (up) or arrow (down) changes the setting by 1.
To make a bigger adjustment, press the number and a keypad
appears to enter the new value. Press tick to accept the value.
When all values are correct, press the exit icon.
7.3 CREATING AN INSTALLATION NAME
From the installer menu, press the System Icon.
Select the strings tab.
Enter the Installation Name, Maintenance Company and contact
number.
Press the exit button to leave the menu.
 Loading...