Installation
21 Installation
21.1 Check for completeness
Make sure that all the parts are present. If anything is missing, please contact
your system administrator or supplier.
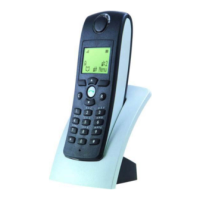
The set contains:
1. Cordless phone
2. Battery
3. Clip
4. Assembly card
Note: It is important to make a note of the IPEI code. The IPEI code may be
needed for unblocking the Cordless phone if an incorrect PIN code has
been entered three times. See Section 2.3 on page 9 for further details.
21.2 Charging the Battery
The battery requires charging when in the display indicates low level. To
charge the battery:
• Place the phone in the desktop charger or in the rack charger.
The battery is being charged when the indicator on the telephone is
steady orange. When the battery is fully charged the indicator will be
green. A flashing green indicator means incoming call. A red indicator
indicates battery warning. An animated battery icon is shown in the display,
indicating charging be starting with its current charge and ending with the
full charge. A filled battery icon indicates a fully charged battery.
Note: Only use the prescribed desktop charger for charging.
21.3 Charging Spare Batteries
Spare batteries can be charged with a separate battery pack charger. The
battery pack charger can charge six batteries at the same time.
21.4 Replacing the Battery
If the standby time for the cordless telephone becomes too low, replace the
battery with a new one. Contact your system administrator or your certified
89
1424-EN LZT 103 091 Uen A1 2008-10-27

 Loading...