| System installation – Setup via the eMShome web interface
24
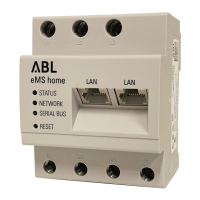
4 In the Overload protection section, enter the re-
quired information about the mains connection and
rated current.
y Type of mains connection: 1- or 3-phase
y Rated current phases: Size of the respective
fuse
5 Click the SAVE button to save the information in
eMShome.
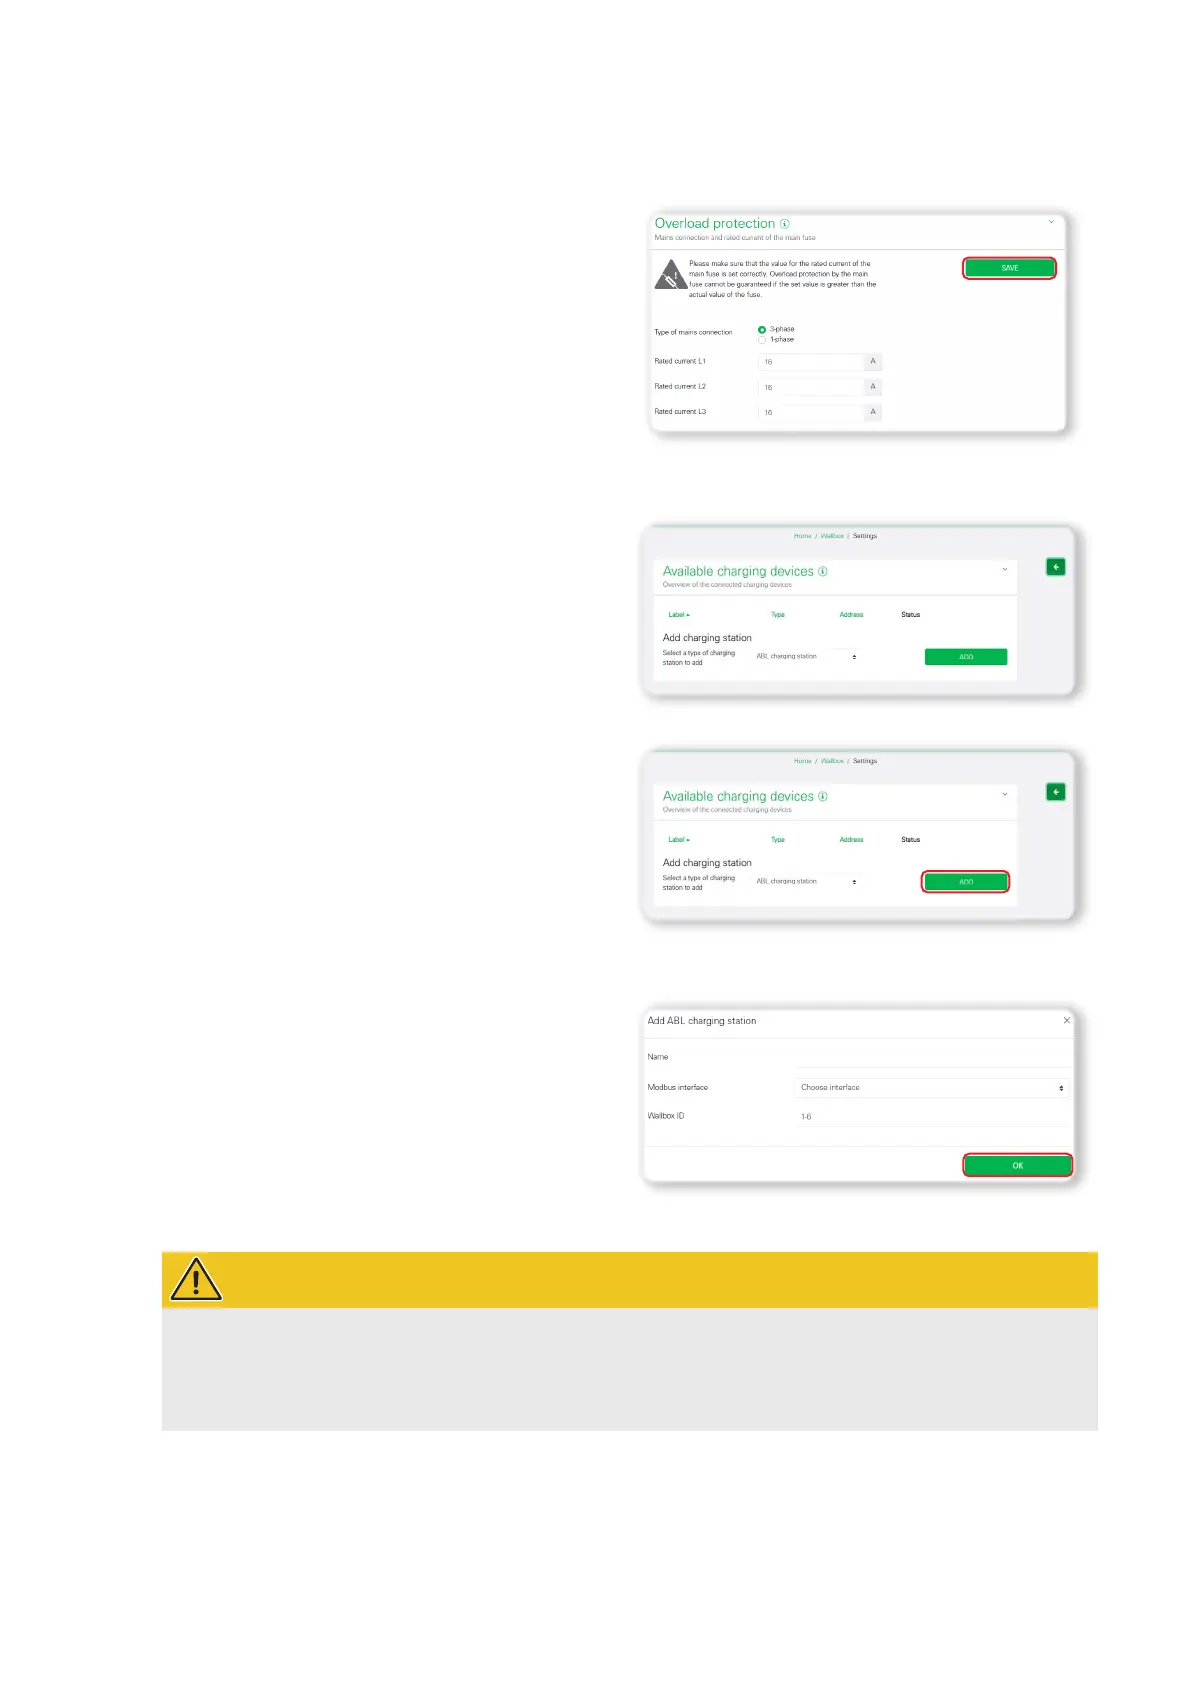
6 Scroll up the page again to the Available charging
devices section.
y You can now register the wallboxes in the system
individually in the eMShome here.
7 Use the drop-down menu to select the option
ABLcharging station and click the Add button.
y The Add ABL charging station page then opens.
8 Enter the required information about the connected
wallbox on the Add ABL charging station page.
y Name: Freely selectable
y Modbus Interface: Interface B
y Wallbox ID: Address number specified during
setup in the ABL Configuration Software (see
page17 onwards).
9 Finally, click OK to add the wallbox as a charging
device.
WARNING!
Adding additional wallboxes as charging devices
Repeat steps 7 to 9 for each additional wallbox you want to add to the system.
Make sure the Wallbox ID (address number from the ABL Configuration Software) is assigned consecu-
tively. Otherwise, faultless communication cannot be guaranteed.
 Loading...