AccuAir Rocker Switch Manual V2.7 © 2007 AccuAir Control Systems, L.L.C.
- Page 17 -
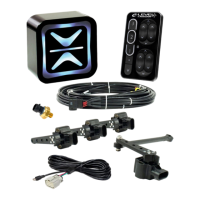
Step 4.) If your sensor travel is less
than 2.75” then move further away from
the pivot point of your suspension arm
and repeat steps 1 through 3. If your
sensor travel is more than 2.75” then
move closer toward the pivot point of
your suspension arm and repeat steps 1
through 3.
(We understand that getting the
sensor travel right on 2.7500” is not
possible, so make the travel less than
2.75” rather than greater that 2.75”
when you come to this point.)
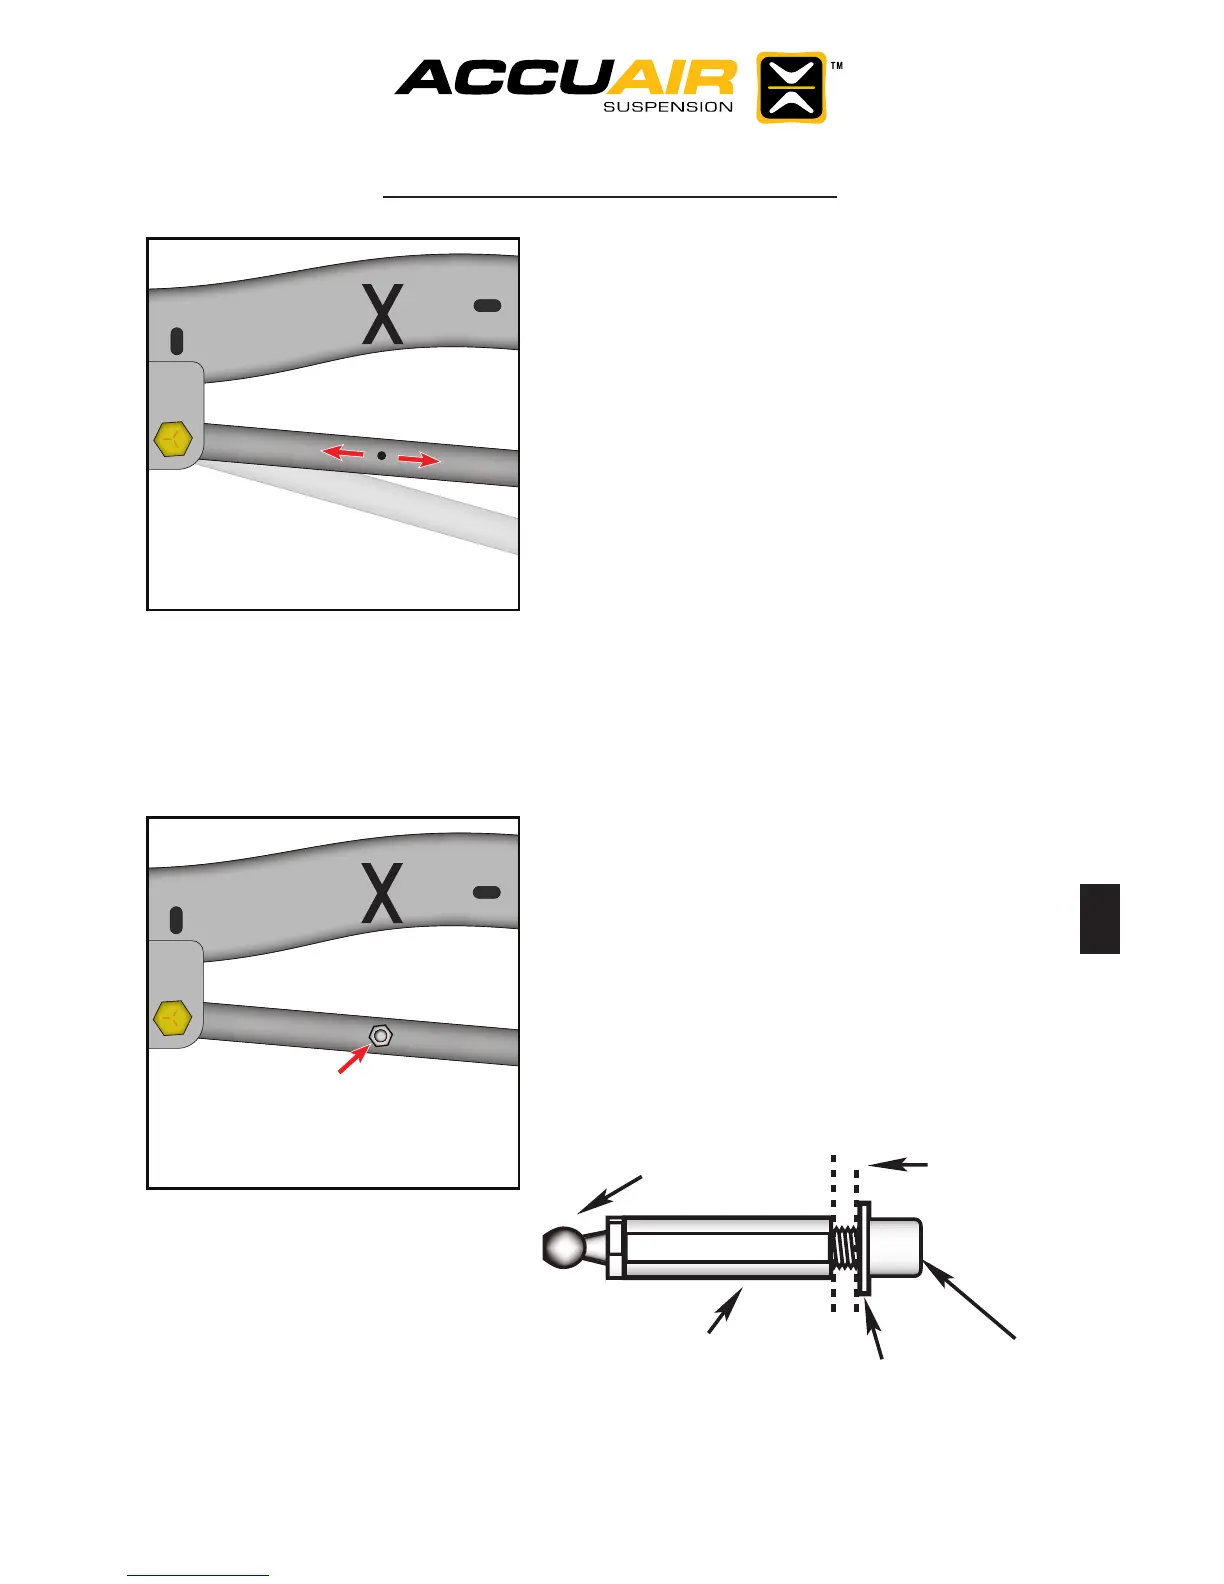
Step 5.) Once you have established
your ball stud mounting point that yields
2.75” of sensor travel drill or weld to at-
tach the supplied ball stud at this exact
point.
Height Sensor Installation:
Ball Stud
Mounting
Surface
Allen Bolt
Thin Washer
1” Stand-off
(Optional)