// initialize USB serial converter so we have a port created
Serial.begin();
}
// the loop function runs over and over again forever
void loop() {
digitalWrite(LED_BUILTIN, HIGH); // turn the LED on (HIGH is the voltage level)
delay(1000); // wait for a second
digitalWrite(LED_BUILTIN, LOW); // turn the LED off by making the voltage LOW
delay(1000); // wait for a second
}
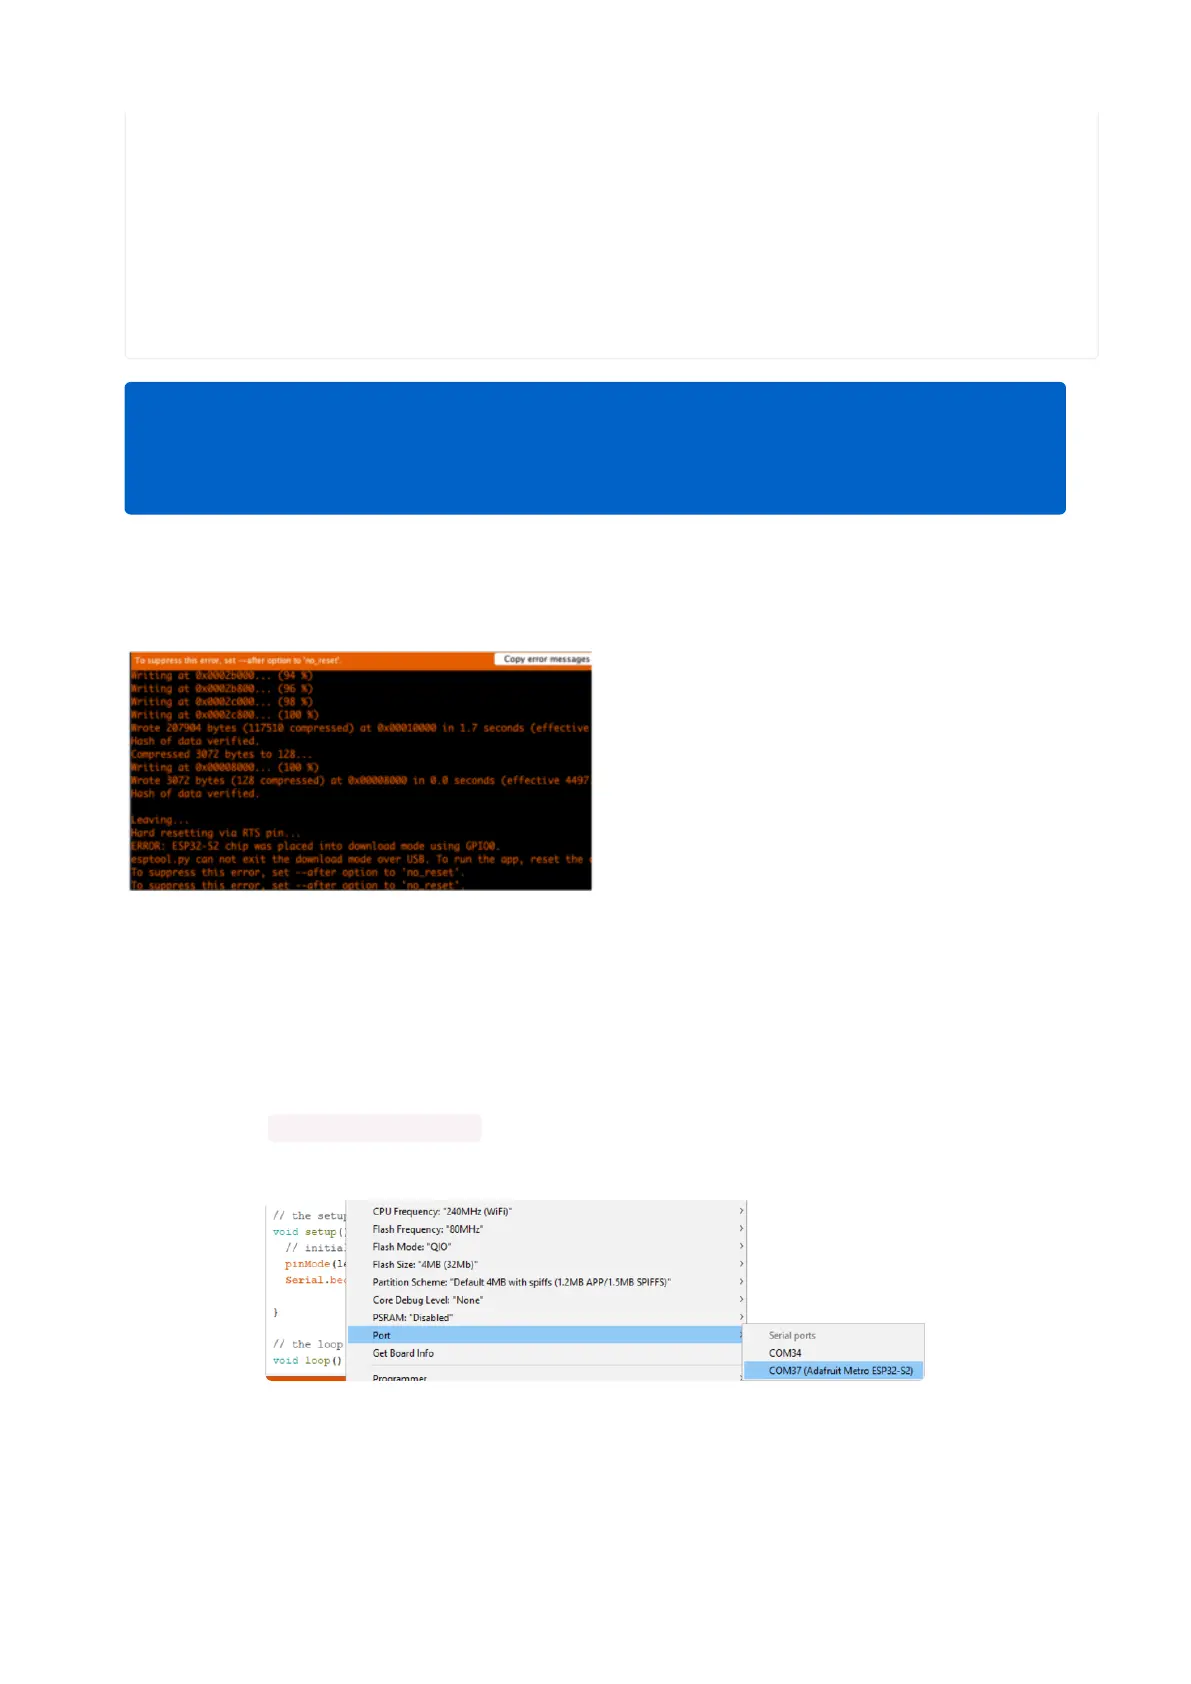
And click upload! After uploading, you may see something like this:
And click upload! After uploading, you may
see something like this, warning you that
we could not get out of reset.
This is normal! Press the RESET button on
your board to launch the sketch
That's it, you will be able to see the red LED blink. You will also see a new serial port
created.
You may call Serial.begin(); in your sketch to create the serial port so don't
forget it, it is not required for other Arduinos or previous ESP boards!
You can now select the new serial port name which will be different than the
bootloader serial port. Arduino IDE will try to use auto-reset to automatically put the
board into bootloader mode when you ask it to upload new code
Note that we use LED_BUILTIN not pin 13 for the LED pin. That's because we
don't always use pin 13 for the LED on boards. For example, on the Metro ESP32-
S2 the LED is on pin 42!
©Adafruit Industries Page 194 of 263
 Loading...