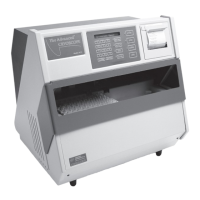
1
Installation & Setup
In order to set up your instrument properly, it is important that
you read and follow the steps in this section. Please follow these
steps carefully and be sure to read Chapter 2 — Instrument
Operation before attempting to run tests on your instrument.
A. Things to do in advance
1. Prepare Bench Space. The area beneath your instru-
ment should be kept clear and adequate space must be
provided around the back and sides to allow un-imped-
ed fan-driven air circulation.
NOTE Bright light shining directly into the cassette
deck area can interfere with the operation of
the instrument.
2. Locate and Test Grounded Outlet. A three-prong
grounded (earthed) 100-250V, 50-60Hz outlet capa-
ble of continuously supplying 2.5 amperes at 250V to
5 amperes at 100V is required within five feet of the
instrument.
WARNING This instrument must be properly
grounded (earthed). If the instrument is
not grounded properly, its operation will
be impaired and a safety hazard may
exist. It is not enough to simply plug the
instrument into a grounding outlet. Have
the outlet tested. Record the results in the
service log at the end of this guide.
1

 Loading...