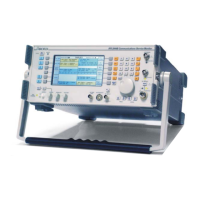
LOCAL OPERATION
3-9
Getting started
(Applying power and selecting test modes)
In normal operation, the rear panel ON/CHARGE switch is set to the ON position.
When the front panel SUPPLY switch is pushed in, the instrument powers up from either an AC
supply or a DC supply provided by the optional internal battery. If both AC and DC supplies are
connected, the AC supply takes precedence. A small trickle charge is also supplied to the DC
supply.
Moving the rear panel ON/CHARGE switch to the CHARGE position charges the internal battery,
if fitted. Battery charging is indicated by the “on/charge” LED flashing. When the battery is fully
charged the LED is illuminated continuously.
A discharged battery will be fully charged after 4 hours approximately. No charging takes place
when the instrument is on.
NOTE: When new the Ni-mH battery pack may exhibit reduced capacity and incomplete charging.
The pack should be given several charge/discharge cycles to realize full capacity.
With the instrument on and running from AC or DC supplies, if the supply disappears the battery
will not take over. This is to prevent accidental discharge of the battery pack. To enable the
battery the power switch must be returned to off, left for 10 seconds, and then turned on.
The center position is OFF.
With a power source connected, switching on the instrument causes the cooling fan to operate and
one of the test mode menus to be displayed. Which screen is displayed depends on which store is
selected as the 'Power Up From' store ([HELP/SETUP], [Setup], [Power Up From] key
sequence).
The low battery warning is activated when the voltage at the DC terminals falls to approximately
11 V.
If you are unfamiliar with the instrument a few minutes spent exploring the setup menus and test
modes is helpful.
The following explanation of keys and menus will assist in this.