Deployment Guide 77
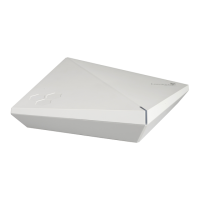
MOUNTING THE HIVEAP 320
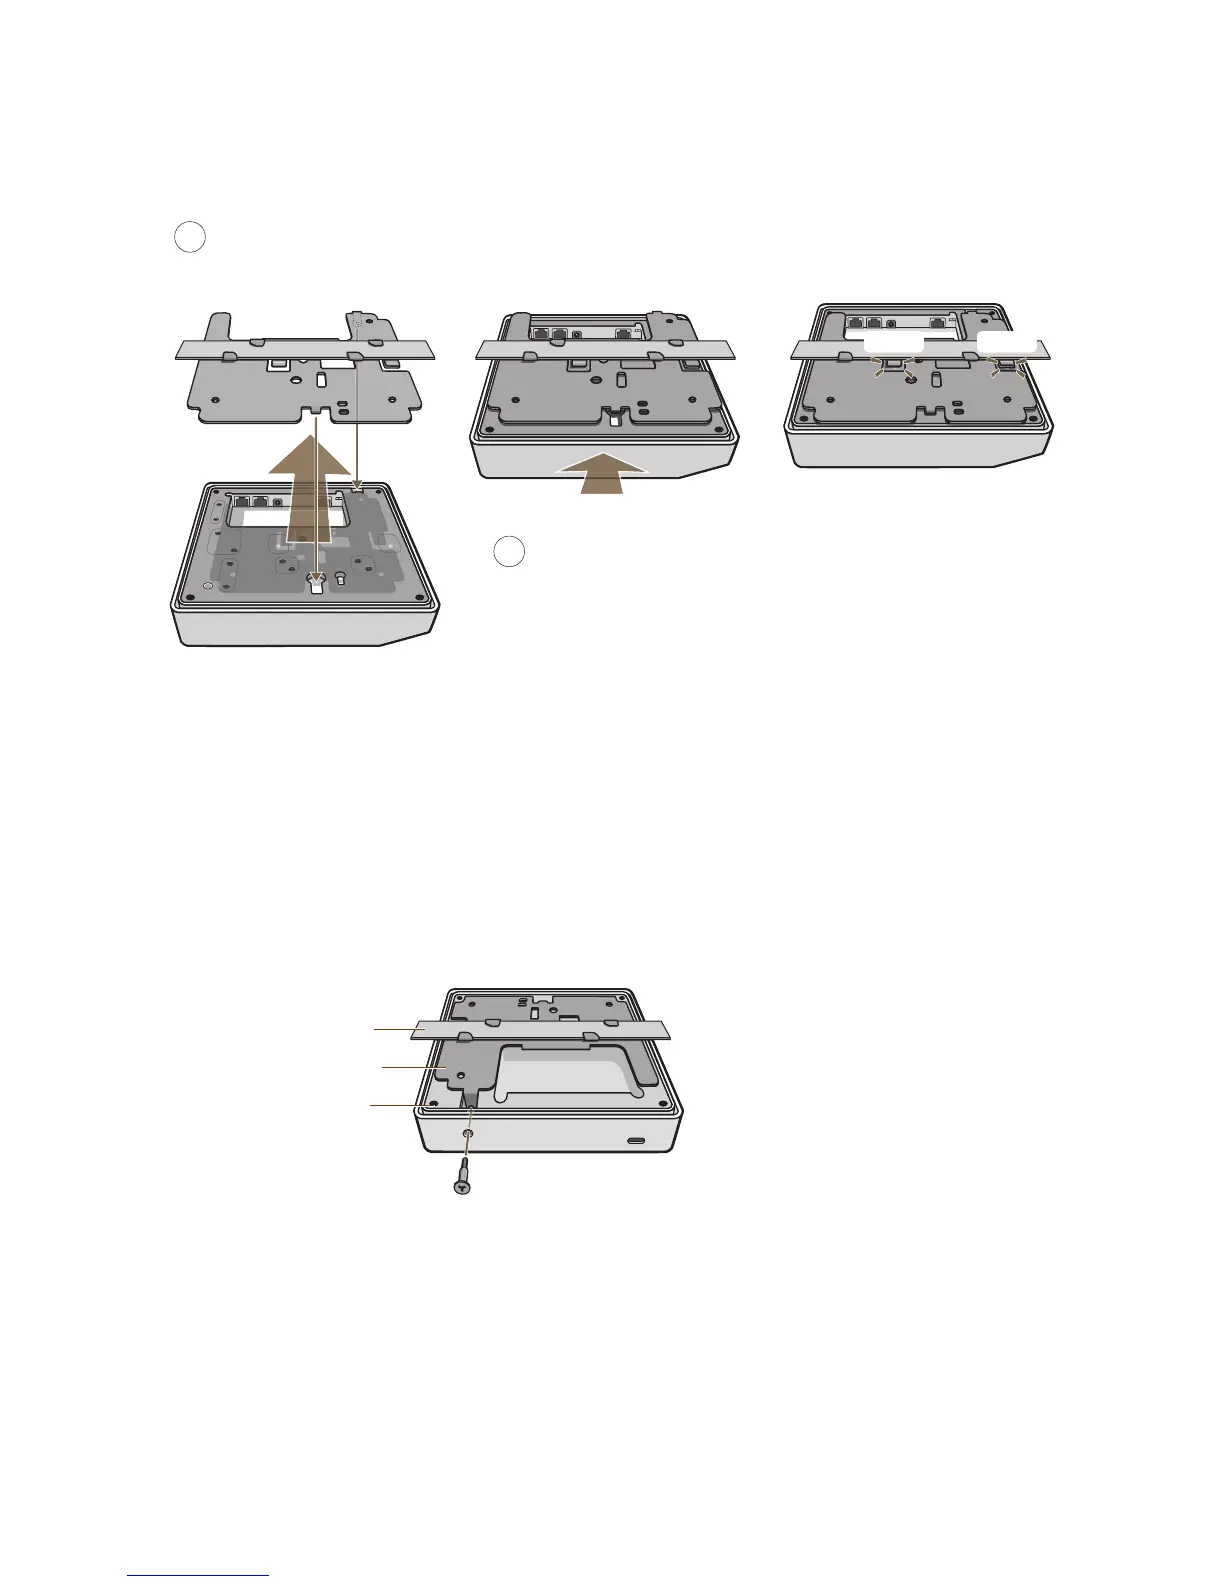
Figure 5 Attaching the HiveAP 320 to the mounting plate
When done, adjust the ceiling tiles back into their former position.
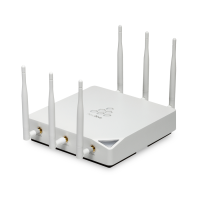
Locking the HiveAP 320
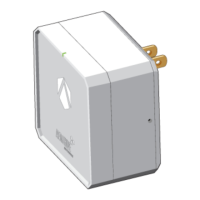
To lock the HiveAP 320 to the mounting plate, use the security screw, which is included in the mounting kit. You also
need a Torx tri-wing torsion insert bit for size #1 tri-wing security screws and a screw driver that will accept the bit.
The correct bits are available from Aerohive in sets of three (AH-ACC-SEC-BIT-3PK).
1. Insert the security screw through the hole in the HiveAP 320 and begin to thread it into the hole in the mounting
plate (see Figure 6).
Figure 6 Locking the HiveAP 320 to the Mounting Plate
2. With the insert bit in a screw driver, tighten the screw into place, securing the HiveAP to the mounting plate.
Push HiveAP
With the HiveAP 320 upside down, align the round tab and security screw
hole extension on the mounting plate with the keyhole opening and security
screw cavity on the HiveAP 320, and press the HiveAP upward.
4
5
Pushing from the LED end of the HiveAP, slide it toward the bottom
end of the plate until the two rippled tabs on the mounting plate
snap over the nubs on the underside of the HiveAP.
Snap! Snap!
Security Screw
HiveAP 320
Mounting Plate
Ceiling Track Note: The ceiling tiles are removed for clarity.