Deployment Guide 63
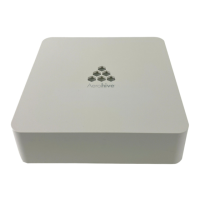
MOUNTING THE HIVEAP 340
Plenum Mount
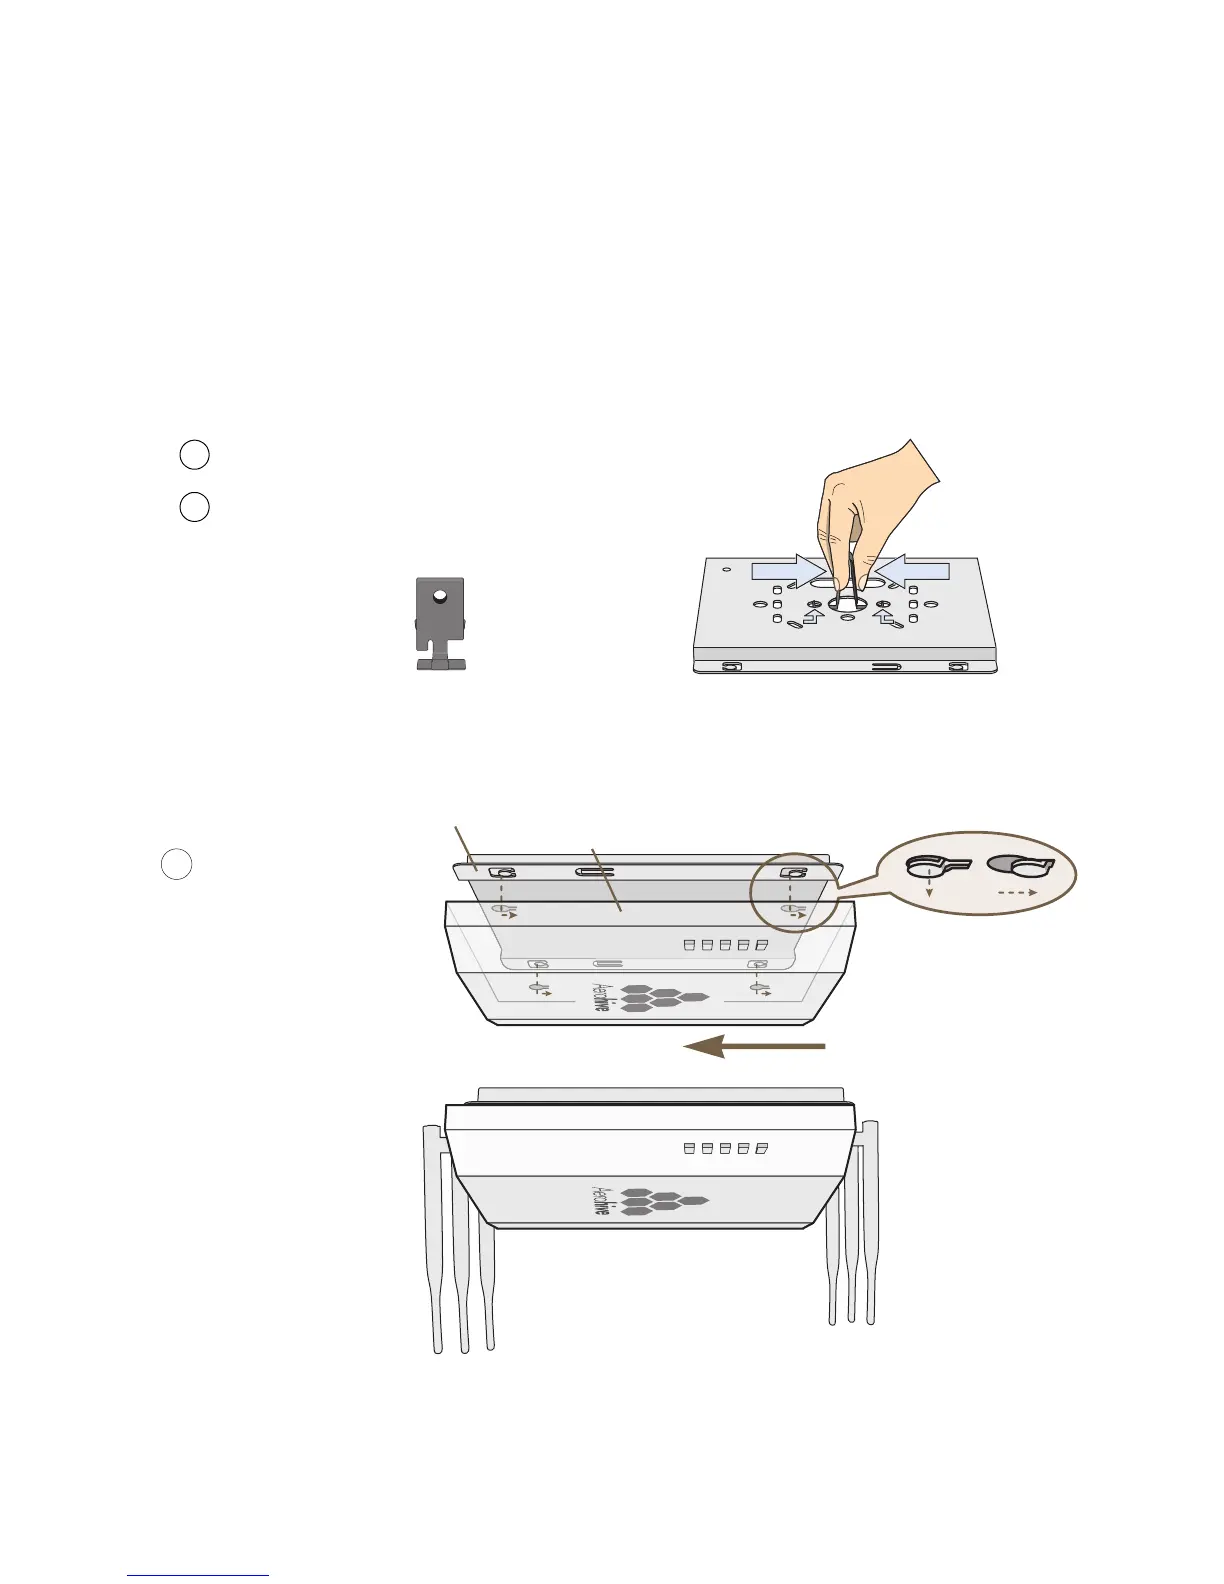
To mount the HiveAP 340 in the plenum space above a dropped ceiling grid, you need the mounting plate, hanger
clip, and a standard 24"-wide hanger frame, which can be ordered separately (SKU# AH-ACC-BKT-PLENUM).
1. With the recessed side of the mounting plate facing downward, insert the hanger clip through the large hole in
the center of the plate.
2. Squeeze the clip until the projecting tabs at the ends of its two feet snap into the smaller holes on both sides of
the larger hole (see Figure 11).
Figure 11 Fitting the hanger clip to the mounting plate
3. Attach the HiveAP 340 to the mounting plate, and then attach the antennas to the connectors (see Figure 12).
Figure 12 Attaching the HiveAP 340 to the mounting plate
Insert the hanger clip through the large hole in the mounting plate.
Squeeze the hanger clip to pull the tabs on its feet inward until they
snap upward into the two holes on either side of the larger hole.
Hanger Clip Mounting Plate
1
2
With the HiveAP 340 upside
down, align its port side with
the bottom end of the plate.
Push the HiveAP 340 upward,
inserting the four tabs on the
plate into the four slots on the
HiveAP 340.
Slide the HiveAP 340 toward the
bottom end of the plate, locking
the tabs inside the slots.
Attach the antennas to the
antenna connectors.
3
Tab
inside
slot.
Tab
locked in
place.
Mounting Plate
HiveAP 340 (shown as transparent for clairty)
Tab
Slot
(side view)