Deployment Guide 87
MOUNTING A HIVEAP 100 SERIES DEVICE
Locking the HiveAP
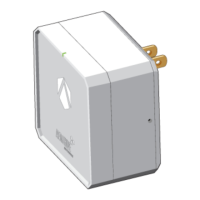
To lock the HiveAP to a secure object, use a Kensington lock and cable. Loop the cable around a securely anchored
object, insert the Kensington lock in the device lock slot in the HiveAP, and engage the locking mechanism (
Figure 7
).
Figure 7 Locking the HiveAP with a Kensington security lock
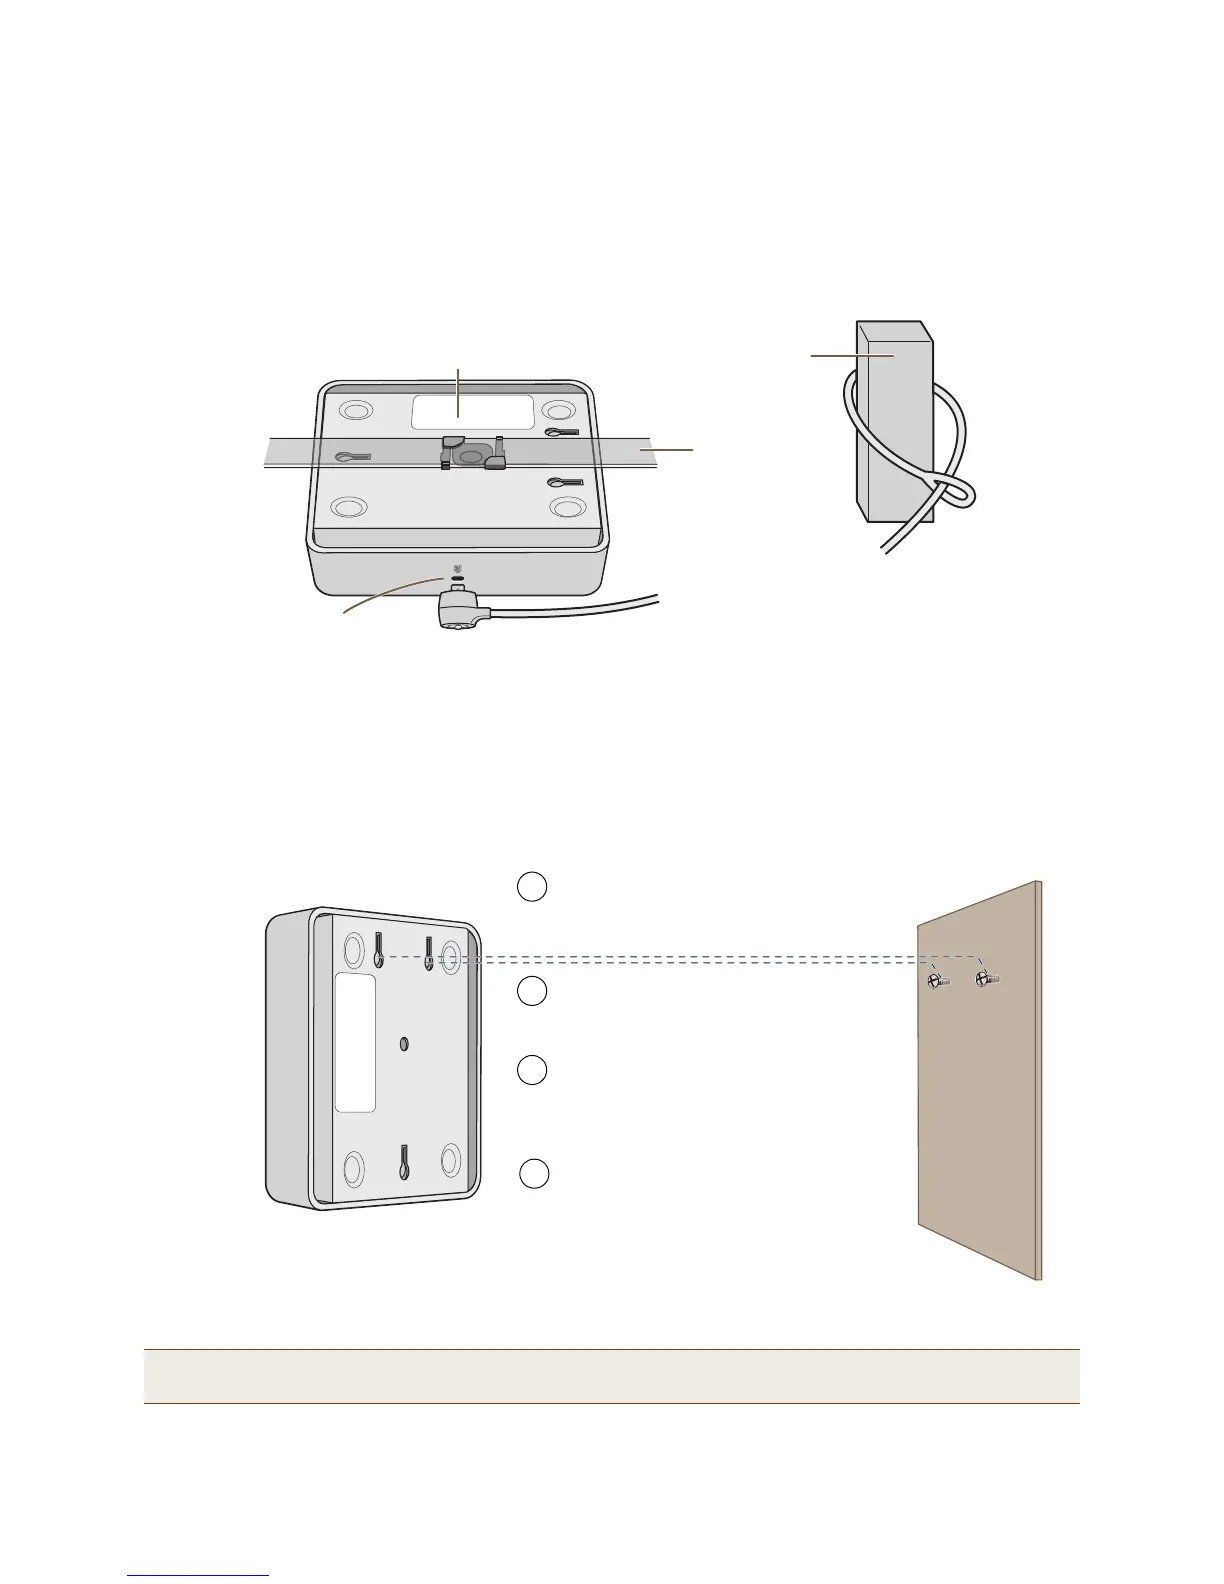
Surface Mount
You can attach the HiveAP 110 or 120 to any flat surface that supports its weight. First, attach two screws to the
surface. Then, make a hole in the wall a few inches or centimeters above the screws so that you can pass the cables
through the wall to the HiveAP. Finally, attach the device to the screws, and connect the cables (see Figure 8).
Figure 8 Mounting the HiveAP on a wall
Instead of passing the cables through a hole in the wall, you can also simply run them along the wall from the port
side of the HiveAP, which is located at the top of the device when it is mounted on a wall.
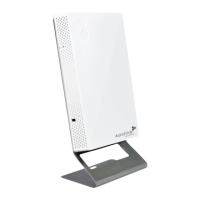
Note: You can use a Kensington lock to secure the HiveAP to a stationary object. For information, see "Locking
the HiveAP" on page 87.
Device Lock Slot
Kensington Security Lock
Loop the cable around a secure object, such
as a support beam, and then insert the T bar
component of the lock into the device lock
slot on the HiveAP and turn the key to
engage the lock mechanism.
HiveAP mounted to
a ceiling track
Support Beam
Ceiling Track
(shown as
transparent)
Position the HiveAP so that the screws enter
the two upper keyhole-shaped slots on the
underside of the HiveAP. Then push the
HiveAP downward to lock it in place.
Position two #6 or #8 screws 2" (5 cm) apart
and fasten them to a secure object such as a
wall, post, or beam.
1
3
HiveAP 110 or 120
2
Cut or drill a hole in the wall 1 - 2" (2.5 - 5 cm)
above the screws to pass the cables through
to the HiveAP.
Connect the cables to the HiveAP.
Depending on the power source, you might
connect just one Ethernet cable or an
Ethernet cable and a power cord.
4
(side view) wall