Remove the printer from the pallet
1. Take 6 mm Allen key.
6/20
2903S EN 20121207
3
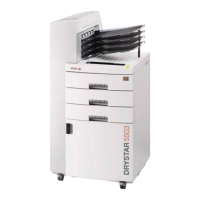
Remove Drystar 5500/5503 from pallet
1 Take 6 mm Allen key.
MOBILE or SEISMIC INSTALLATION ONLY:
reuse fixation bars and screws to fix printer
at its location.
approx. 242 kg
approx. 192.4 kg
5500
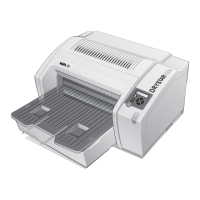
5503
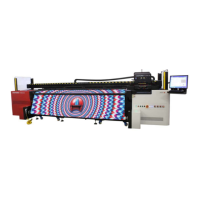
2 Remove 8 screws and 2 fixation bars.
Put screws [2] back in place.
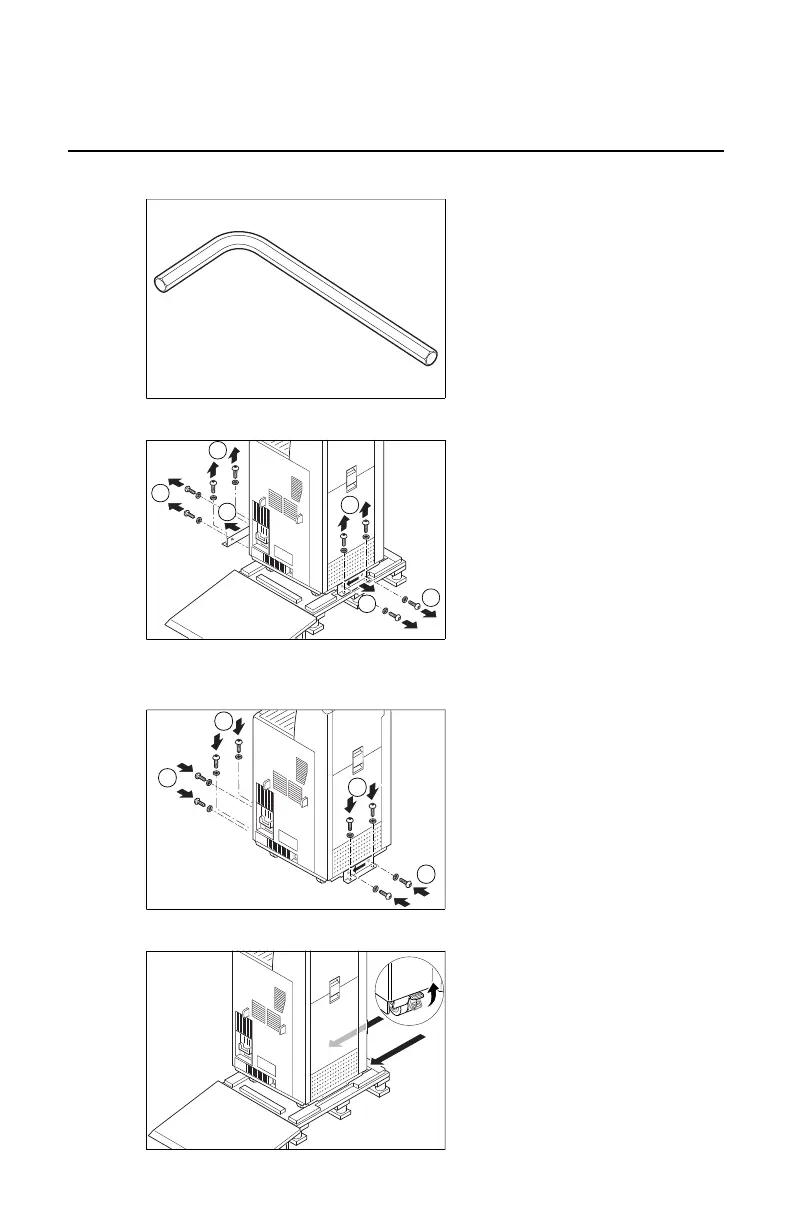
3 Unlock the wheel brakes
4 Pull printer from slope [1] and relock
the wheel brakes [2].
2. Remove 8 screws and 2 fixation bars. Put screws [2] back in place.
6/20
2903S EN 20121207
3
Remove Drystar 5500/5503 from pallet
1 Take 6 mm Allen key.
MOBILE or SEISMIC INSTALLATION ONLY:
reuse fixation bars and screws to fix printer
at its location.
approx. 242 kg
approx. 192.4 kg
5500
5503
2 Remove 8 screws and 2 fixation bars.
Put screws [2] back in place.
3 Unlock the wheel brakes
4 Pull printer from slope [1] and relock
the wheel brakes [2].
MOBILE or SEISMIC INSTALLATION ONLY: reuse fixation bars and screws
to fix printer at its location.
6/20
2903S EN 20121207
3
Remove Drystar 5500/5503 from pallet
1 Take 6 mm Allen key.
MOBILE or SEISMIC INSTALLATION ONLY:
reuse fixation bars and screws to fix printer
at its location.
approx. 242 kg
approx. 192.4 kg
5500
5503
2 Remove 8 screws and 2 fixation bars.
Put screws [2] back in place.
3 Unlock the wheel brakes
4 Pull printer from slope [1] and relock
the wheel brakes [2].
3. Unlock the wheel brakes
6/20
2903S EN 20121207
3
Remove Drystar 5500/5503 from pallet
1 Take 6 mm Allen key.
MOBILE or SEISMIC INSTALLATION ONLY:
reuse fixation bars and screws to fix printer
at its location.
approx. 242 kg
approx. 192.4 kg
5500
5503
2 Remove 8 screws and 2 fixation bars.
Put screws [2] back in place.
3 Unlock the wheel brakes
4 Pull printer from slope [1] and relock
the wheel brakes [2].
Drystar 5500, Drystar 5503 | Plug & Play Installation Manual | 145
2901J EN 20191018 0826
 Loading...