Note:
When controlling the printer via a remote PC, The ‘Select
input tray’ screen is preceded by a screen, which allows you
to:
• Start the quality control procedure immediately,
• Edit additional data for the last quality control
measuring.
4. Press the Up/Down arrow keys to select the proper input tray, followed by
the Confirm key.
The printer will automatically print the QC general radiography test
image.
5. After the image is printed, the system will display all measured optical
density values:
6. Record the low, mid and high density values on Charts 2A and 2B (‘Daily
Density Control Chart’). Also record the date and time of the test on the
charts and on the QC general radiography test images.
7. Press the Confirm key to return to the main menu.
WARNING:
In case the measure results are not within the aim values,
the reason for the unacceptable density variations must be
identified and resolved before any further clinical films can
be processed. This may include repeating the film
calibration procedure.
Related Links
Switching on the printer on page 66
Charts for general radiography QC on page 130
Preventive maintenance schedule on page 111
Performing the Weekly QC tests for general radiography applications
WARNING:
Good viewing conditions are important for the correct
interpretation of both diagnostic and test images. Make sure
that the light box intensity (luminance) is between 2000 and
4000 cd/m² (4500 and 6500 °K) for general radiography. Use a
magnifying glass and use shutters to collimate. Make sure the
ambient light is low.
Spatial Resolution, Artifact Test and Low Contrast Visibility
96
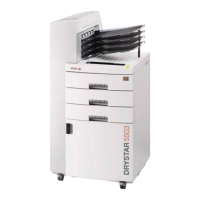
| Drystar 5500, Drystar 5503 | Advanced Operation (key-operator mode)
2901J EN 20191018 0826