Agilent 708-DS Dissolution Apparatus
Training Manual
Revision A September 2010
P/N: xx-xxxx
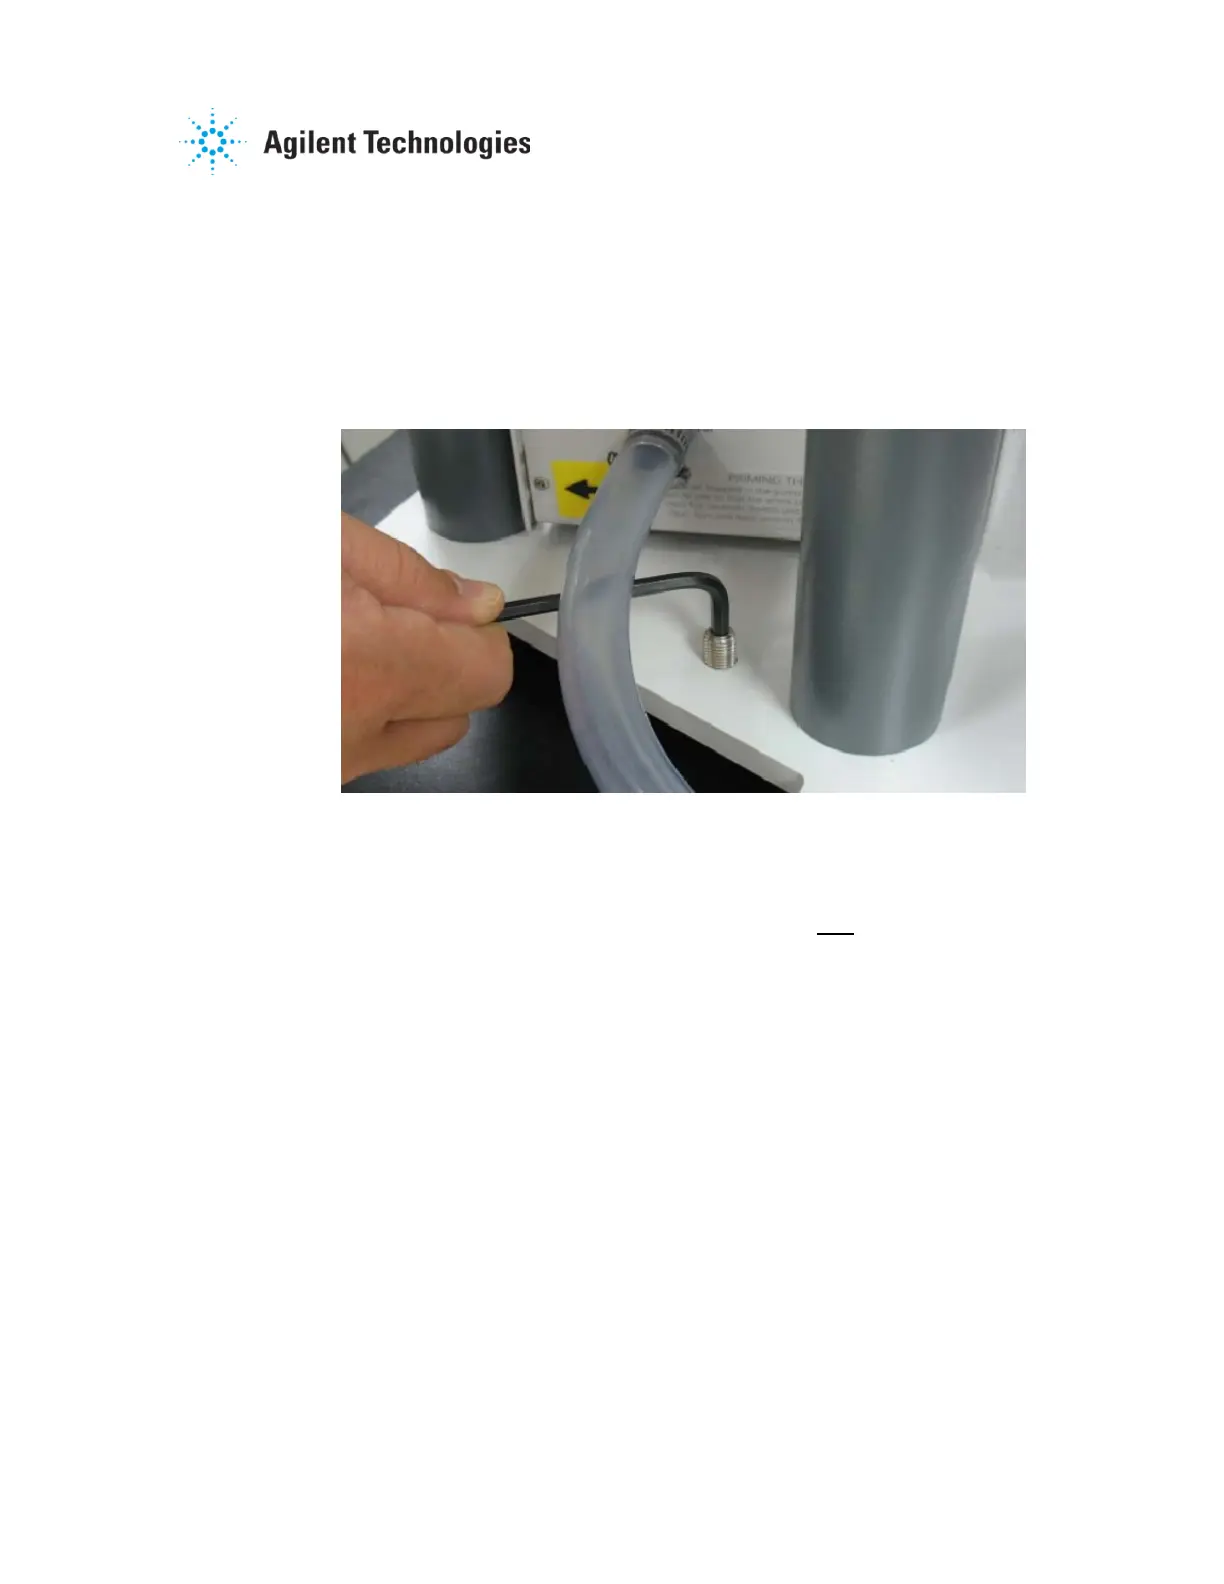
Adjust the two front leveling feet of the apparatus, while monitoring the
vessel plate level, to achieve left-to-right level within tolerance. Then,
adjust the leveling foot at the rear of the apparatus, while monitoring the
vessel plate level, to achieve front-to-back level within tolerance. Once
satisfactory level is attained, use the open-end wrench to tighten the
nut(s) beneath the base plate. Lower the stability feet located toward the
back on either side of the base plate until they touch the laboratory
bench. Do not over-tighten to ensure level is maintained.
Figure 2-4. 708-DS Level Adjustment
The water bath is filled at this time – be sure to allow for displacement of
the water when the vessels are installed. After filling the water bath to the
appropriate height, re-verify the level front-to-back and
left-to-right to
ensure the previous setting has been maintained.
2.1.6. Heater / Circulator Power Up
With the water bath of the 708-DS filled to the appropriate height, turn on
the power to the Heater / Circulator. The flow of water should begin
immediately. If air is trapped in the loop, however, the unit may need to
be primed.
NOTE: See the label on the rear of the H/C for instructions on priming – a tilt of the unit
(arrow pointing down) should be sufficient to purge any air from the system.
If the red Heater Error LED is illuminated, it may be necessary to turn the
unit OFF and back ON to re-initiate the internal pump. Once proper flow is
established, examine all tubing connections in the loop to ensure no leaks
are present. The Pump On LED should be lit up green indicating the
pump is operating properly. The Heater On LED will be illuminated green
if the water is being heated. As the water temperature approaches the
target temperature, this LED will naturally cycle on / off.
 Loading...


