24
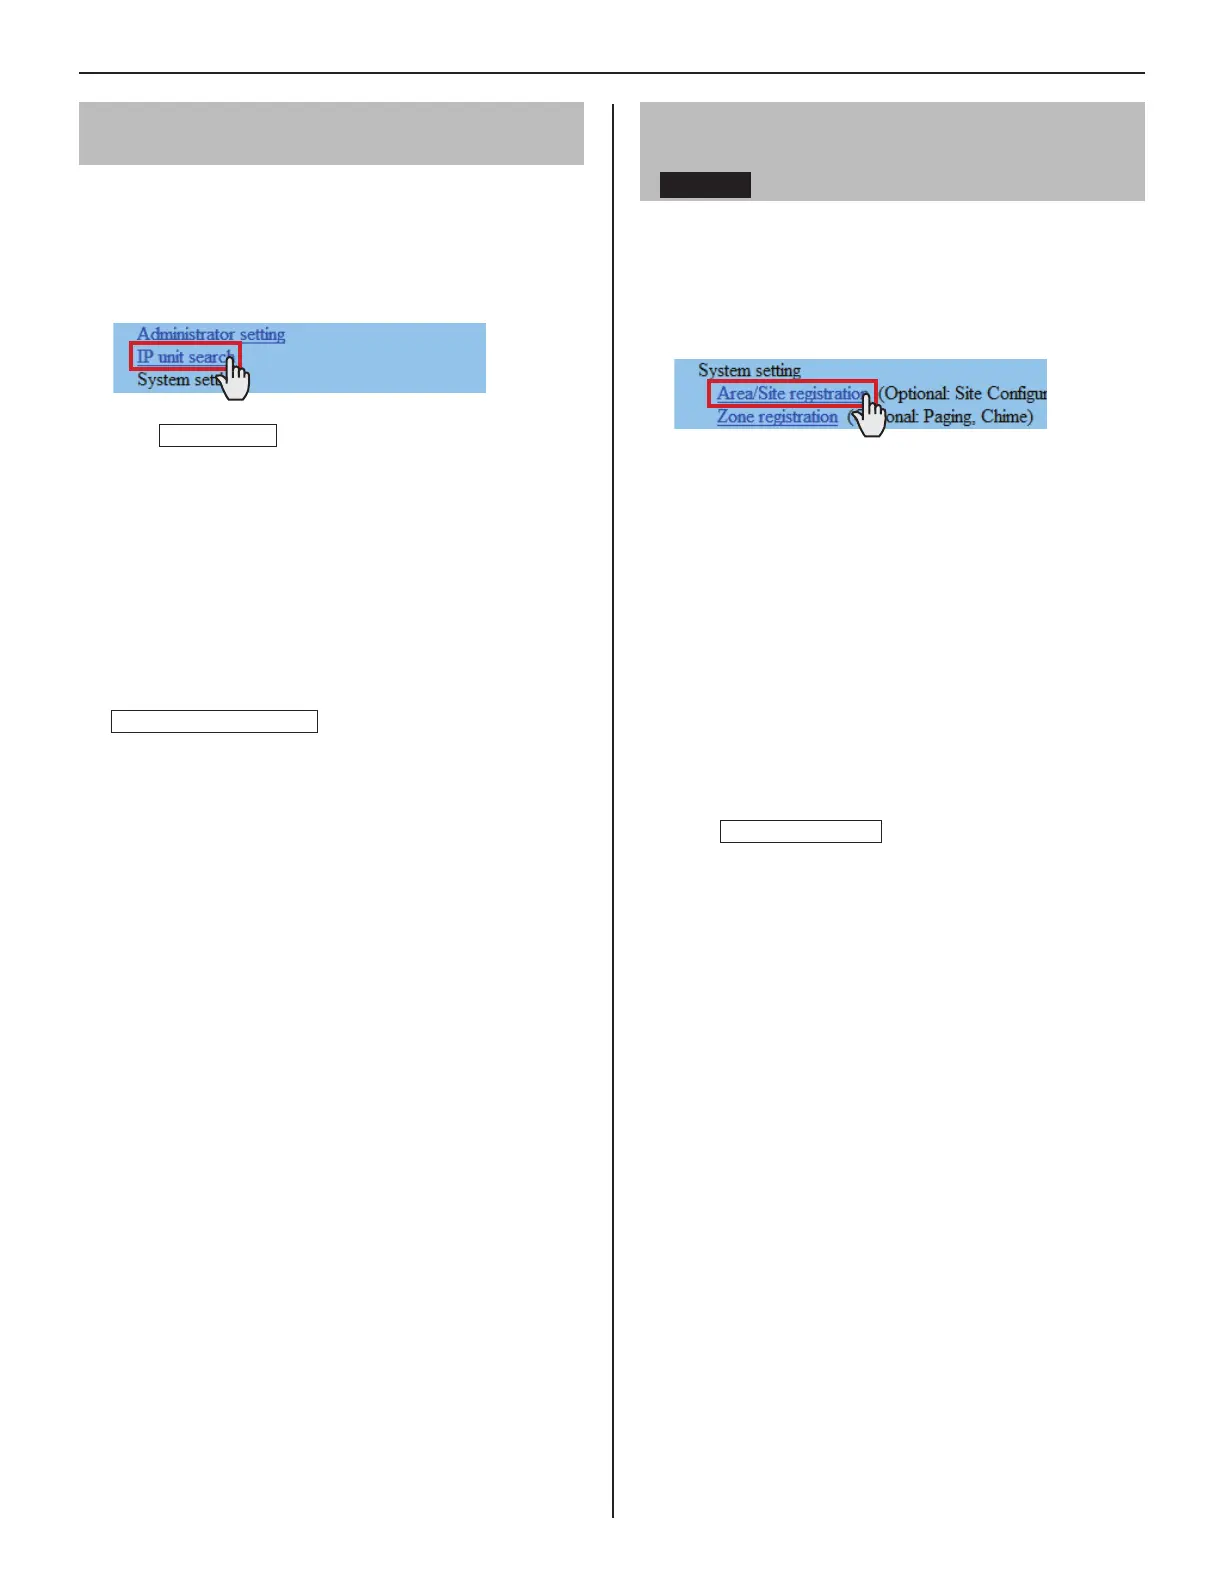
Confi rming the IP units connected to the
system [IP unit search]
Before confi guring system wide settings, confi rm the IP
units are connected to the network, and set the network
setting for each IP unit using [IP unit search].
Click
1
IP unit search in the table of contents.
Click
2
IP unit search
.
All the IP units connected to the system are displayed in
the list.
If IP units are not displayed, repeat this step until
*
displayed.
Confi rm the “Station type”, “MAC address” and “Unit
3
name” of the IP units in the list.
To make or change settings to an IP unit,
4
check the box for the target IP unit and click
Open the setting window
.
Another window opens. You can make settings for the
target IP unit individually.
(→P. 22)
Close the window.
5
Repeat step
*
3 to 5 to make settings to other IP units.
NOTES:
This procedure cannot search for PC master stations (IS-SOFT)
•
and it is not a system failure. To add a PC master station (IS-SOFT)
in the system, install the application (IS-SOFT) to a PC before
connecting it to the network and see page 25.
It may be required to log in to open the setting window, and update
•
the system at [
Updating the system
] before closing the window.
Registering areas and remote sites
[System setting – Area/Site registration]
Required
Register areas (for separating stations in your site) and/
or remote sites. The number to which a name is entered is
registered as an area or site number. Up to 99 areas and/or
sites (up to 31 for sites only) can be registered.
Click
1
Area/Site registration in the table of contents.
Enter an area name in the cell for the area number 01.
2
Be sure to enter an area name. A site cannot be
*
registered to the number 01.
The fi gures under
*
“Number” in the tables means the area
or site numbers.
Enter area and/or site names in the cells for other
3
numbers to register more areas and/or sites.
Select “Area” or “Site” from the pull-down menu of “Area/
•
Site”.
For a site, enter the IP address (global IP address of the
•
target site), port number and connection password for
the target site.
For a site, set “Door release” to enable (ON) or disable
•
(OFF) the door release action from the target site.
Click
4
Temporarily stored
to save the current setting
results temporarily.
If you wish to cancel the setting results you have made,
*
click a title in the table of contents or “Refresh” in the
web browser menu.
NOTES:
Be sure to register at least one area to the area number 01.
•
(“1” is entered in the cell for the area number 01 as default.)
A call number displayed on the master station monitor consists of
•
an area number plus a station number (when called from within
your site).
 Loading...