25
GETTING STARTED USING THE SYSTEM APPENDIX
SETTING THE SYSTEM
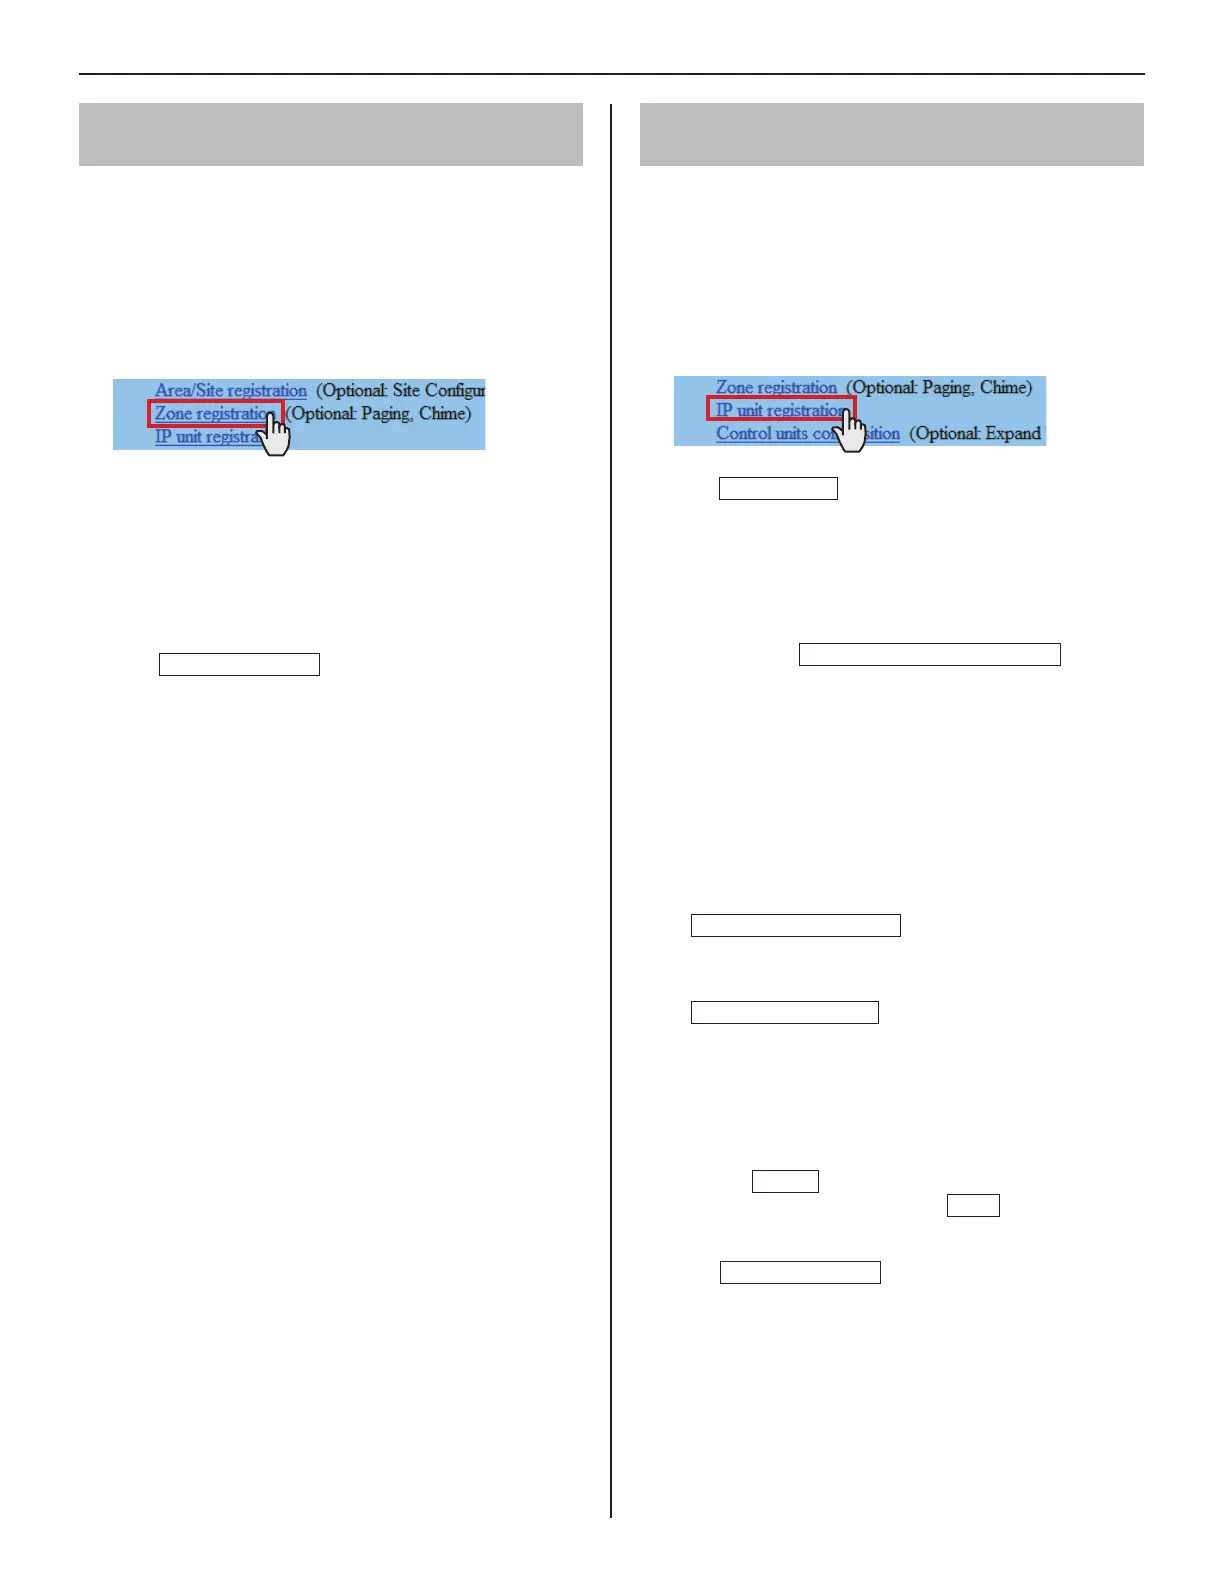
Registering zones
[System setting – Zone registration]
Register zones for paging (transmitting announcements and
chime) in your site. The number to which a name is entered
is registered as a zone number. Up to 99 zones can be
registered.
* Zones are groups of stations designated for paging and chime
paging.
Click
1
Zone registration in the table of contents.
Enter a zone name in the cell for the target zone
2
number.
The fi gures under "Number" in the table means the zone
*
number.
Enter zone names in the cells for other numbers to
3
register more zones.
Click
4
Temporarily stored
to save the current setting
results temporarily.
If you wish to cancel the setting results you have made,
*
click a title in the table of contents or “Refresh” in the
web browser menu.
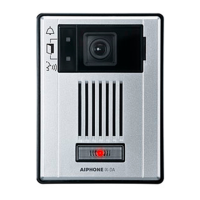
Registering IP units
[System setting – IP unit registration]
Register IP units by selecting from the connected ones to the
system.
To register a PC master station, fi rst install the application
*
(IS-SOFT) to a PC, then connect the PC to the network and
then start IS-SOFT.
Click
1
IP unit registration in the table of contents.
Click
2
IP unit search
.
All the IP units connected to the system are displayed in
the [Search result] on the lower side of the window.
If IP units are not displayed, repeat this step until
*
displayed.
Check the boxes for the IP units you want to register,
3
and then click
Add to the imported IP units list
.
The checked IP units are registered and displayed in
[Imported IP units list] on the upper side of the window.
Enter data or change settings for the registered IP
4
units as needed.
For "Port number", the sequential numbers are
*
automatically assigned as needed. (You can also enter
port numbers manually.)
Do not use port numbers that overlap those of other
*
devices connected to the same network.
Port number auto-setting
•
:
Click this to assign sequential port numbers
automatically.
Port forwarding setting
•
(Not available only when IPv6 is used):
Click this and you can confi rm the port forwarding
settings to be made on the router in another window.
If [UPnP] is set to OFF at
*
[Network setting:
Common], make the port forwarding setting on the
router with the set contents in this window manually.
Click
*
Reload
on this window to update the current
port forward setting, and click
Close
to close this
window.
Click
5
Temporarily stored
to save the current setting
results temporarily.
If you wish to cancel the setting results you have made,
*
click a title in the table of contents or “Refresh” in the
web browser menu.
NOTE:
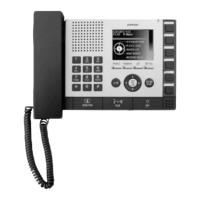
A PC master station must be also registered as an IP unit. First
install the application (IS-SOFT) to a PC, then connect the PC to the
network and then register it.
 Loading...