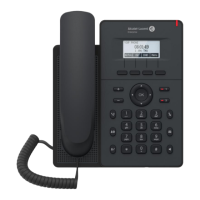
H2 DeskPhone
H2P DeskPhone
8AL90394ENAAed01 98 /111
12.14 Phonebook >> Contact
The user can add, delete, or edit contacts in the phonebook in this page. The user can browse the
phonebook and sort by name, telephones, or filter by group.
To add a new contact, the user should enter the contact’s information and press the “Add” button to add it.
To edit a contact, click on the checkbox in front of the contact. The contact information will be copied to the
contact edit boxes. Press the “Modify” button after you finish editing.
To delete one or multiple contacts, check the checkbox in front of the contacts you wish to delete and click
the “Delete” button, or click the “Clear” button when selecting any contacts to clear the phonebook.
The user can also add multiple contacts to a group by selecting the group in the drop-down options in front
of the “Add to Group” button at the bottom of the contact list, selecting contacts with a checkbox and clicking
“Add to Group” to add selected contacts to the group.
Similarly, the user can select multiple users and add them to the blacklist by clicking the “Add to Blacklist”
button.
12.15 Phonebook >> Cloud phonebook
Cloud phonebook
The user can configure up to 8 cloud phonebooks. Each cloud phonebook must be configured with an URL
where an XML phonebook is stored. The URL may be based on the HTTP/HTTPs or FTP protocol with or
without authentication. If authentication is required, the user must configure the username and password.
To configure a cloud phonebook, the following information should be entered:
Phonebook name (required)
Phonebook URL (required)
Access username (optional)
Access password (optional)
Figure 120 - Managing cloud phonebooks

 Loading...
