Installation instructions
Amatron+ BAG0063.1 03.10 9
3 Installation instructions
3.1 Connection
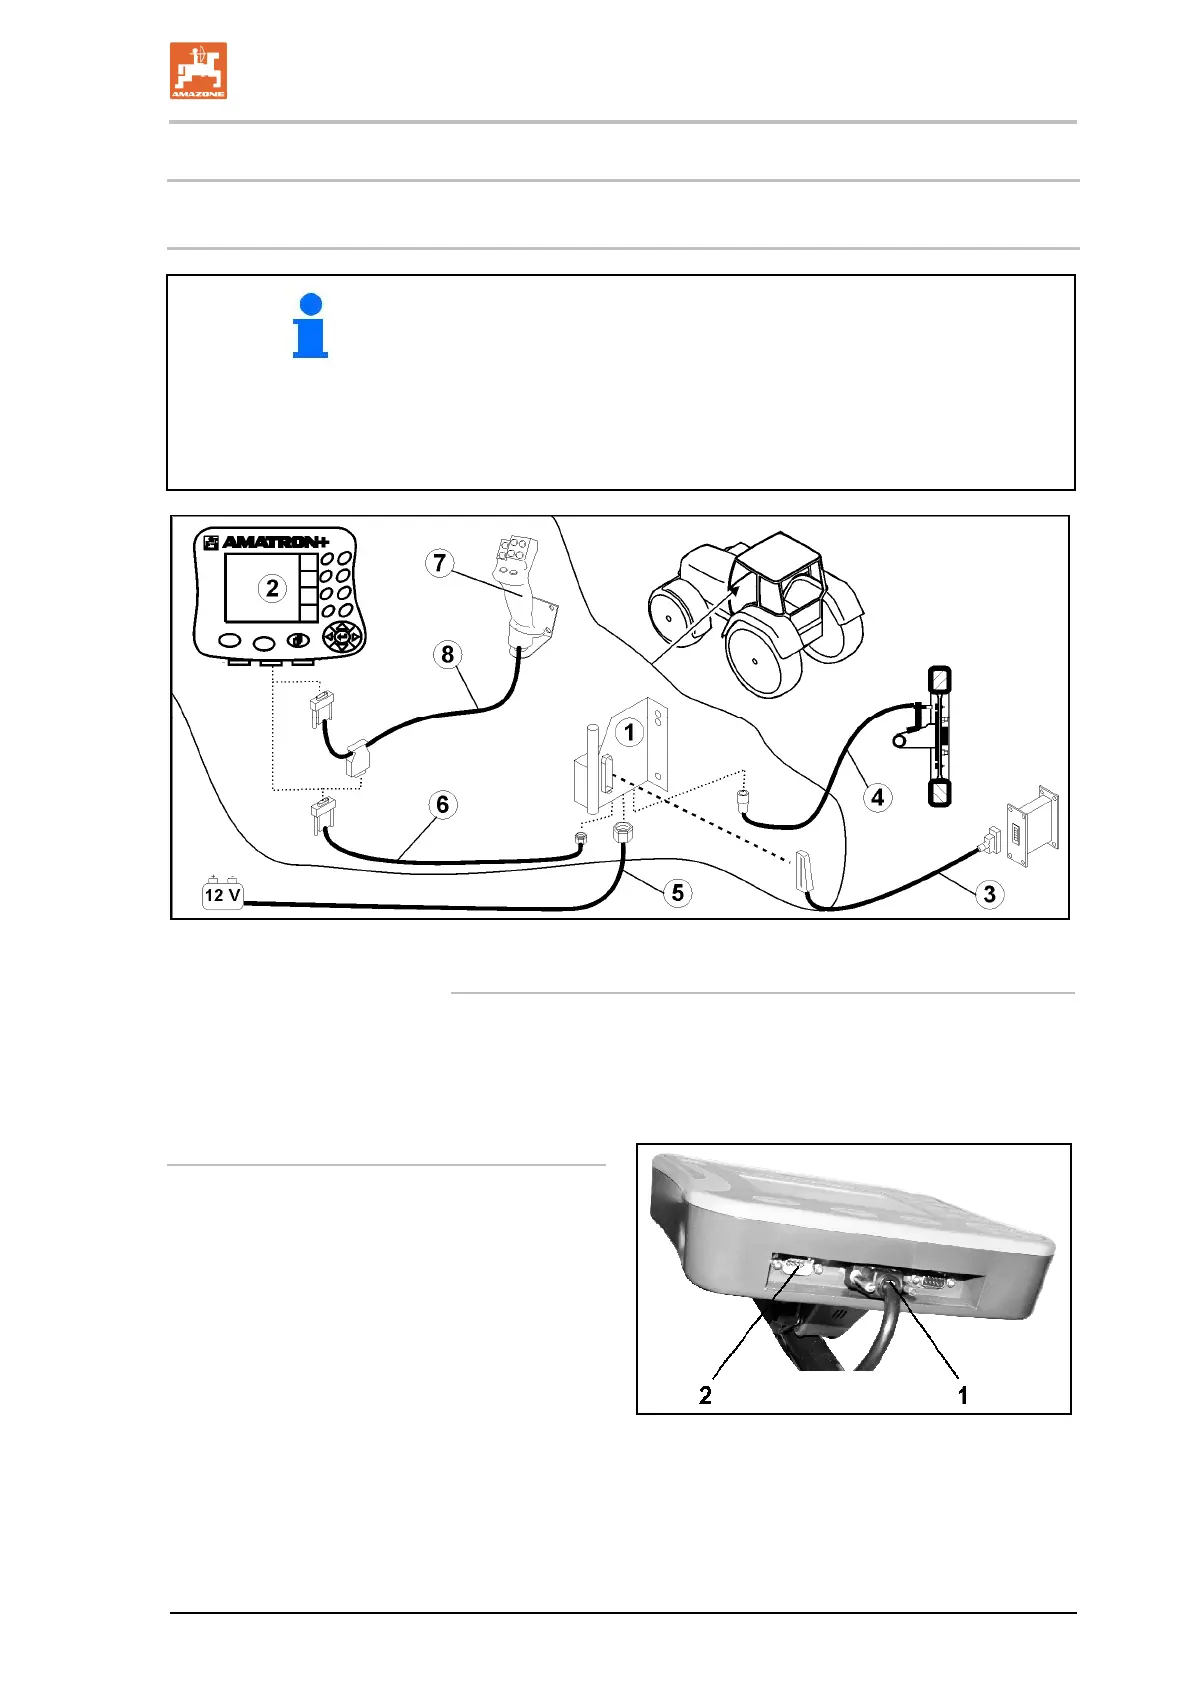
The tractor's basic equipment (Fig. 1/1 console with distributor)
must be installed to the right of the driver in the cab, within visual
range and easy reach, so that it is vibration-free and electrically
conductive.
Remove the paint from the mounting points to prevent electro-
static charging.
The distance from the radio unit or aerial must be at least 1 m.
Fig. 1
Connections to tractor's basic equipment:
The battery cable (Fig. 1/5).
Signal cable from the tractor signal socket or distance sensor
(Fig. 1/4).
Conne
cting cable to AMATRON
+
(Fig. 1/6).
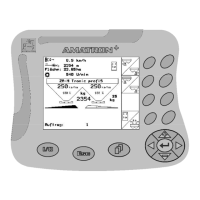
To operate
Plug the AMATRON
+
(Fig. 1/2) into the
tractor's basic equipment.
Insert the connector of the connecting cable
(Fig. 1/6) into the middle 9-pin Sub-D bush-
ing (Fig. 2/1).
Connec
t the machine via the connector
(Fig. 1/3) to the AMATRON
+
.
The multifunction stick (Fig. 1/7) is con-
necte
d using a Y-ca
ble (Fig. 1/8).
The serial interface (Fig. 2/2) allows a P
DA
to be connec
ted.
Fig. 2
 Loading...