Appendix B: Using NetLinx Studio to Connect to a NetLinx Master
159
TPI-PRO-DVI - Instruction Manual
NOTE: The Communications Settings dialog can also be accessed by clicking in the Master Controller Connection Information
area of the Status Bar.
3. Use the options in this dialog to configure TCP/IP communication settings with the target Master Controller. There are two
ways to do this:
Manually entering the Master’s IP address information (see page 160)
Listening for Master’s on the Network (see page 161)
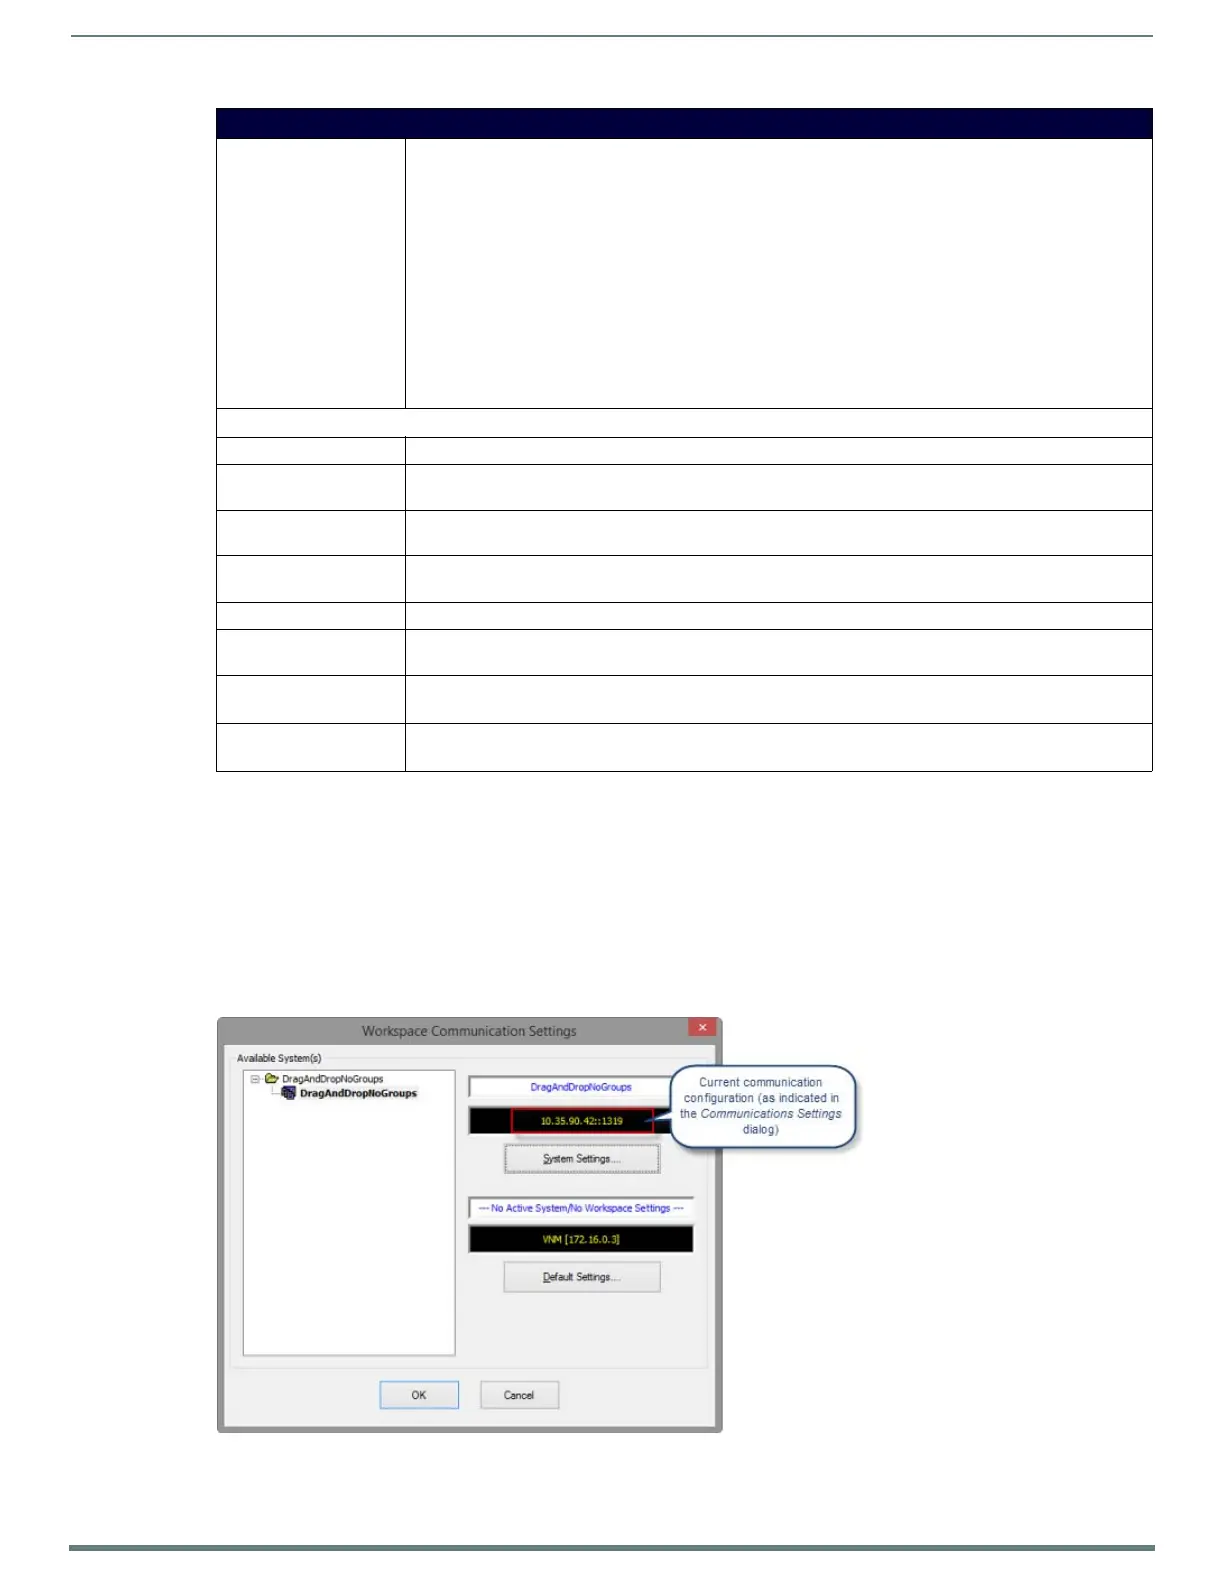
4. Once the communication settings have been set and the desired Master Controller is indicated in the Current Platform-
Transp o rt Selected field (FIG. 126), click OK to close the Communications Settings dialog and return to the Workspace
Communication Settings dialog.
Note that the selected Master Controller connection is indicated in the Workspace Communication Settings dialog (FIG. 127).
5. Click OK to close the Workspace Communication Settings dialog.
Communications Settings Dialog - Network Tab
List of Addresses: This table lists all TCP/IP Addresses that have been configured and saved in NetLinx Studio. This table
presents the following information for each address in the list (as entered in the New TCP/IP Setting dialog
when each address is defined.
• IP Address:URL - This is the address information entered in the TCP/IP Address field.
• Description - This is the description entered in the Description field. Since this property is optional, there
may not be a description for every address in the list.
• Port - This is the Port assigned to each address (in most cases, 1319).
• Ping Host - This value indicates whether the address is configured to automatically ping the Master
Controller to ensure availability (True or False).
• User ID - This value indicates the User Name entered for this address.
• Password - This value indicates the Password entered for this address.
Since User and Password are optional (depending on whether authentication is required on the target
NetLinx Master), there may not be entries in these columns for every address in the list.
Command Buttons
Select: With an address selected in the List of Addresses table, click to select that address for use, or to edit or delete.
New: Click to define a new TCP/IP address, in the New TCP/IP Setting dialog. See the Editing a TCP/IP
Address section on page 163 for details.
Edit: Click to edit the selected address, in the TCP/IP Properties dialog. See the Editing a TCP/IP Address section on
page 163 for details.
Delete: With an address selected in the List of Addresses table, click to remove it from the list. See the Deleting a TCP/
IP Address section on page 163 for details.
Delete All: Click to clear the List of Addresses.
Listen For Masters: Click to listen for "blink" (UDP) messages from NetLinx Masters on the same subnet (in the Listen For Masters
dialog. See the Listening for Masters on the Network section on page 161 for details.
Import IP Address List File Click to import a list of IP addresses in the form of either a .csv or .txt file.
Refer to NetLinx Studio online help for details.
Export IP Addresses Click to export the list of IP addresses indicated in the Network tab in the form of either a .csv or .txt file.
Refer to NetLinx Studio online help for details.
FIG. 127 Workspace Communication Settings dialog with the selected Master Connection

 Loading...


