Appendix B: Using NetLinx Studio to Connect to a NetLinx Master
162
TPI-PRO-DVI - Instruction Manual
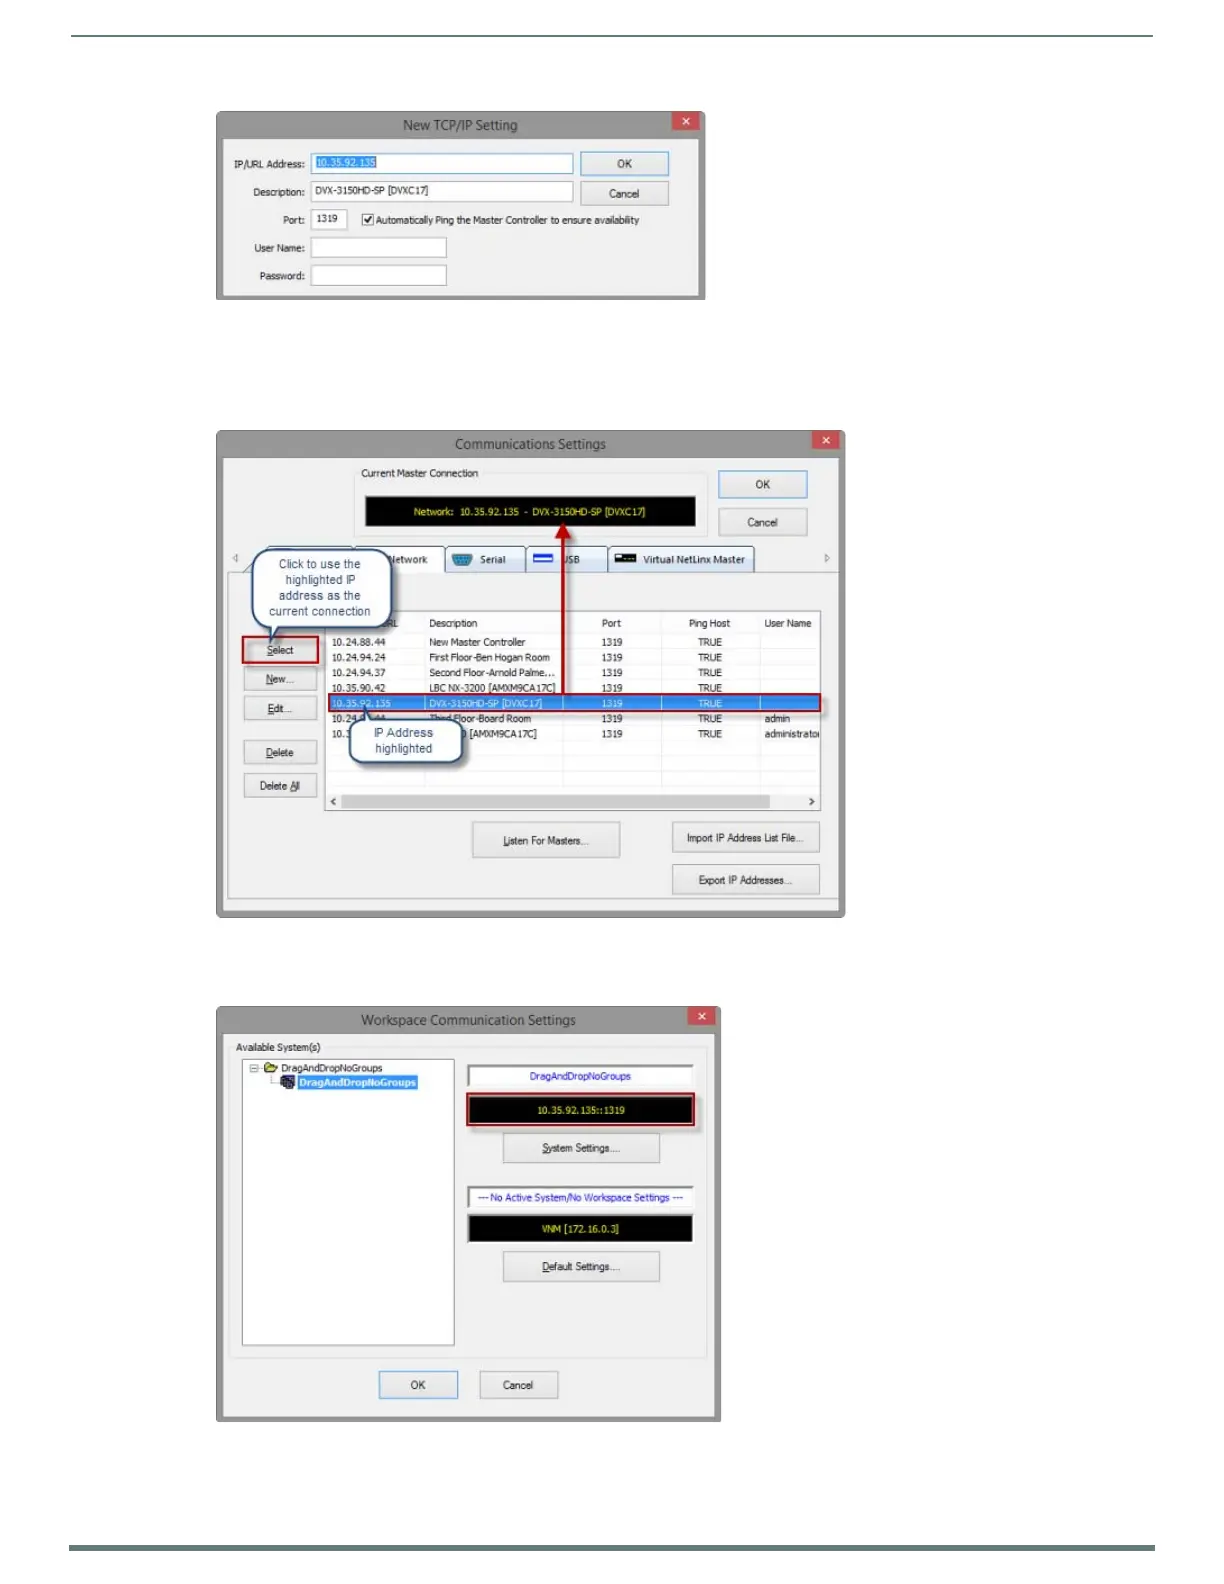
6. Click OK to save changes, close this dialog and return to the Communications Settings dialog (Network tab). The new Master’s
IP Address is now indicated in the List of Addresses.
7. With the newly added Master selected, click Select. This updates the Current Platform-Transport Selected window to indicate
that the newly added and selected Master is now the current communication configuration (FIG. 138).
8. Click OK to close the Communications Settings dialog, and return to the Workspace Communication Settings dialog, which now
indicates the newly selected configuration (FIG. 139).
9. Click OK to close this dialog.
FIG. 137
New TCP/IP Setting dialog
FIG. 138 Listen For Masters dialog (new Master selected)
FIG. 139 Workspace Communication Settings dialog (new Master indicated as current Configuration)

 Loading...


