See “Set up the system“ on page 39 on connecting the USB-enabled Wi-Fi Card into
the SimpliAmp
™
Thermal Cycler. To set up the wireless connection:
1.
Refer to “Set up the wired connection“ on page 41 through step 3 to arrive at the
Network Connection screen.
2.
In the Network Connection Type screen, touch Wireless.
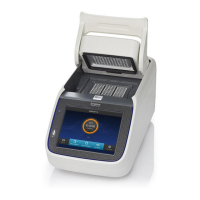
Figure 34
SimpliAmp
™
Thermal Cycler Network Connection screen
The Choose Network screen will come up and the wireless symbol will appear
active. Touch Cancel to exit the screen.
Note: During initial setup, if you selected the Wired option in the Network
Connection Type screen, you will be required to enter your IP address if you
selected the Static IP wired option. If you selected the Dynamic IP wired option,
the IP address is automatically populated.
3.
Once a wireless connection has been detected, a list of the available networks will
be displayed in the Choose Network screen. Touch the network name of your
choice or touch Join Other Network.
If you choose Join Other Network, the
Congure and Join Network screen opens.
4.
In the Congure and Join Network screen, enter the name and security type of
the network.
Note: When you touch in the Network Name eld, a keypad will come up to
facilitate making the entry.
5.
From the Security type drop-down menu, touch to select the security type and
enter the relevant information in the screen.
Note: Contact your IT Systems Administrator for information on security type.
You can select from the following options:
• Open
• WEP
• WPA Personal
• WPA2 Personal
Set up the
wireless
connection
Appendix A Install and connect to a network
Set up the system
A
SimpliAmp
™
Thermal Cycler User Guide
43