19
Maintain the ViiA
™
7 System
Applied Biosystems ViiA
™
7 Real-Time PCR System Quick Reference Guide
Change instrument parts
Replace the sample block to change the consumable format of the instrument; if you replace the sample block, replace the heated cover
and plate adapter to match the new consumable format.
WARNING! PHYSICAL INJURY HAZARD. The ViiA
™
7 System and lamp are hot! The lamp can become very hot while in use. Allow
the lamp to cool for 15 minutes and put on protective, powder-free gloves before handling it.
CAUTION! PHYSICAL INJURY HAZARD. Wear disposable, powder-free gloves when handling the lamp to prevent burns and to
prolong the life of the replacement lamp.
Materials required
• Safety glasses
• Powder-free gloves
• Flathead screwdriver (for fuse replacement)
•Replacement parts:
– Sample block
– Heated cover
– Plate adapter
A note on calibration order
When you are instructed to perform calibrations in the following sections, perform them in this order:
1. ROI calibration
2. Background calibration
3. Uniformity calibration
4. Dye calibration
5. Normalization calibration
Change the sample block
IMPORTANT! If you are installing a sample block of a different format, you must also change the heated cover and plate adapter to match
the new consumable format.
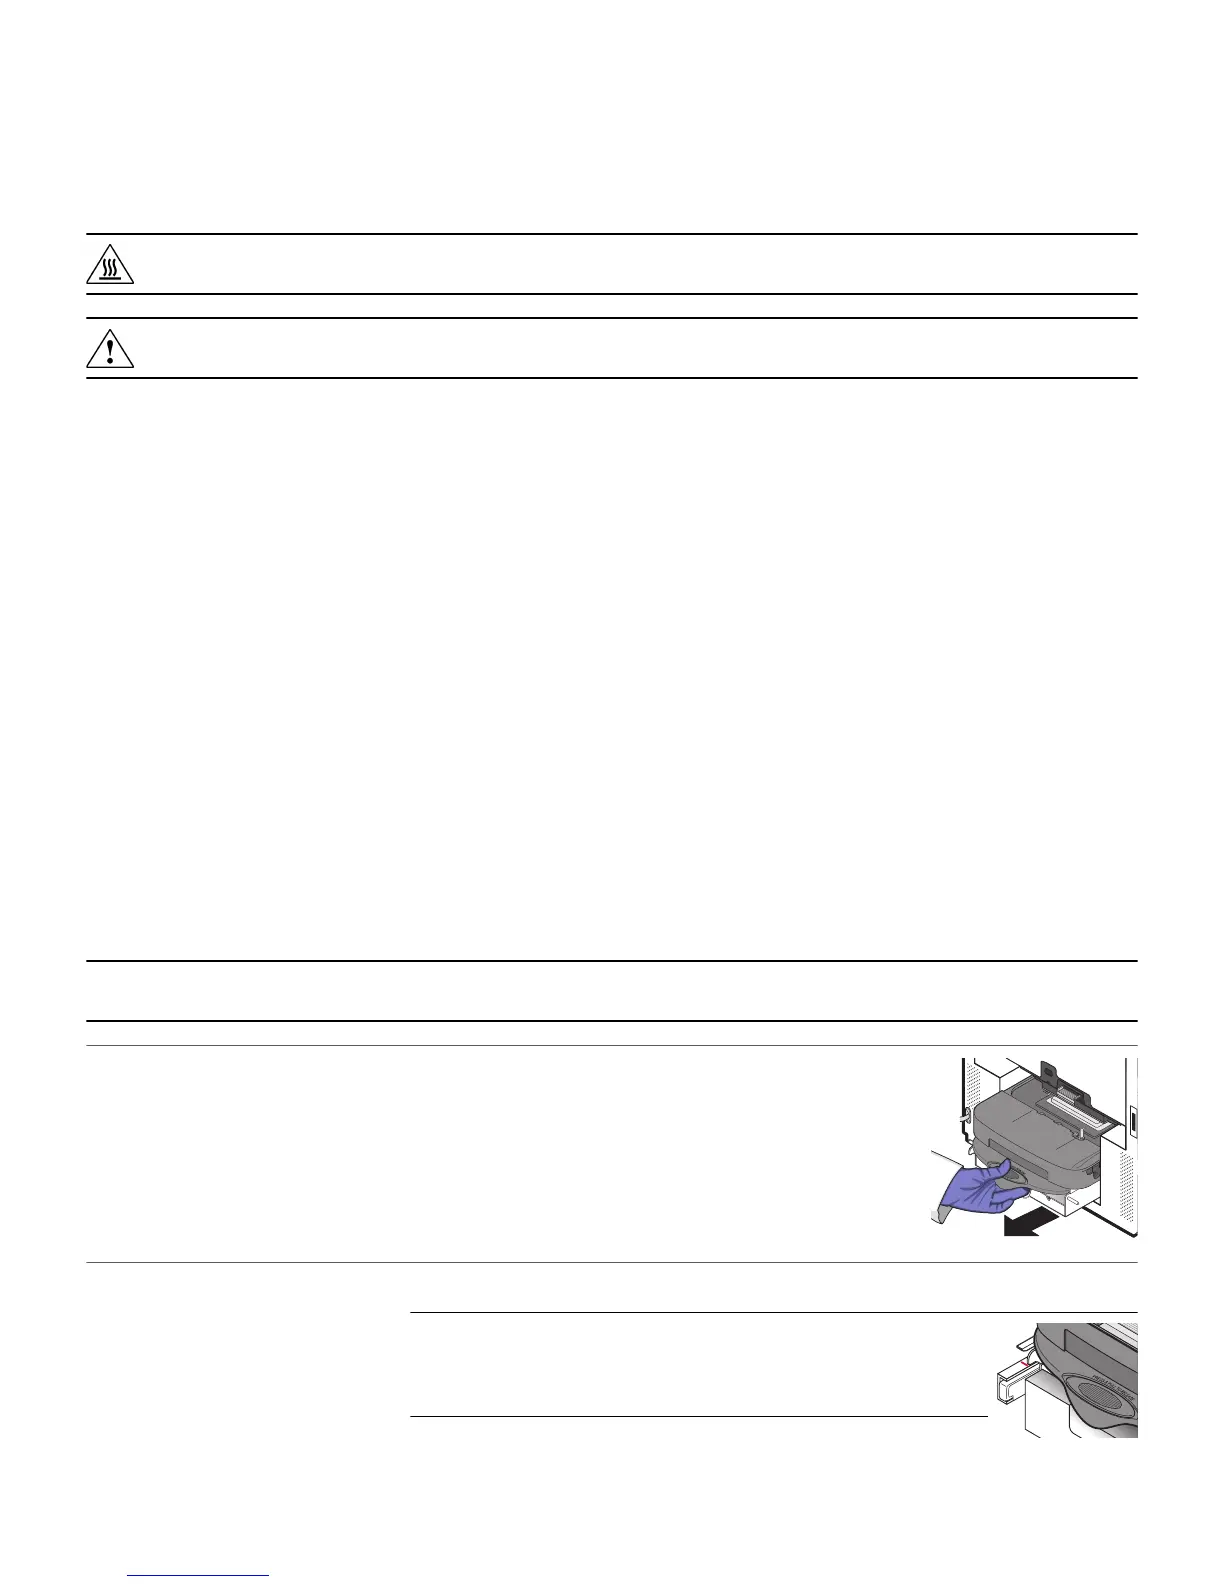
1
Remove the sample
block
a. Power off, then unplug the instrument and allow it to cool for
15 minutes.
b. Open the access door.
c. Firmly grasp the handle of the sample block, press the handle
down, pull the sample block from the instrument, then place it on
a clean, dry surface.
2
Install the new sample
block
a. Load the new sample block into the ViiA
™
7 System.
IMPORTANT! After installing the sample block, confirm that the white
indicator on the left side of the sample block is positioned behind the red line
on the instrument rail. If the indicator is on the red line, push the sample
block into the ViiA
™
7 System until it is seated correctly.

 Loading...


