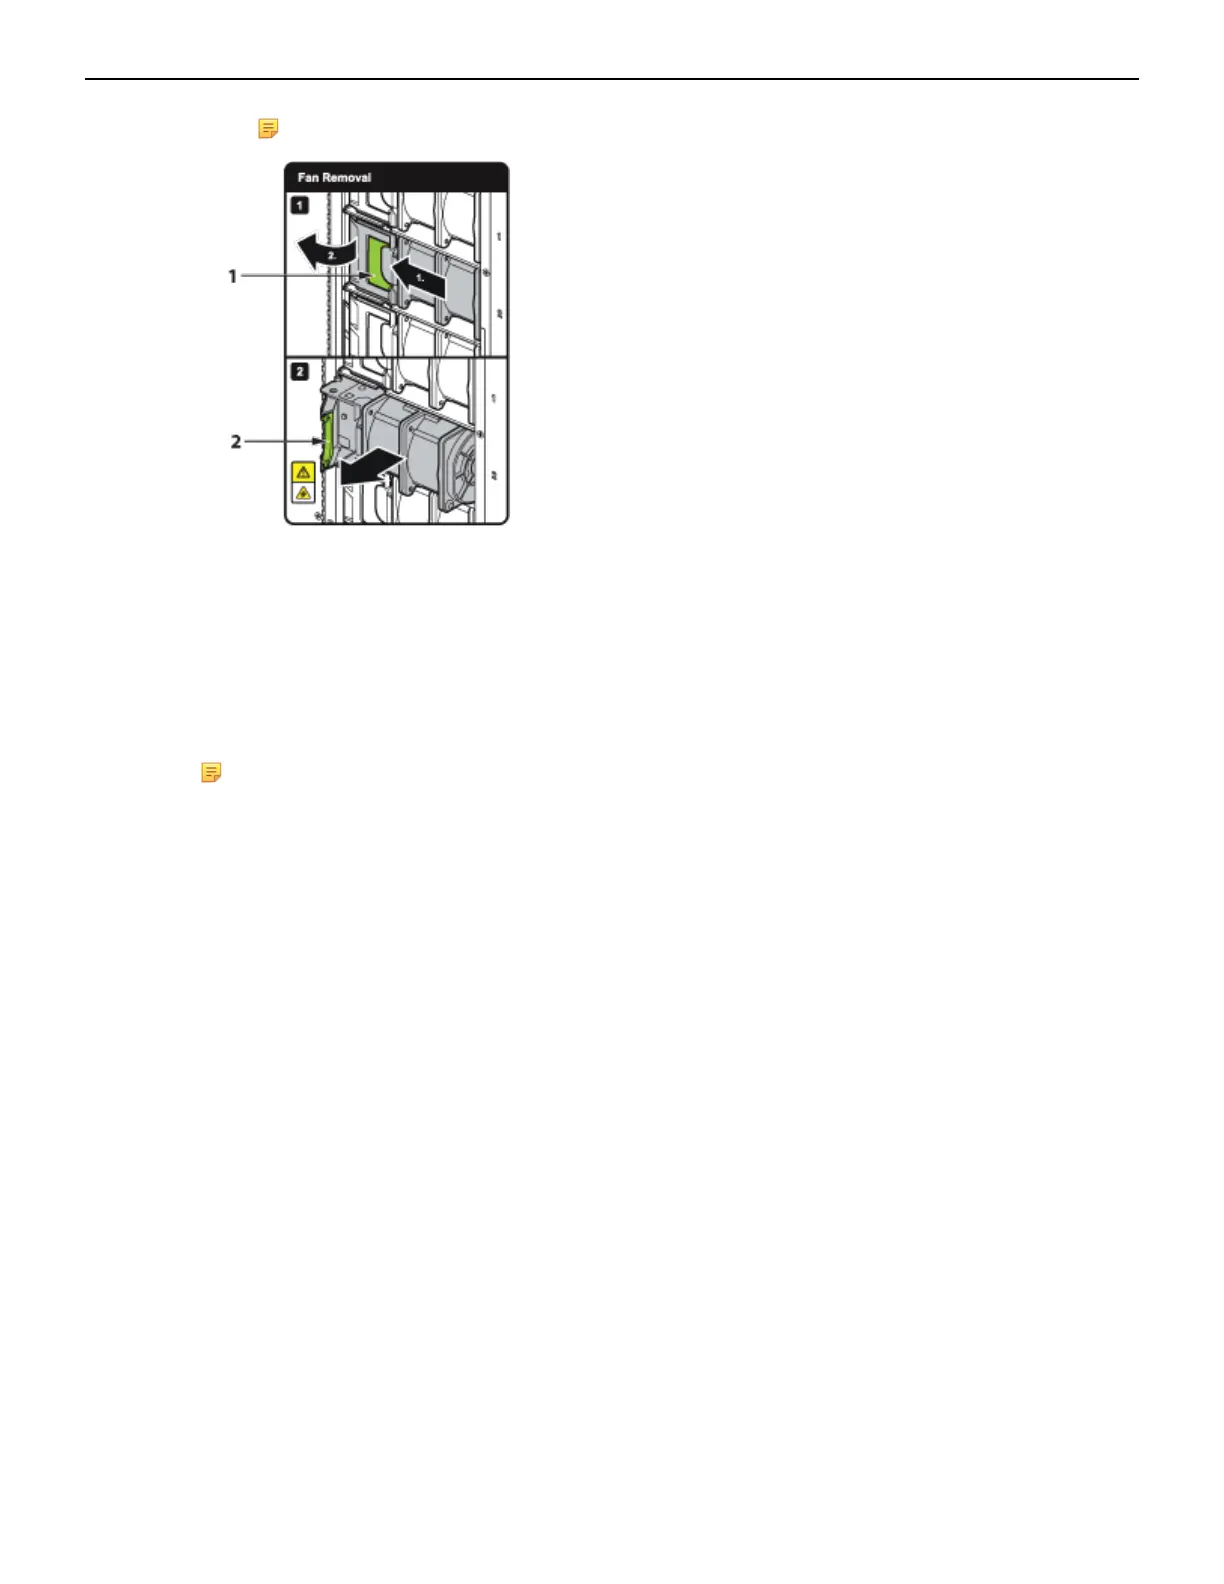
Note: See figure below.
1 Release latch
2 Fan lever
4. Lift the fan straight up and out of the fabric module.
5. Insert the replacement fan straight down and into the fabric module.
6. Rotate the fan lever to the closed position.
7. Ensure that the green latch has securely slid into the latched and locked position.
8. Reinstall the fabric module into the chassis (Installing Fabric Module).
Note: The DCS-7816 switch has twelve fabric modules, each of half height, and currently does
not have a label to depict fan removal.
F.5 Supervisor Module
The supervisor modules are hot-swappable. They are accessible from the front of the switch. You must
take into account that the module you are inserting is compatible with the switch and the module that
you are replacing. Use the following procedure to remove and replace a supervisor module. For the
supervisor module locations for your device, refer to Front Panel.
F.5.1 Removing Supervisor Module
Perform the following steps to remove the module.
1. Put on a grounded ESD strap.
2. Use the extraction tool supplied (Front Panel) to unlock the supervisor card.
3. Pull the supervisor module out.
4. Slide supervisor module out of the slot.
F.5.2 Installing Supervisor Module
You must make space for installing the module by removing an existing one (Removing Supervisor
Module) or removing a blank (Removing Supervisor Module Blank) from a supervisor module slot
available on the switch.
Perform the following steps to install the module:
1. Put on a grounded, anti-static ESD strap.
2. Unpack the supervisor module to be installed.
68