Chapter 2: Hardware Information
2-10
2.4 Storage devices
The system supports eight (8) 2.5” or 3.5” hot-swap storage devices on the front panel, and
two (2) additional 2.5” hot-swap storage devices on the rear panel (for RS720-E9-RS8 only).
The storage device installed on the storage device tray connects to the motherboard SATA/
SAS/NVMeportsviatheSATA/SAS/NVMebackplane(SASstoragedevicesrequirean
optional ASUS PIKE II card).
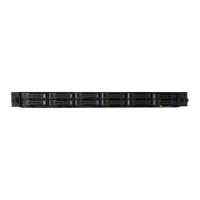
To install a 2.5” hot-swap storage device to the front panel:
1. Push the spring lock to the right (A),
then pull the tray lever outward (B)
to release the tray. The tray ejects
slightly after you pull out the lever.
Spring lock
Tray lever
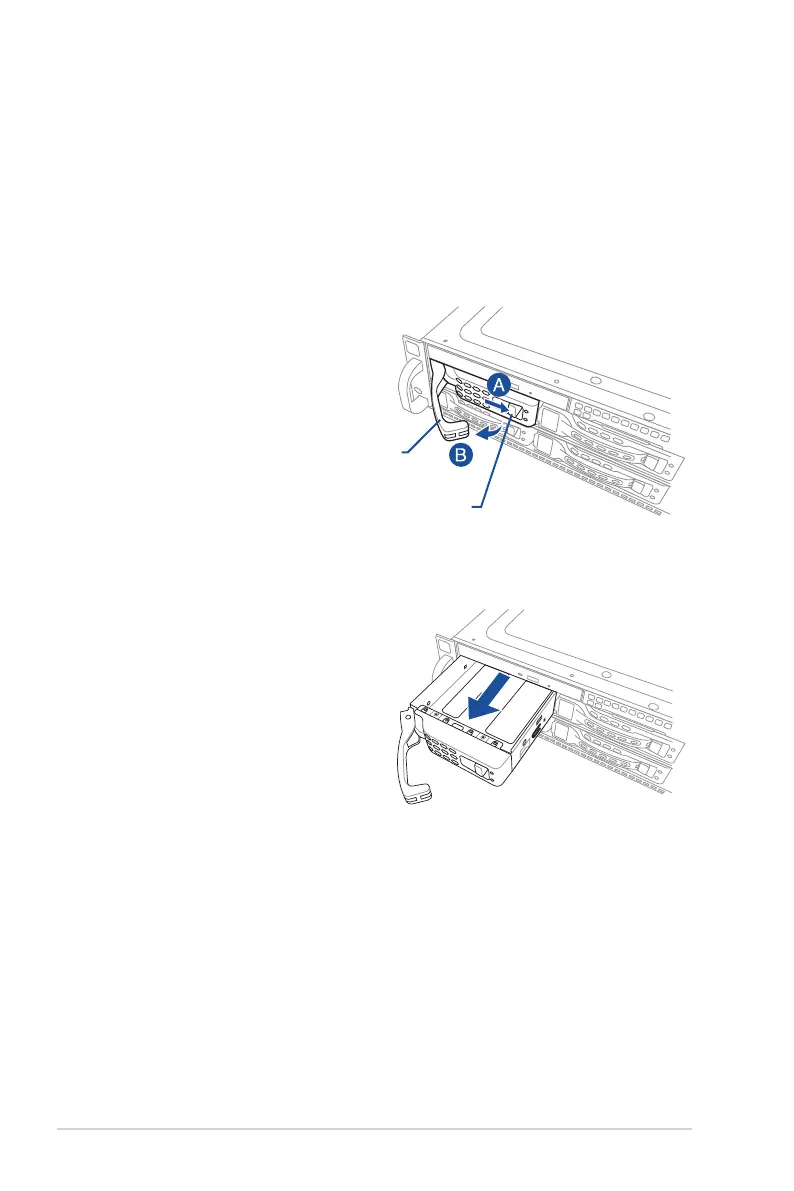
2. Firmly hold the tray lever and pull the
tray out of the bay.
3. Placethetrayonaatandstablesurface.
4. Prepare the 2.5” hot-swap storage device and the bundled set of screws.