6. Clean out the OSCi with water and tissue. Do not use any form of soap or detergents as they could
contain dispersants which deteriorate the ability to break oil-water emulsions.
7. Close the service drain valves.
8. Take the new filters from the service kit. Verify that the white filter for vessel 1 is of circular shape. If it
is elliptical due to transport, squeeze it into circular shape so that it can move freely up and down in vessel
1. Insert the new filters in the vessels corresponding to their label. Verify that the sensor arm (8-View
of OSCi) is in the upward position and rests on the edge of the filter bag in the first vessel.
9. Put covers 2 and 3 back on the vessels and tighten the clamping rings.
10. Reposition the OSCi inside the compressor and fix the OSCi to the floor plate with the bolts (M 8). Be
careful not to obstruct tubes and wires, and see to it that they can’t come into contact with other components
of the compressor. Use the cable holder on vessel 2 to fix the redundant parts of the tubes and wires. See
to it that the outlet tube and the test tube are nowhere higher than the respective outlet connections on
vessel 3 (View of OSCi outlet).
11. Pour clean water along the inner edge of vessel 1 until water flows out of the outlet tube (1-View of OSCi
outlet), or until the water reaches the bottom of the sensor chamber (visible through the sight-glass). The
oleophilic filter will start to float. Do not push the filter down.
12. Put the cover back on the vessel and tighten the clamping ring.
13. Close/reposition the compressor bodywork.
14. Reset the service counter of the Elektronikon®. See section Elektronikon Warnings.
5.9 Service kits
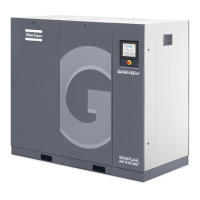
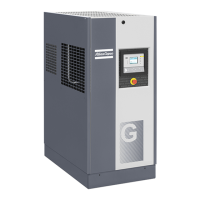
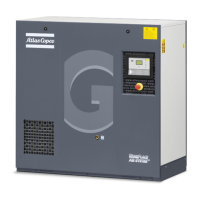
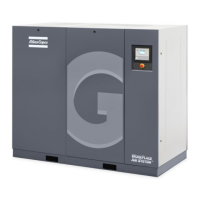
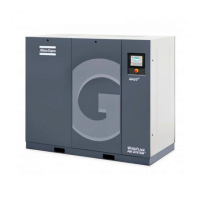
Atlas Copco has a complete range of service kits available. Service kits comprise all parts needed for servicing
components and offer the benefits of using genuine Atlas Copco parts while keeping the maintenance budget
low.
Instruction book
134 2920 7109 60
 Loading...
