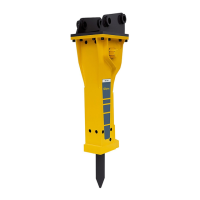
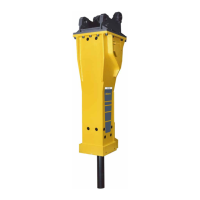
DustProtector
◆
Place the hydraulic breaker on timber support
blocks.
WARNING Unexpected movement
Sudden movements of the carrier may cause
serious injury.
►
Secure the carrier such that it cannot move
unexpectedly.
►
Observe the carrier manufacturer’s instructions.
WARNING Metal chips shooting off
When hammering out bolts, chips may shoot off
and cause serious eye injuries.
►
Wear safety glasses when hammering out the
bolts.
Removal
◆
Remove the working tool (see chapter Working
tool/Removal) before removing the
DustProtector.
◆
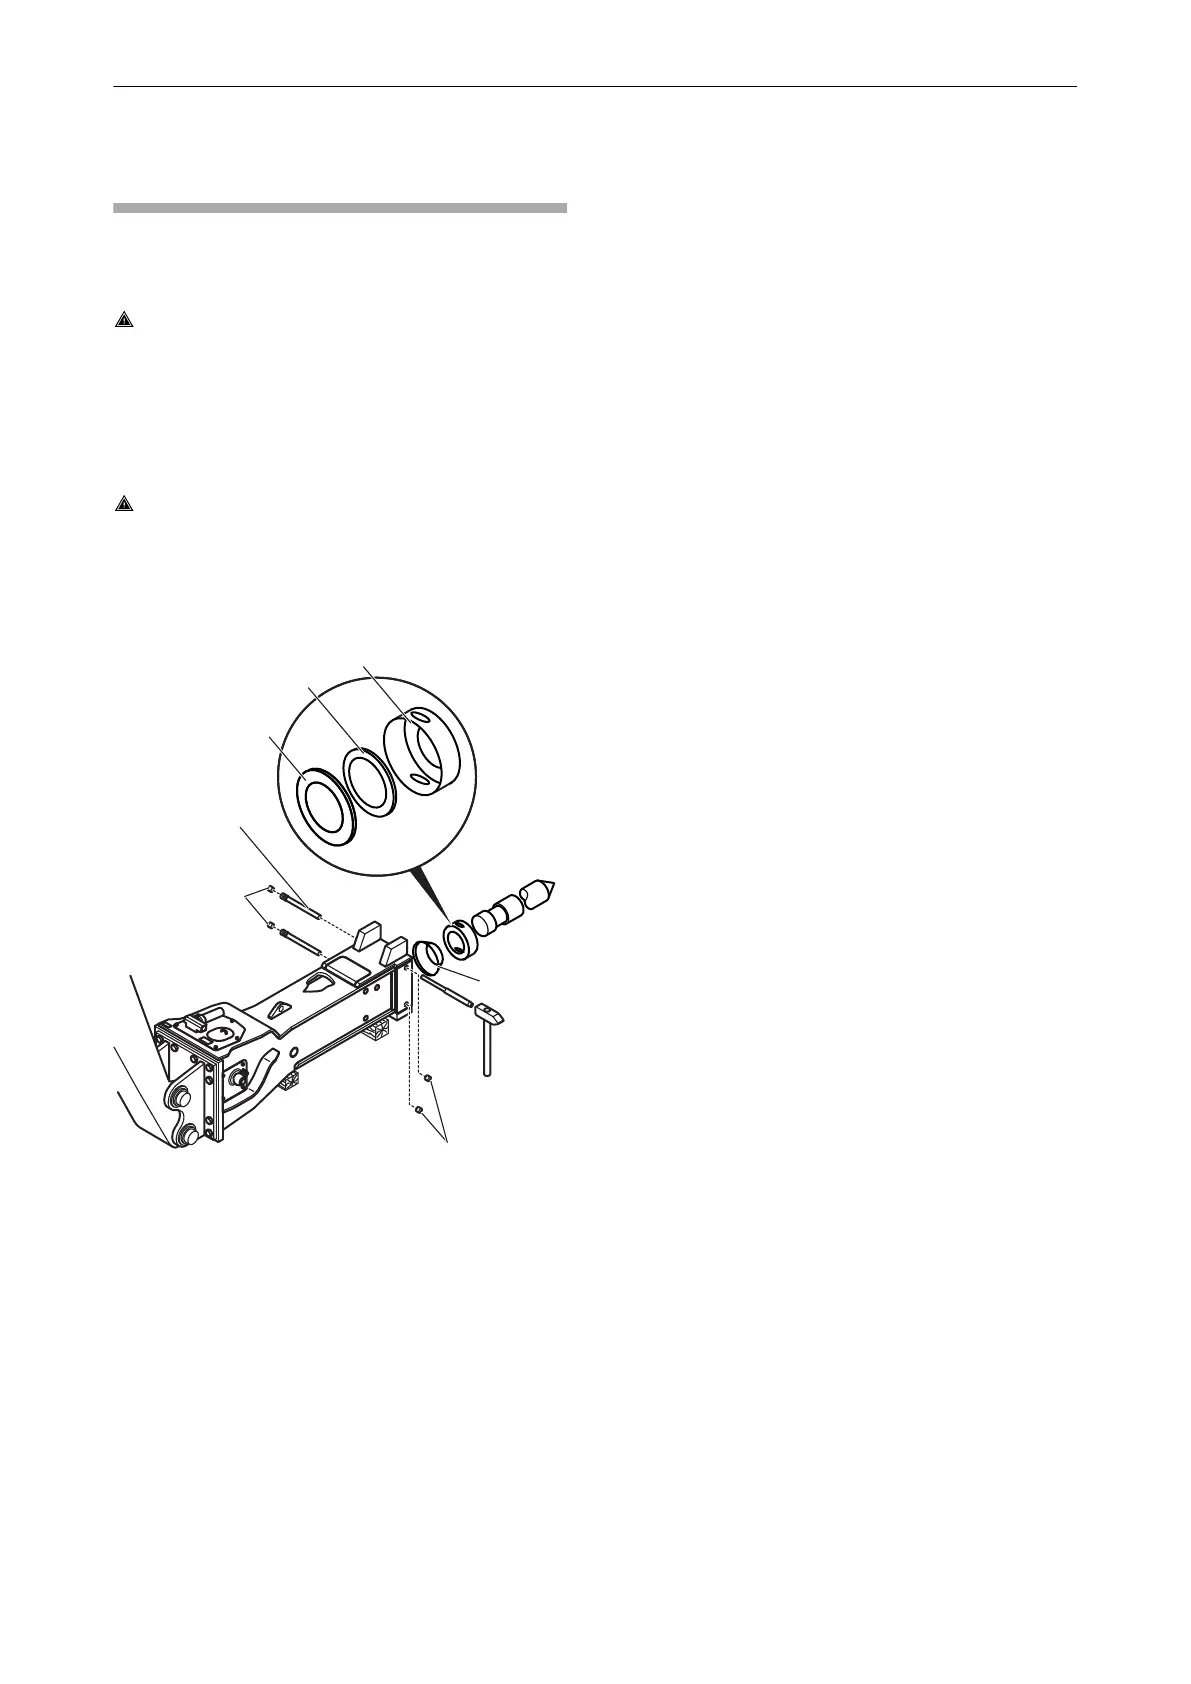
Remove the plugs (B) from the breaker box.
◆
Drive out the lock bolts (C) of the DustProtector
using a break pin punch and a hammer.
◆
Remove the guide ring (F), floating ring (E) and
counter ring (D) of the DustProtector system.
◆
Remove the wiper (A).
To make the wiper (A) easier to remove:
Push the sealing lip of the wiper inwards with your
thumb. This pushes the wiper out of the wiper
sleeve ring groove.
Installation
◆
Before installing the DustProtector, install the
working tool (see chapter Working tool/
Installation).
◆
Manually push the wiper (A) over the working
tool and let it click into place in the wiper sleeve
ring groove.
◆
Use a tool (hammer handle) to push on the
wiper (A) at several points.
◆
Use your thumbs to push the wiper into place
along its circumference.
◆
Apply chisel paste to the guide ring (F), floating
ring (E) and counter ring (D).
◆
Install the floating ring (E) and counter ring (D)
in the guide ring (F).
◆
Push the rings over the working tool and install
them in the lower part of the breaker box.
◆
Turn the guide ring (F) so that the apertures in
the breaker box and the guide ring are lined up.
◆
Drive the lock bolts (C) into place using a break
pin punch and a hammer.
◆
Seal the apertures in the breaker box with the
plugs (B).
Safety and operating instructions HB 2000, 2000 DP, 2500, 2500 DP
28 © Construction Tools GmbH | 3390 5090 01 | 2016-05-23
Original instructions
 Loading...