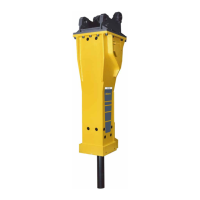
Checking the tensioning
bolts
WARNING Rupturing washers become
projectiles
Washers can rupture and cause serious injuries, if
you hit the heads of the tensioning bolts or the
washers.
►
Never check the tensioning bolts by acoustic
test, but by visual test.
The visual check is only an indication. You can
only check doubtless in a repair shop after
removing the adapter plate and the elastic pad.
◆
Remove the covers of the service openings
which are placed at the top of the breaker box’s
rear side.
◆
Check the seat of the paint marks which are
placed on the heads of the tensioning bolts and
washers.
The paint marks have to be in your visual field. In
other cases, the respective tensioning bolt can be
loose or broken. In this case act as follows:
◆
Dismount the adapter plate and the elastic pad
(see chapter Removing the adapter plate).
◆
Check the tensioning bolt for tight fit.
◆
Tighten the loose tensioning bolt with the torque
required. (see chapter Bolt connections/
Tightening torques).
◆
Strip the old paint mark.
◆
Mark new the tighten tensioning bolt, the
washer and the cylinder cover with a colour
cast of 10 mm width vertically over all three
parts. The paint mark shall be seen in the
centre of the service openings.
◆
Have broken tensioning bolts immediately
replaced.
◆
If you have any questions about replacement of
broken tensioning bolts, consult the Atlas
Copco Customer Center/Dealer in your area.
You can only check the front tensioning bolts, if
you dismount the adapter plate and the elastic pad
(see chapter Removing the adapter plate).
◆
Check the tensioning bolts weekly for tight fit.
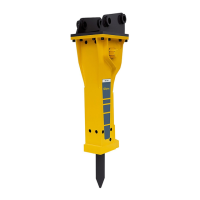
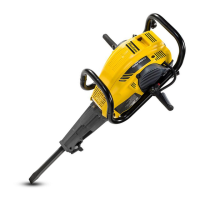
Checking the working tool
WARNING Hot working tool
The tip of the working tool gets very hot during
operation. Touching it may lead to burns.
►
Never touch the hot working tool.
►
If you have to carry out any activities, wait for
the working tool to cool down first.
◆
Remove the working tool (see the chapter
Dismantling the working tool).
◆
Check the impact surface of the working tool for
chips and cracks.
◆
Check the impact surface of the working tool for
deformation:
A = new working tool
B, C = worn working tool
◆
Replace the working tool if you detect chips,
cracks or deformations (B and C).
◆
Check the wear condition of the impact ring if
you detect deformations (B). Replace impact
ring if necessary.
◆
Check the shaft of the working tool for wear
whenever replacing it, but at least once every
100 operating hours.
HB 2000, 2000 DP, 2500, 2500 DP Safety and operating instructions
© Construction Tools GmbH | 3390 5090 01 | 2016-05-23
Original instructions
47
 Loading...