26
Quick Start
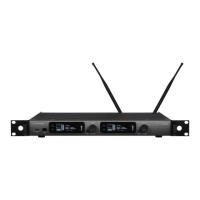
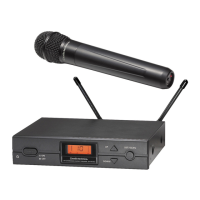
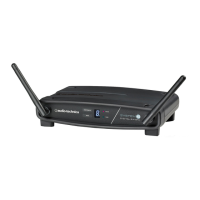
Basic flow of using this system
1
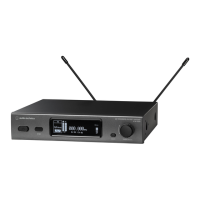
Connect the included AC adapter to the transmitter and plug it into an outlet.
2
Attach the included antenna to the transmitter's RF output jack.
3
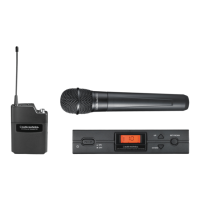
Connect a sound source such as a mixer output to the balanced input jack.
• Both L/R balanced input jacks can be used.
• For monaural sound sources, connect to the L/1 (Mono) balanced input jack
.
4
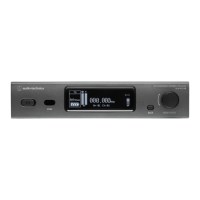
Press the power button to turn
the transmitter on.
• The display lights and the main screen is displayed.
5
Set the transmission frequency.
• The transmitter and receiver are set to the same frequency as the factory default.
• RF scan can be performed on the receiver and the results synchronized via
IR SYNC to the transmitter (p.
31).
6
Turn the ON/OFF volume knob on the receiver to turn the power ON.
• The indicator lights, and the display shows the main screen.
7
Set the operating frequency.
• The transmitter and receiver are set to the same frequency as the factory default.
• RF scan can be performed on the receiver and the results synchronized via IR SYNC with the transmitter (p.31).
8
Check the receiver's RF level indicator.
• If the RF level indicator is
displayed, the signal is being received.
 Loading...