VENUE Software Update 27
Installing a VENUE Software Update
VENUE Software Updates can be installed using either of the following methods:
•
Unified Software Update lets you update both the S6L control surface and E6L engine in one procedure. This method re-
quires that the units are connected and powered on.
•
Manually Updating VENUE Software lets you update the S6L control surface and E6L engine separately. This method does
not require that the units be connected, but does require a VGA monitor to connect to the E6L engine.
Unified Software Update
Windows XP or Higher, One USB Drive, USB Keyboard and Mouse Required
Beginning with VENUE software version 6.0, Software Updates can be performed entirely from the control surface.
To install a VENUE S6L Software Update:
1 Make sure the S6L system is connected (control surface, engine, and I/O units).
2 If two systems are connected for I/O Sharing, disconnect them from each other before continuing.
3 Make sure you have a USB drive formatted to FAT32, with enough space available for the current Software Update. You can use
a Mac or a PC to download the Software Update, but your USB drive must formatted to FAT32.
4 Go to www.avid.com/account and log into the Avid account that you used to activate your S6L system components.
5 In the My Account page under My Products, click My Products and Subscriptions to access your software and download the
VENUE_Update_6.x.x_.zip from your Avid account to your computer.
6 After download is complete, extract each ZIP file.
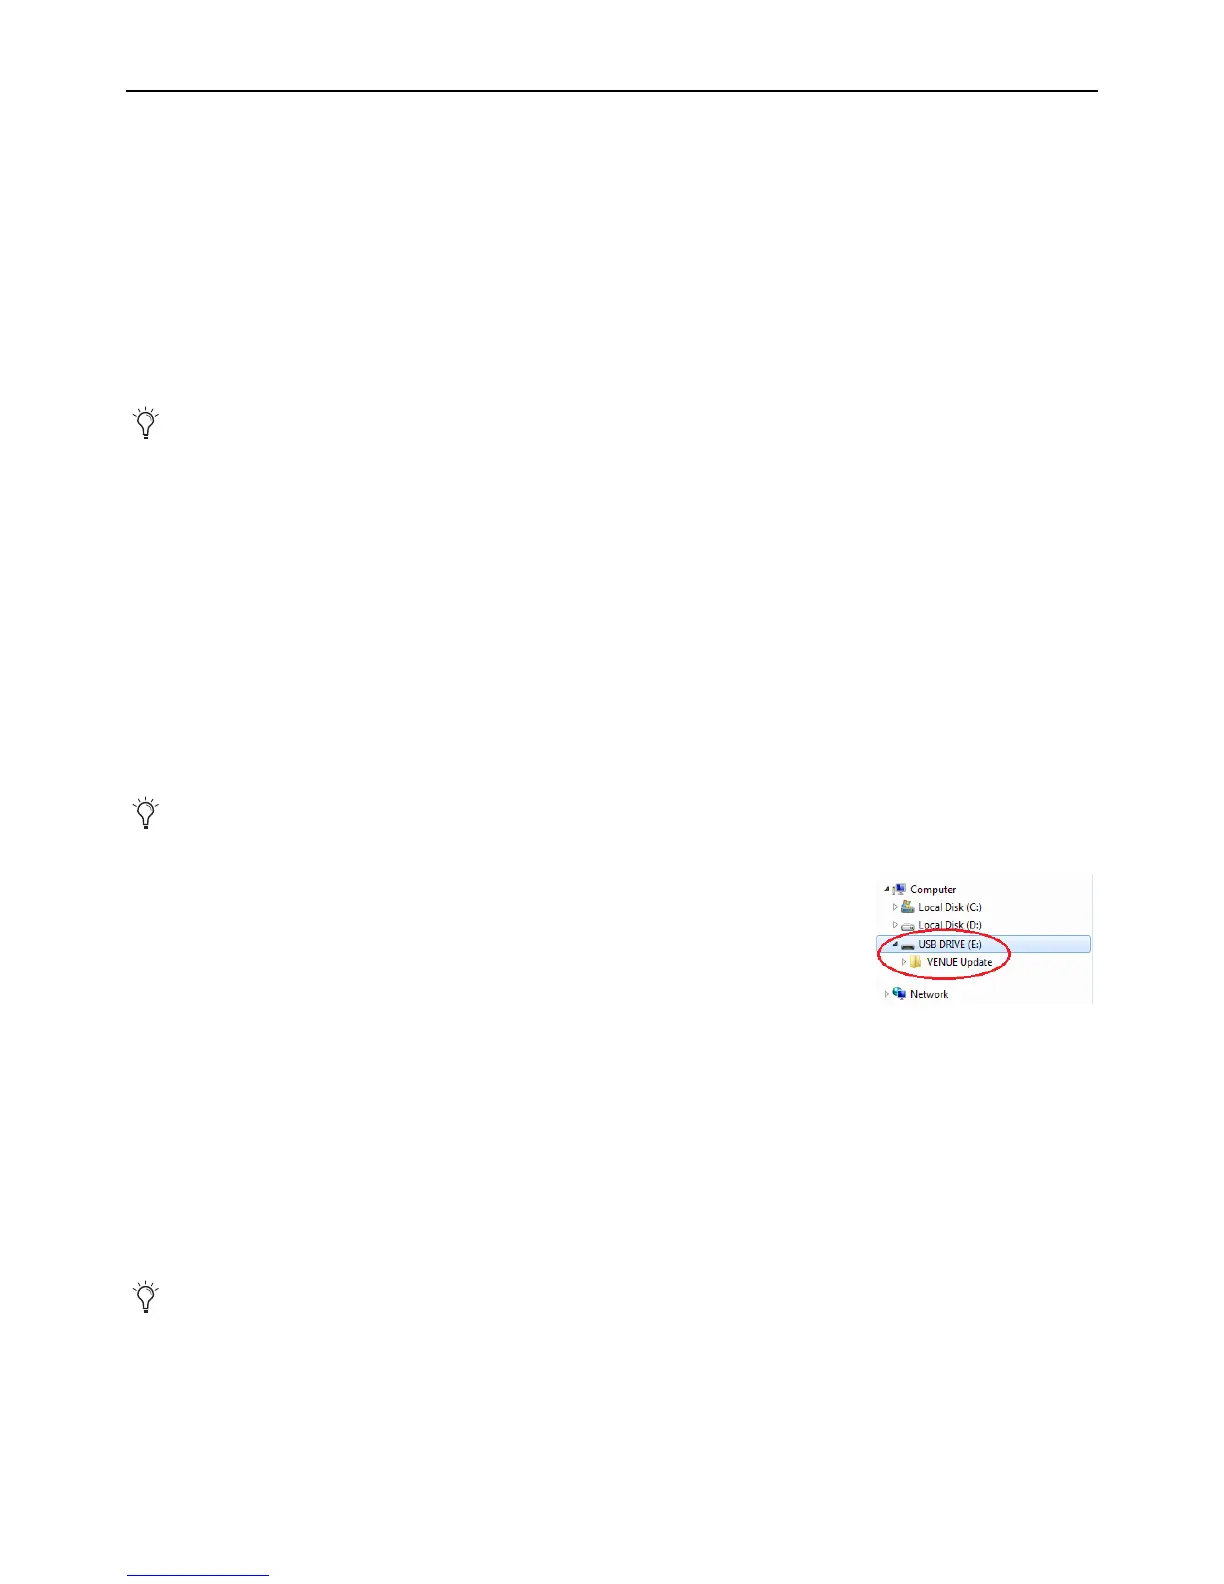
7 Drag and drop the VENUE_Update folder (containing content.dat and VENUE Installer.bat
files) to the root level of a USB drive. The folder structure should look similar to the inage
shown at right:
8 Make sure you have connected a DVI monitor, keyboard and mouse directly to the S6L control
surface, and that you have disconnected all speakers and headphones.
9 Power on your S6L system (E6L engine, then S6L control surface, then Stage I/O units).
10 Place the system into Config mode.
11 Insert the USB drive containing the VENUE Update folder into an available USB drive on the S6L control surface.
12 On the external screen, navigate to Options > System. (Or tap the Gear icon on the MTS.)
13 Press Update, press Next until the Install VENUE Update 6.x.x.x button appears, then press that button to begin the Update.
14 When finished, a Restart dialog appears. Press Restart.
After the control surface restarts, a dialog appears stating E6L Engine software version does not match the S6L Control Surface
software version, with buttons along the bottom for S
ELECT ENGINE, SHUTDOWN, RETRY, and UPDATE ENGINE.
15 Press UPDATE ENGINE, and when the confirmation dialog appears press UPDATE 6.x.x.xxx.
A progress bar appears while the E6L engine is being updated. When complete the E6L engine restarts.
16 Allow any firmware updates to complete.
17 Restart the entire S6L system.
In previous versions of VENUE software, Software Updates had to be installed on the control surface and E6L engine separately,
and a USB keyboard and mouse and a VGA monitor had to be connected to the engine. These steps are no longer necessary but
are still supported, letting you install an Update without having to connect the system.
As a precaution, back up your S6L system settings (such as Console settings, Show files and Presets) before installing new VENUE
software. For instructions, see the
Backing Up System Settings.
Reminder: Make sure your system is connected (control surface, engine, and stage I/O units) and fully powered on.