CAUTION — The dome camera must be mounted as instructed below or problems with moisture may
arise and will not be covered by the dome camera warranty.
1. Determine where the cable will enter the pendant wall mount.
l If the cable will be pulled from inside the mounting surface, use the cable entry hole at the rear of
the pendant wall mount.
l If the cable will be coming out of an external conduit pipe, use the 3/4” NPT pipe entry hole on the
bottom of the pendant wall mount.
2. Use the provided mounting template to drill four mounting holes into the mounting surface.
l If you are using the rear cable entry hole, also drill the cable entry hole into the mounting surface.
3. Pull the required cables through the preferred cable entry hole on the pendant wall mount.
l If you are using the pipe entry hole, pull the cables through the pipe conduit then the wall mount.
Next, apply thread seal tape to the pipe conduit and screw it into the pipe entry hole.
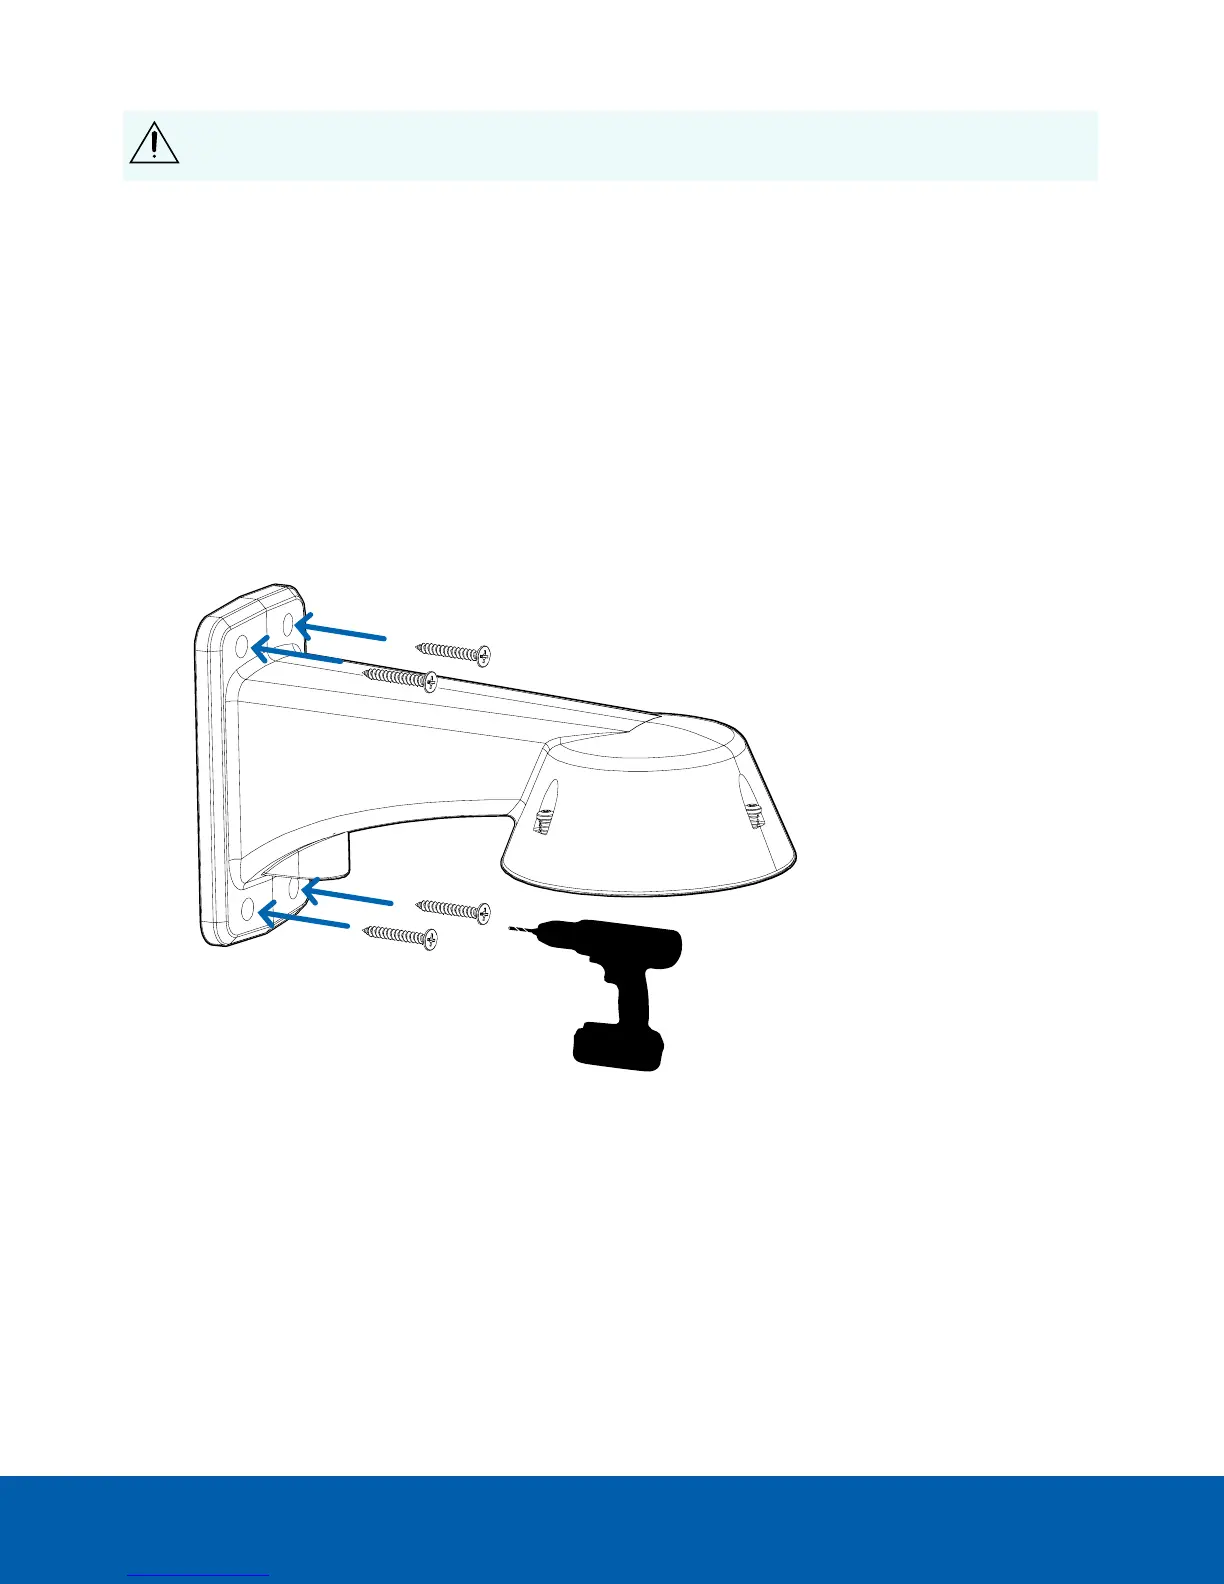
4. Fasten the pendant wall mount to the mounting surface.
5. Tighten the wall mount screws to secure the wall mount to the wall.
(Optional) Installing the Pendant Wall Mount 16

 Loading...