Axon Fleet 3 Installation Guide
Axon Enterprise, Inc. Page 31 of 47
• Note that many windshields have a curve near the top edge that is hard to perceive
with the eye. This curve can reduce the adhesive surface area that bonds with the
windshield. Axon recommends that the mount be placed at least 1-2” below the top
edge of the windshield to ensure adhesion.
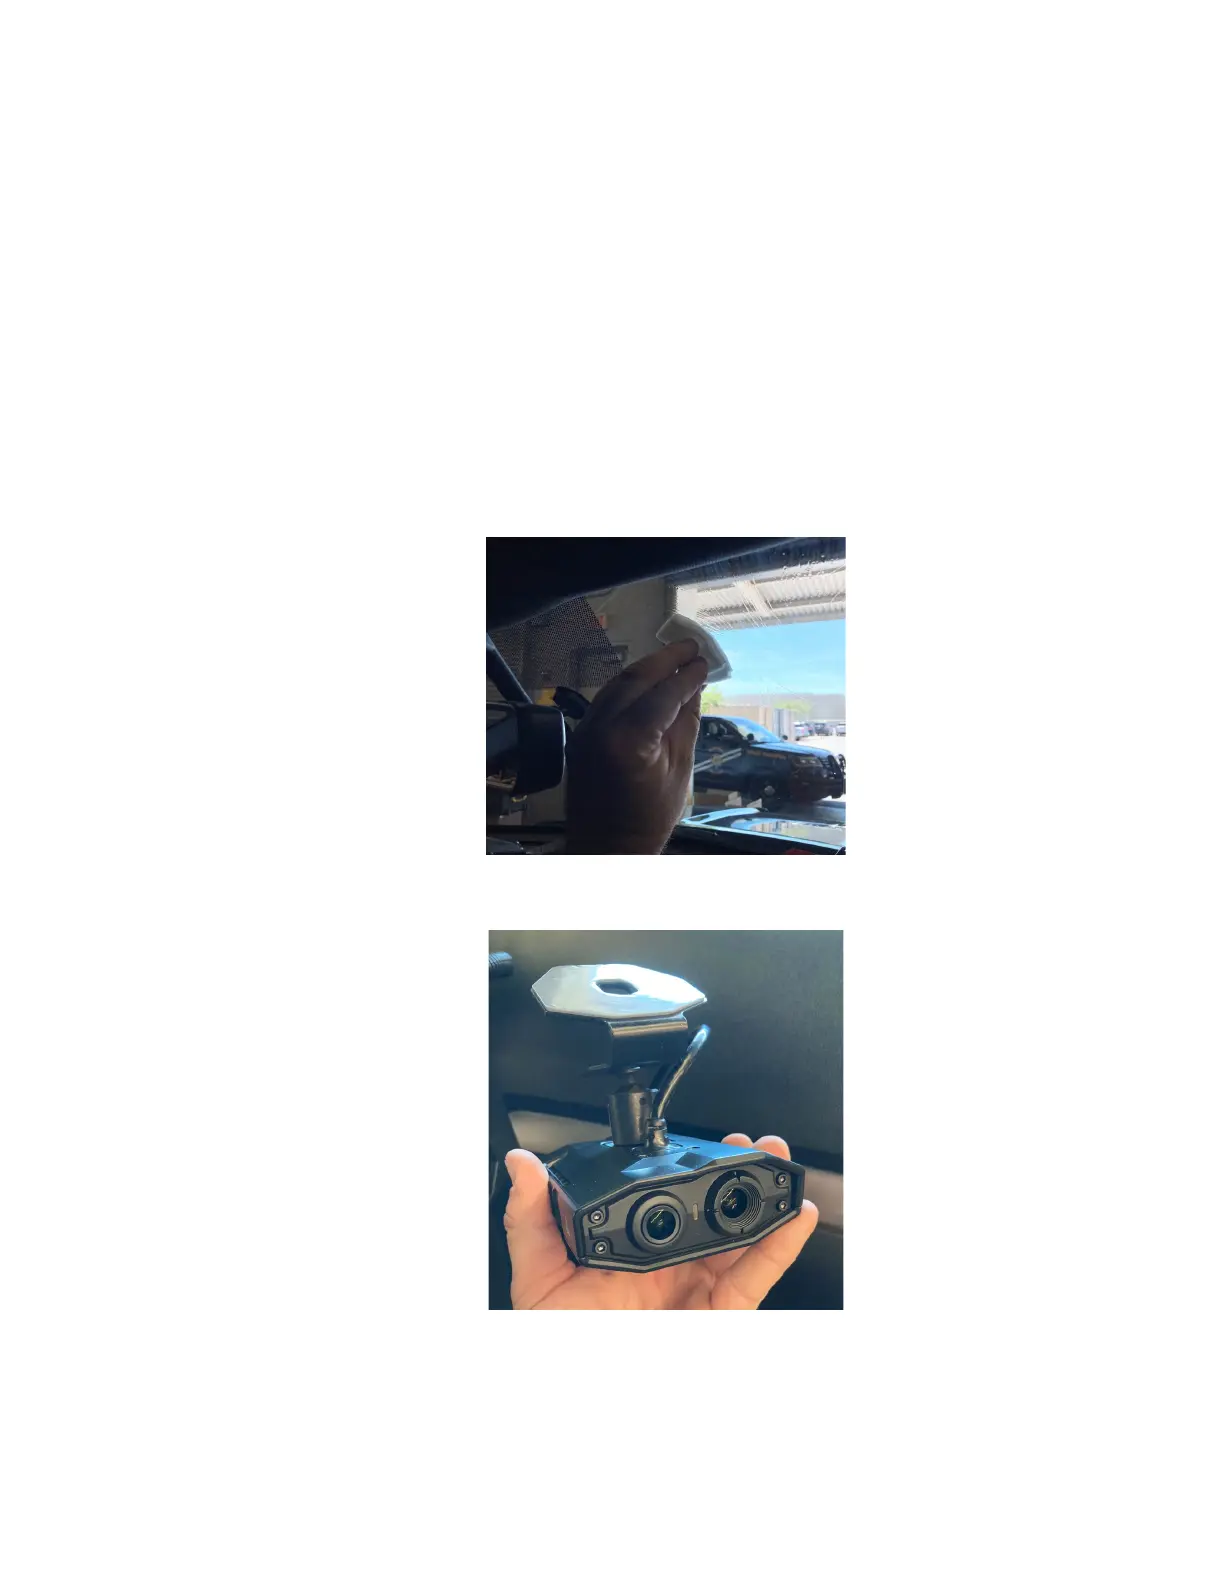
If using the adhesive mount for the Dual View Camera, follow the instructions printed on the
supplied wipe to prepare the chosen windshield mounting location.
1. Clean and dry windshield using included alcohol wipe as well as a paper towel to prepare
for mounting the front camera.
2. Use 3M Silane Glass Treatment AP 115 for maximum adhesion. Wipe off excess Silane
glass treatment with a paper towel before it is allowed to dry.
3. Remove lens covers and adhesive backing.
4. Place camera in desired mounting location, ensuring that the camera is straight. The
Dual-View camera has X-axis adjustment of 22.5 degrees. The mount must be aimed
 Loading...

