Axon Fleet 3 Installation Guide
Axon Enterprise, Inc. Page 32 of 47
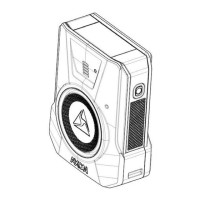
correctly before fastening to the windshield. Choose a location so that the buttons and
LEDs will be reachable and visible from the driver seat position.
5. Press and hold firmly, with 30-50lbs of force, for 30 seconds to allow adhesive to set. Do
not press on the camera.
6. Look through the front windshield at the mounting location. If any areas appear to have
insufficient adhesion try applying local pressure in that area. A slight pocket may exist
near the bottom of the mount as shown. 75% or more of the adhesive should be firmly
attached to the windshield and without air bubbles.
a. Note: VHB has specific “adhesion temperatures” for outside ambient
temperature. It is prudent to warm the glass, not the adhesive or mount, prior to
adhering the mount to windshield, in colder weather. Minimum application
ambient temperature for the mount is 10°C (50°F)
 Loading...

