Axon Fleet 3 Installation Guide
Axon Enterprise, Inc. Page 33 of 47
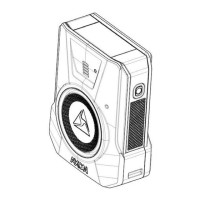
Note: If for some reason the mount is not correctly installed to the windshield, the standard process
is to replace the entire mount instead of trying to replace the VHB tape.
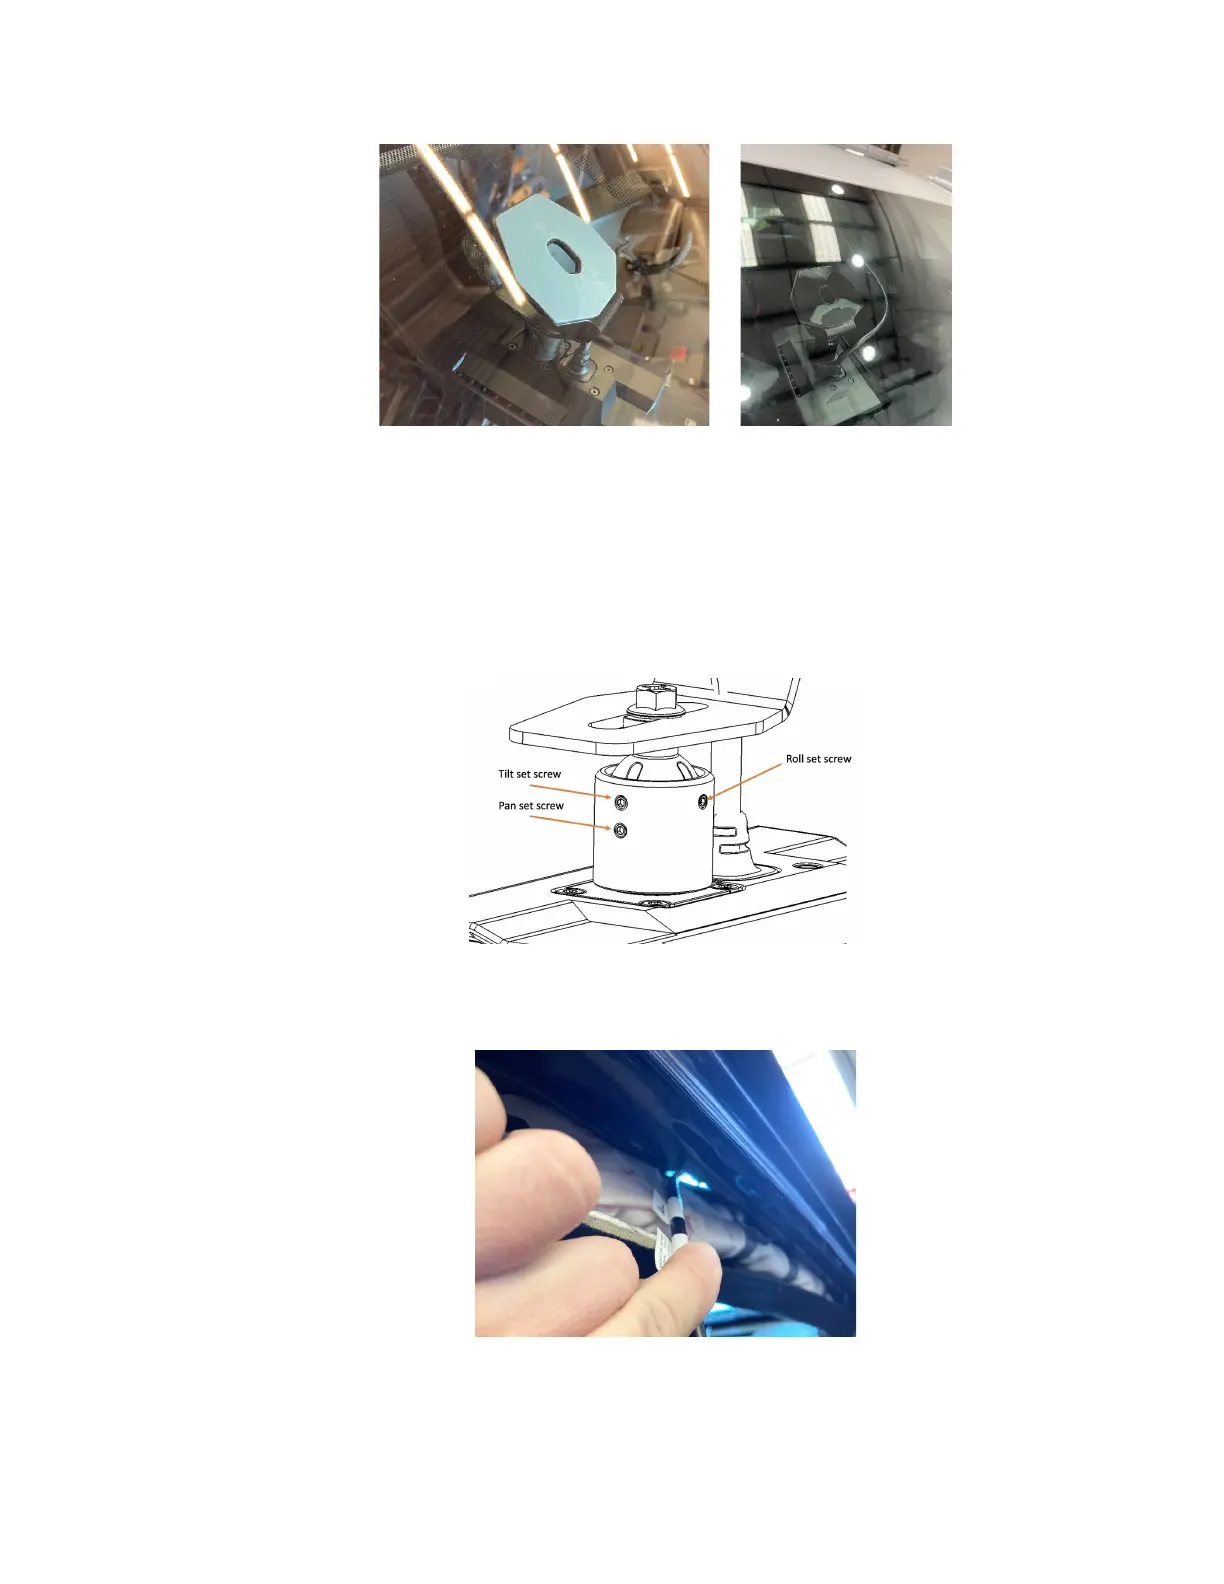
7. (Optional) Loosen the three small set screws in the dual view camera mount to adjust
the camera angle (roll, tilt, pan). Once the camera is correctly positioned tighten down
the set screws as needed. Leave the Pan set screw loose so that the camera can be
swiveled, unless the agency prefers to prevent this.
8. Route front camera cable over air bag (between air bag and vehicle roof) to ensure that it
will not interfere with airbag deployment.
 Loading...

