Axon Fleet 3 Installation Guide
Axon Enterprise, Inc. Page 35 of 47
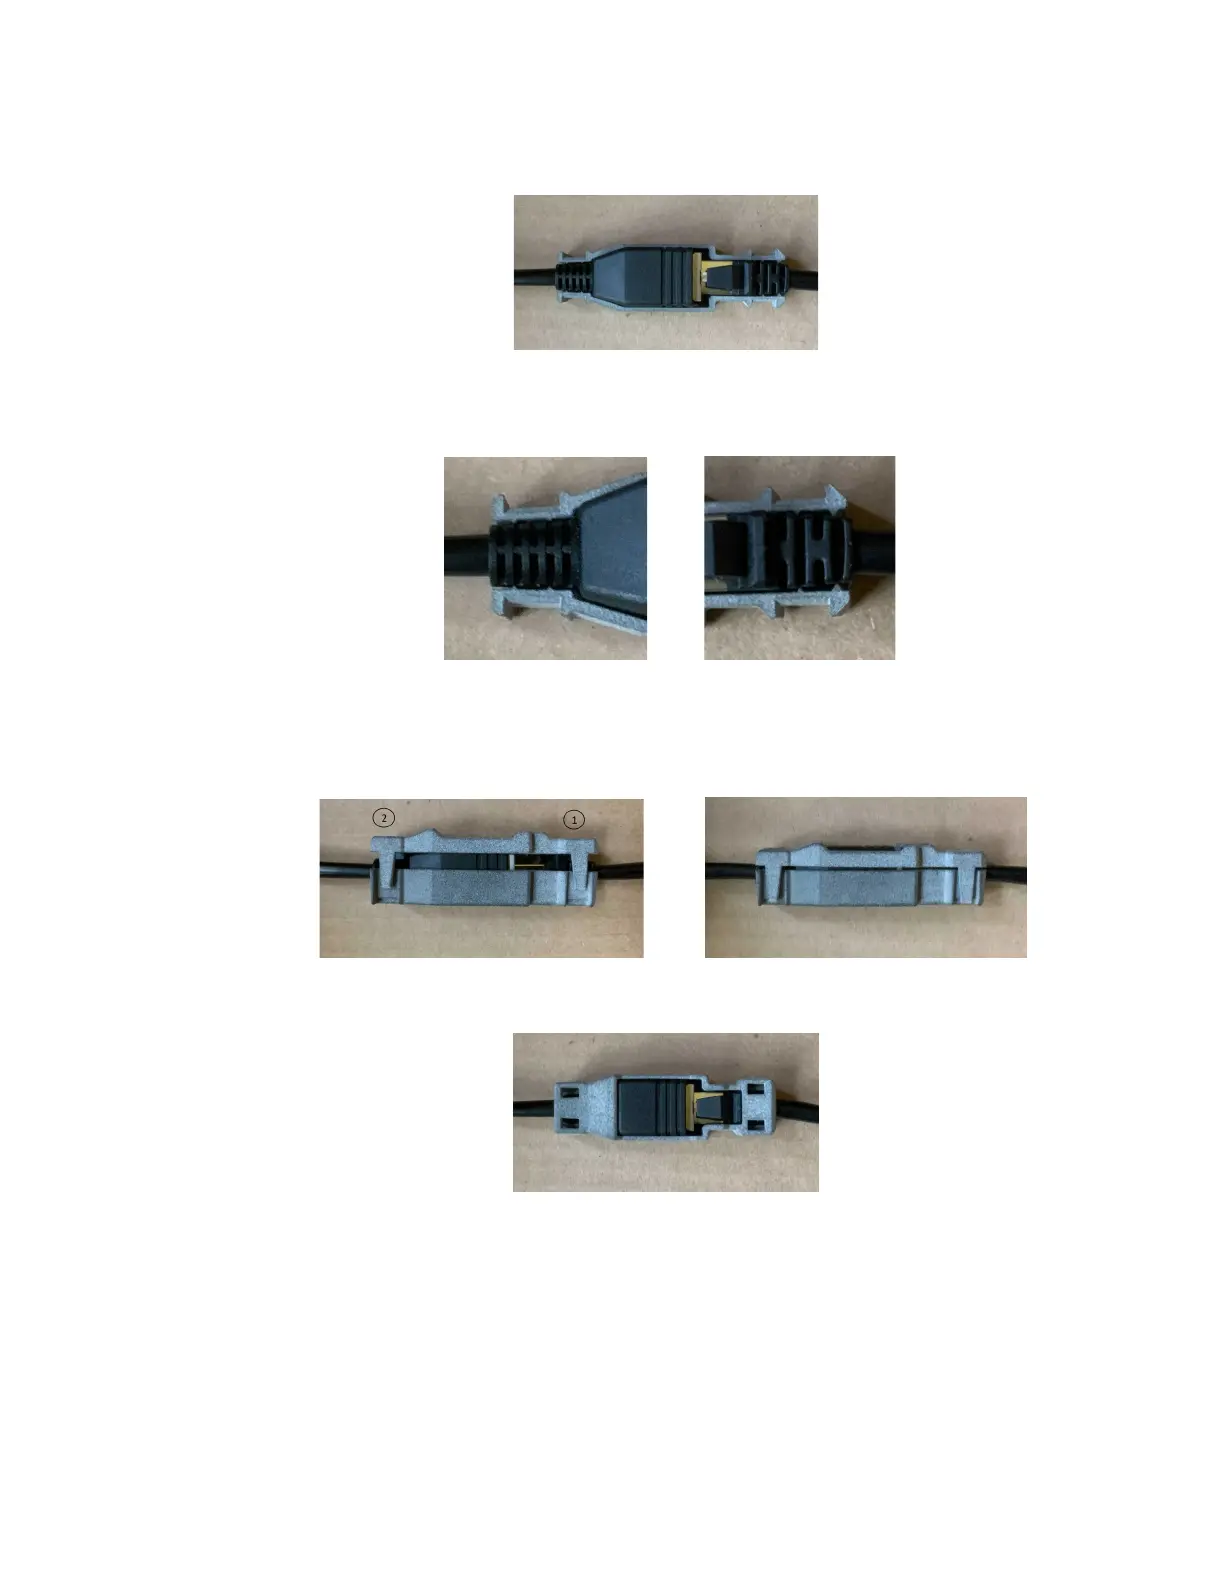
3. Press down on the main body and both strain reliefs to make sure they are seated.
The alignment ribs of the bottom housing should line up with the open areas of the
strain reliefs.
4. Gently align the top bracket over the pigtail support/cable assembly and press down on
the cable connector end using even pressure to engage the first two snaps. Then on the
pigtail over mold end to engage the final two snaps.
Continue applying pressure across the entire top bracket to engage the four snaps.
Make sure the strain reliefs are seated within the opening and that all four snaps have
locked.
 Loading...

