6-15
16. Seal washer
18. Cross recessed head screw with captive spring washer
19. 20. O-ring
52.
Hexagon socket bolt with captive spring washer
51. O-ring
54. Filter screen
55. Cross recessed head screw
with captive spring washer
23. Holder
22. Filter
24. Cross recessed truss head screw
3. Hexagonal socket
flush bolt
2. Face cover
4.
Screw retainer ring
44. Hexagonal socket bolt
42. 43. O-ring
48. Main board
47. LCD assembly
49. Sub board
30. Arm spring
29. Feedback lever
31. Hexagon socket bolt with
captive spring washer
7. Terminal cover assembly
9. Hexagonal socket
bolt (lock screw)
8. O-ring
10. Five cross recessed head screws with captive
spring washer (terminal screw)
25. 26. 27. O-ring
15. Special cross recessed head
screw with captive spring washer
17. Pilot relay assembly
(including the O-ring and A/M screw assembly)
50. Adapter assembly
1. Face cover assembly
5. Switch block
assembly
6. S-TITE
41. Main cover
assembly
46. Electric module
assembly
28. Feedback lever
assembly
32. Extension lever
45. Guide plate
12. Exhaust cap
11. Cross recessed head screws with captive spring washer (external grounding terminal)
13. S-TITE
56. Case packing
21. A/M screw assembly
(with filter, holder and O-ring)
53. Adapter gasket
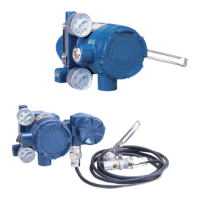
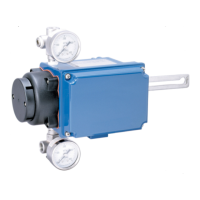
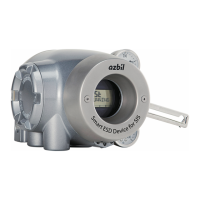
Figure 6-6 Resale Parts
6-9-1 Procedure to Change Switch Block
Step Procedure
1
Loosen two screws with a hexagon socket screw keys
and remove the face cover (Figure 6-7)
2
Loosen two screws and remove the face cover (Figure
6-8)
3
Tighten a new switch block with two screws.
(Torque: 1.02±0.33N • m
)
4
Press four buttons and make sure whether the display
changes or not.
5
Tighten the face cover with two screws.
(Torque: 0.9±0.1N • m)
Figure 6-7 Removal of face cover
Figure 6-8 Removal of switch block
 Loading...