6-6
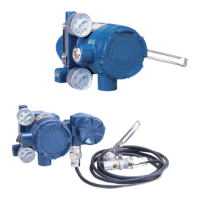
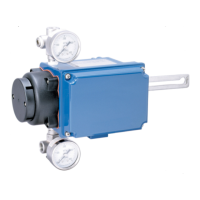
6-4 Adjusting the Pilot Relay
The adjustment method for the pilot relay differs depending on whether the single-acting
or double-acting actuator is used.
Perform adjustments suitable for the actuator being used by referring to the procedures
described below.
Cautions
When rotating the pilot relay adjustment screw, be careful not to get your finger
caught in the space between it and the adapter.
The adjustment screw may be damaged if you rotate it with excessive force by
using a tool.
1) Procedure for adjusting the pilot relay for the double-acting actuator
(Adjustment from single-acting type to double-acting type)
Step Work
1
Rotate the pilot relay adjustment screw clockwise (tightening
direction) until it stops.
The balance pressure of output air pressures Pout1 and Pout2
is used as the supply air pressure.
2
Perform auto setup. (Use the LUI or communication.)
Auto setup configures the double-acting settings and roughly
adjusts the zero span.
If auto setup fails, refer to 5-1-5, “Auto Setup Failure” to solve
the problem. If there is still a problem and auto setup cannot
be completed, Pilot Relay Type will not be changed to Double
Acting and the pilot relay cannot be used for a double-acting
actuator. In this case please stop adjustment and contact us.
3
After confirming that auto setup is completed, apply the input
signal to make the opening 50%.
4
While checking output air pressure Pout1 or Pout2 with the LUI or
pressure gauge, rotate the pilot relay adjustment screw to adjust
the output air pressure to 70% ± 10% of the supply air pressure.
Rotating the adjustment screw clockwise increases the balance pressure
while rotating it counterclockwise decreases the balance pressure.
Handling Precautions:
If the actuator has a large capacity, it takes time for the
balance pressure to stabilize. Rotating the adjustment back
a bit facilitates stabilization.
5
Perform auto setup again.
The final adjustment value is measured.
6
Perform operation checks including a five-point check (0, 25,
50, 75, 100% opening).
 Loading...