2-5
2-3 Installation Procedure
2-3-1 Mounting the 700 Series onto the Actuator
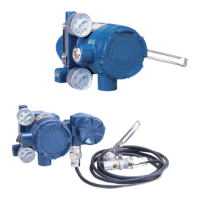
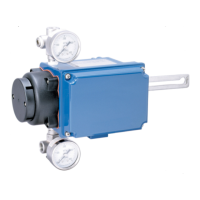
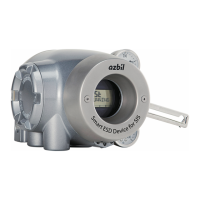
The device is a smart valve positioner for use with a control valve that uses a direct-
acting or rotary actuator. The main unit of the device weighs approximately 4.2 kg.
The basic mounting procedure is the same as that for conventional electropneumatic
positioners.
Cautions
Be careful not to get injured by sharp parts such as the edge of the main unit or actuator
or screw threads during mounting.
The type of mounting plate, mounting method, and mounting procedure differ depending
on the actuator model to be mounted in the device.
If the device is not properly mounted, not only will the device not be able to operate at its
true performance but it may be damaged or fail. Pay attention to the following points.
- The mounting plate and its accessories differ depending on the specifications
(actuator model). Be sure to use the appropriate mounting plate and accessories for
the actuator to be mounted.
- When installing the control valve, ensure as much surrounding space as possible
and put the device in the correct orientation taking maintainability (such as piping,
wiring, and adjustment) into consideration.
- Deliver the device to the installation location in the packaged state if possible.
- Do not apply excessive force to the feedback lever during mounting.
- Do not bend the feedback pin.
- Do not block the exhaust port located underneath.
-
Install the device so that the electrical conduit connection port does not face upward.
- Securely tighten bolts.
- If the model KZ03 pressure regulator with filter is installed with the device, install
with the drain of the KZ03 facing downward. If the KZ03 cannot be attached
vertically (with the drain facing downward), install it separated from the AVP with the
proper orientation.
- In order to avoid the possibility of rainwater entering the pressure gauge, install the
gauge such that it does not face upward or downward. In addition, the pressure
gauge has a rainwater drain on its underside, so install the gauge with this hole
facing downward.
- If you install this device with the LCD facing upwards, use the LCD cover and
pressure gauge elbows as necessary, depending on the circumstances. For details,
refer to 6) below, “Installing the device with the LCD facing upwards.”
Drain plug
 Loading...