5-6
Chapter 5. SETTINGS BEFORE STARTING OPERATION
PV range low limit/high limit setup
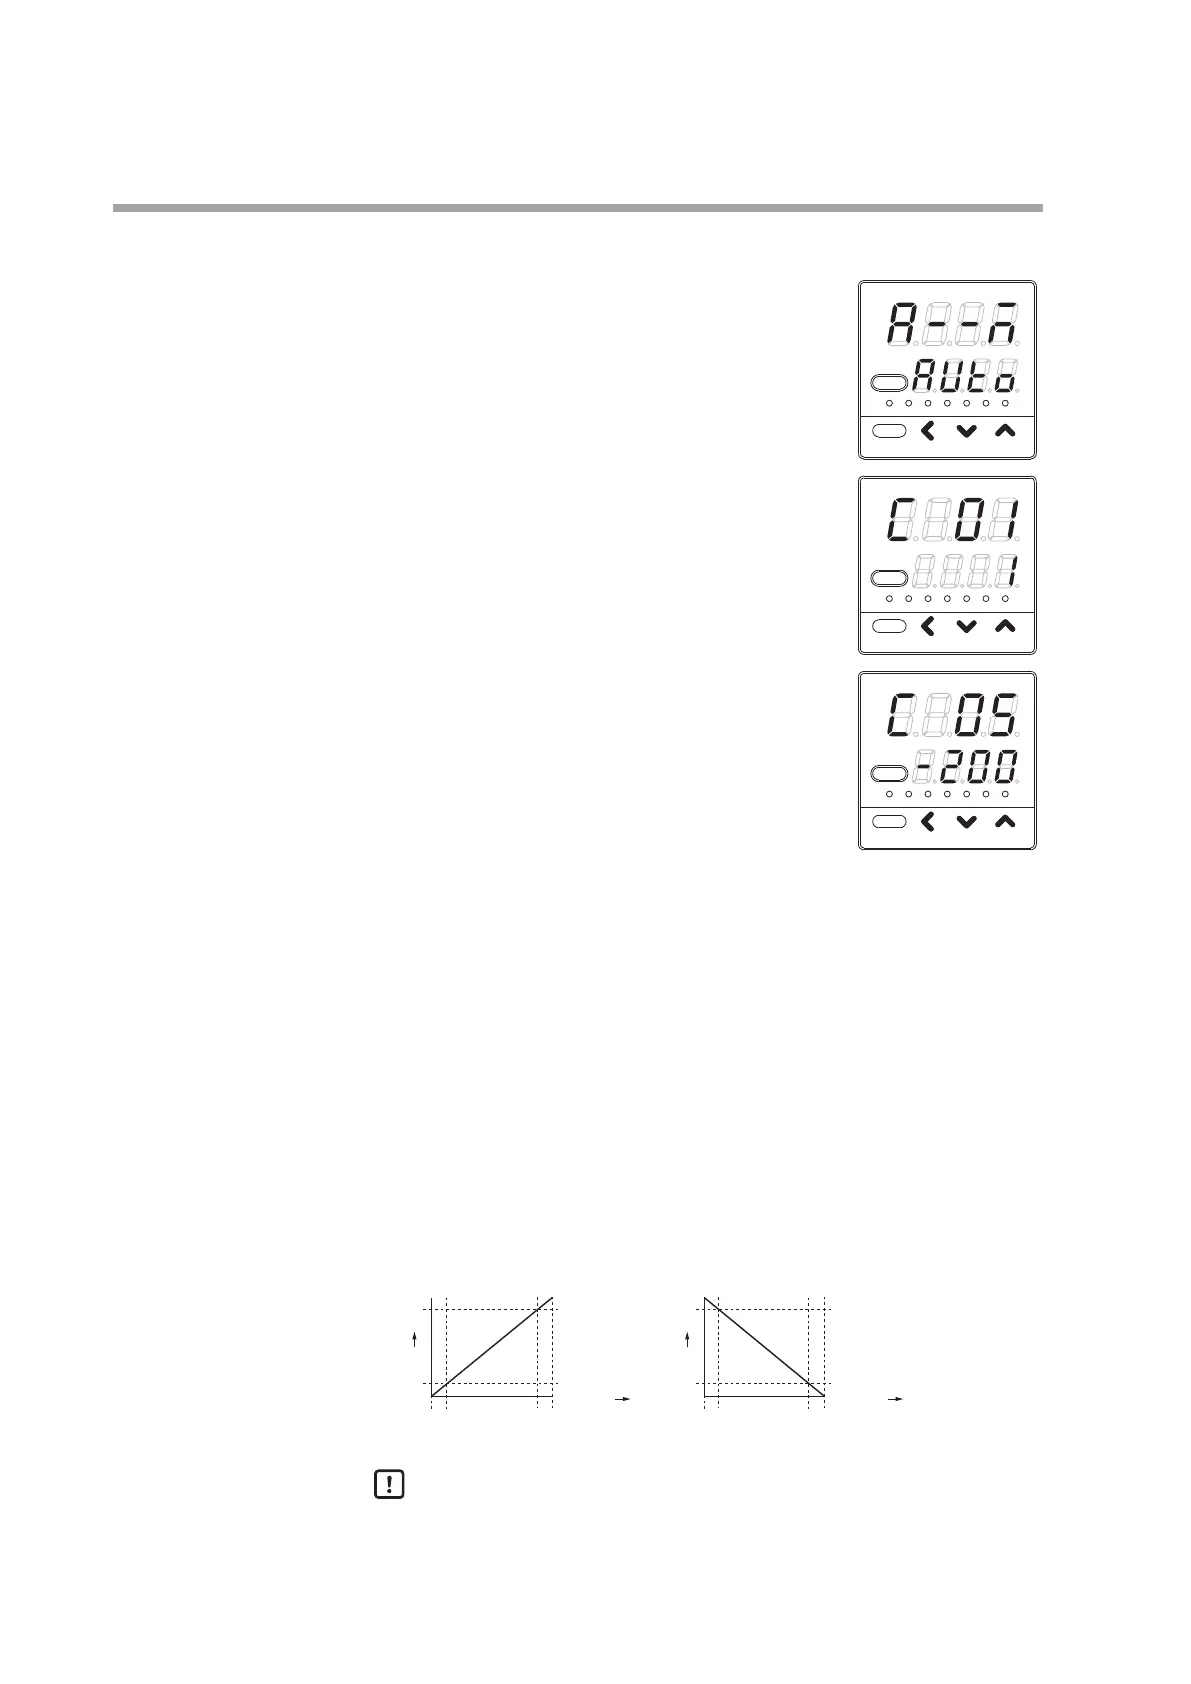
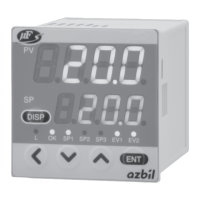
(1) In the operation display mode, keep the [para] key
pressed for 2 s or longer.
>>
The unit then enters the parameter setting mode.
rdy
man
ev1 ev2 ev3 ot1 ot2
para
mode
pv
sp
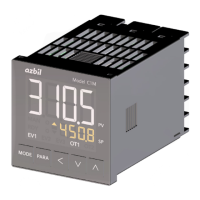
(2) In the parameter setting display mode, keep the [para]
key pressed for 2 s or longer.
>>
The display is then changed to the setup setting
display.
rdy
man
ev1 ev2 ev3 ot1 ot2
para
mode
pv
sp
(3) Press the [para] key several times.
>>
Display the setup setting, [C05: PV range low limit]
or [C06: PV range high limit].
rdy
man
ev1 ev2 ev3 ot1 ot2
para
mode
pv
sp
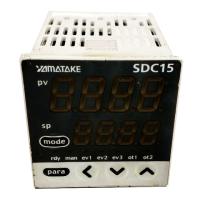
(4) Press the [<], [
], or [
] key to change the set value in
[C05] or [C06].
Setting range:
-1999 to +9999 (no decimal point)
-199.9 to +999.9 (1 digit after decimal point)
-19.99 to +99.99 (2 digits after decimal point)
-1.999 to +9.999 (3 digits after decimal point)
>>
When no keys are pressed for 2 s or longer, the flashing of the numeric
value is stopped to set the currently displayed value.
(5) Press the [mode] key.
>>
The display is returned to the operation display.
The following describes the relationship between the PV input and PV when setting
up the range low limit and high limit:
PV
-10 0
100
110
Input (%)
Low limit
Low limit < High limit Low limit > High limit
High limit
PV
-10 0
100
110
Input (%)
Low limit
High limit
Handling Precautions
When the input type of the model is “L: DC current or DC voltage”, [C05: PV
range low limit] and [C06: PV range high limit] can be set. When the input
type is “T: Thermocouple” or “R: RTD”, the setup item is displayed, but the set
value cannot be changed.