Service Program
3
Perfusor® compact, 2.1 gb 3 - 3
Configuration
1. Select the language, interface and the screen display desired
in the
File
➨
Configuration
menu.
2. Acknowledge with
OK
.
Working with the Service Program
Preparation
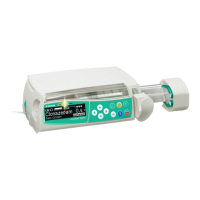
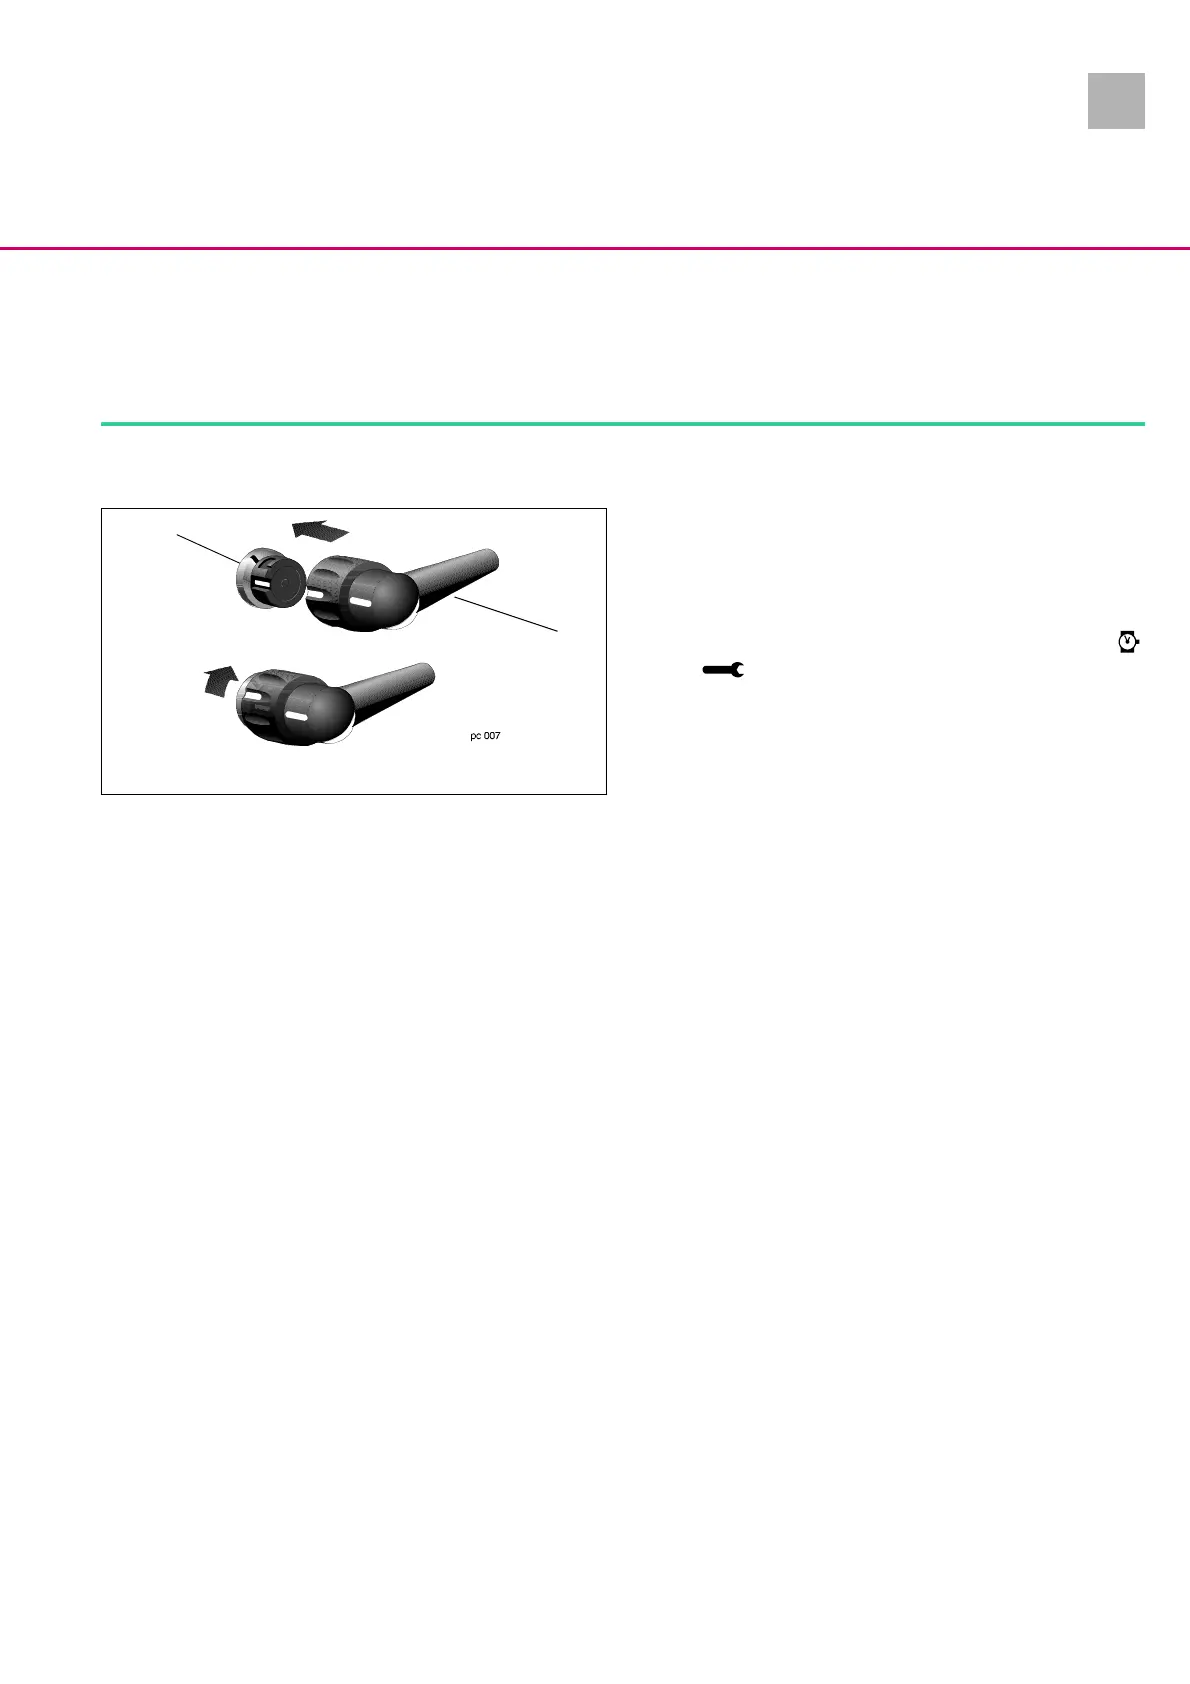
1. Connect service cable (Fig.: 3 - 2 / Item 2) to MFC connector
(Fig.: 3 - 2 / Item 1) and the PC serial port (COM 1 or COM 2).
2. Connect mains cable to the unit.
3. Start the Service Program on the PC.
4. To start communication press the ON key on the Perfusor®
compact until „Release On/Off key“ is displayed on the PC.
and are displayed on the LC-display.
Display / Save the Unit Settings
1. Menu
File
➨
Connect
.
2. Menu
EEPROM
➨
Read
.
3. Menu
File
➨
Save
.
4. Call menu
Modes
➨
Modification
and menu
Syringes
➨
Sy-
ringe selection
or
Syringe types
. Note down parameters pri-
or to any modification (e.g. new E-Module).
Adjust Unit Settings
1. Menu
File
➨
Connect
.
2. Menu
EEPROM
➨
Read
.
3. Desired modifications / display, please see:
-
Operation
➨
Operation values
-
Modes
➨
Modification data
-
Calibration
➨
Pressure calibration
(required in case of
bolus rate change)
-
Syringes
➨
Syringe selection
or
Syringe types
-
Constants
➨
Service interval
4. Menu
EEPROM
➨
Write
transmits data to the device. Menu
File
➨
Save
saves the data on the hard disc.
5. Enter the user number 0 upon query.
6. Check unit according to the procedura instructions for in-
spection (see „Procedural Instructions for Inspection after
Modifications via the Service Program“ ➨ p. 3 - 11).
Fig.: 3 - 2
Legende zu Abb. 3 - 2:
ItemDesignation
1 MFC connector on the unit
2 MFC service cable
2
1