User’s Guide 4-4
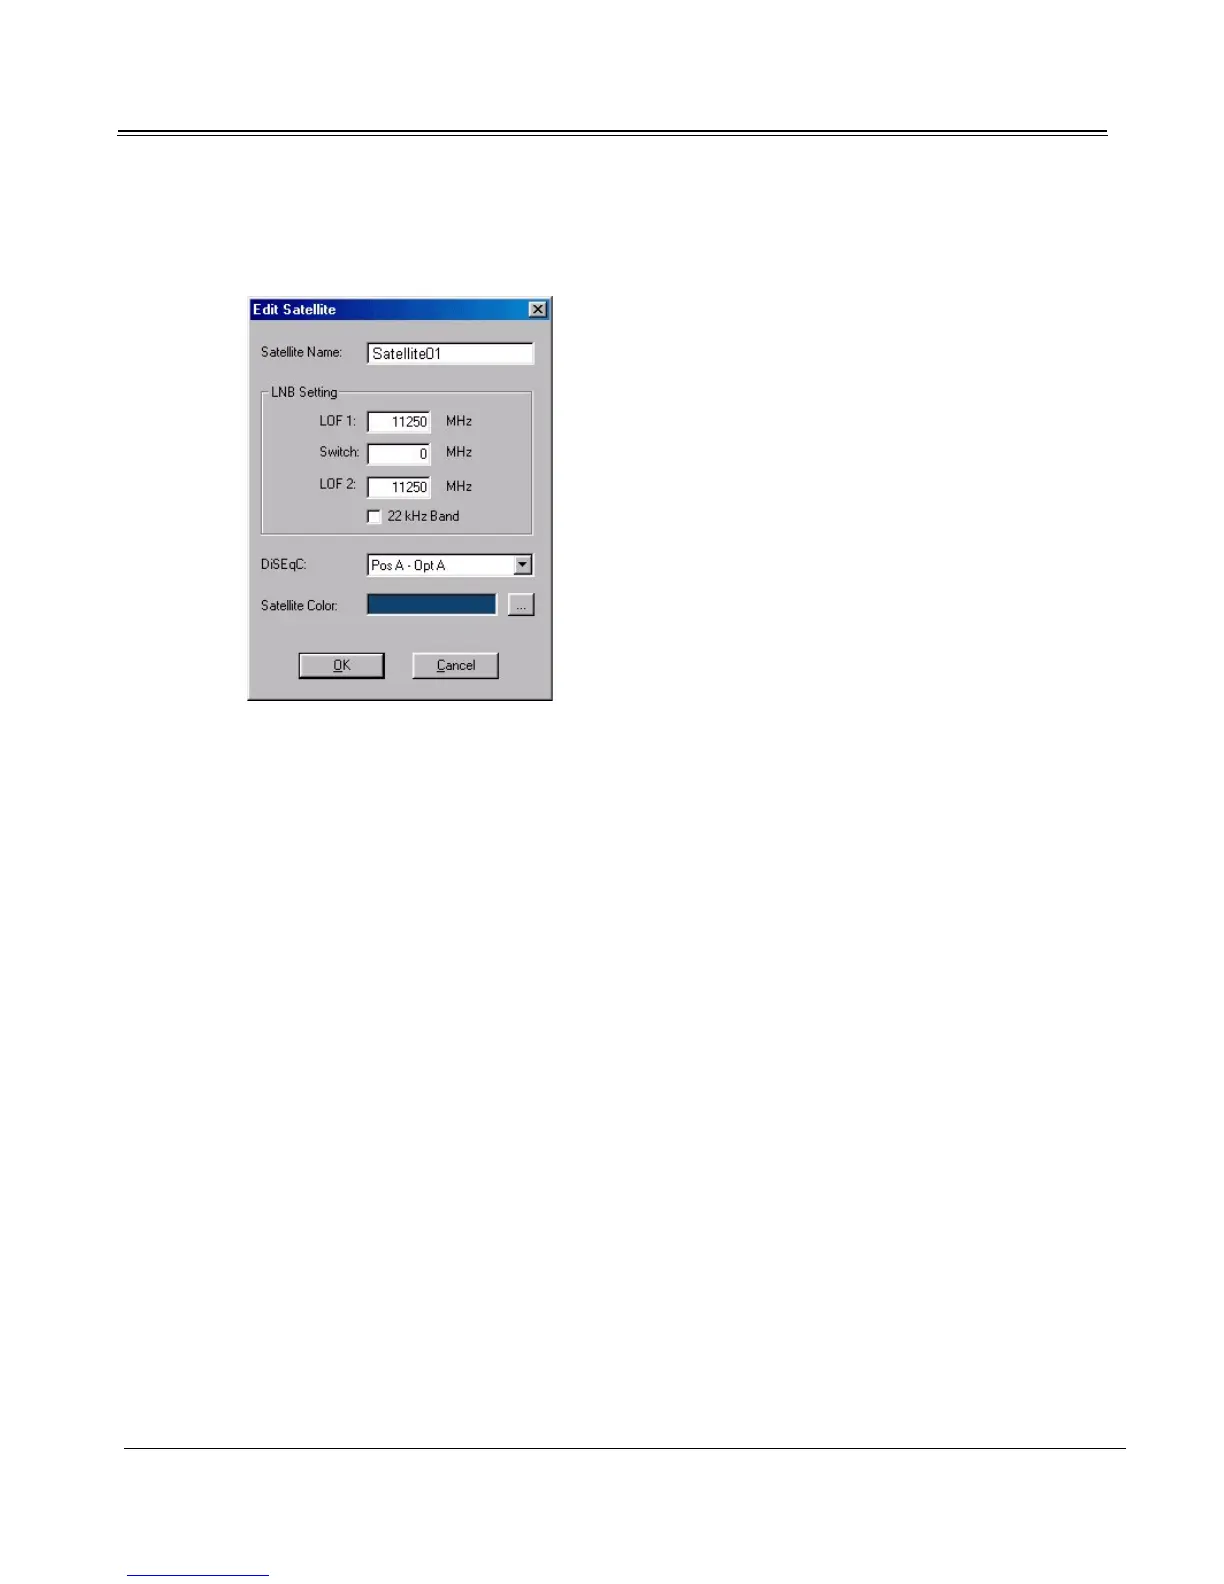
1. Click Add (or Edit) under the Satellite list on the Satellite Settings tab and enter the satellite’s
name.
2. Confirm that the preset LNB Setting and DiSEqC information in the Edit Satellite dialog
matches your antenna equipment. Consult your antenna manufacturer for more information.
Change LNB Setting and DiSEqC information if necessary. (See “Confirming Antenna LNB and
DiSEqC Settings” on page 2-1.)
3. As you add satellites, you can color-code them using Satellite Color. Programs from color-coded
satellites will appear in the TV4PC viewer in the shade you have selected. Click the “...” button
at Satellite Color to launch the color choice panel. Select the desired color and click OK.
4. Click OK to exit the Add Satellite dialog.
Deleting Satellites
To delete a satellite from the database, open the Satellite Settings tab on Setup4PC. Select the unwanted
satellite from the Satellite list and click Delete.
Transponder Management
Use the Transponder Management dialog to manage all digital TV and data channels for the currently
selected satellite. The satellite’s channels are listed in the Transponder list, where they can be edited,
deleted or tested for signal reception. Use Search and Scan to automatically update the entire Transpon-
der list as well as TV4PC's program listings.
To use Transponder Management:
1. Launch Setup4PC: