User’s Guide 5-9
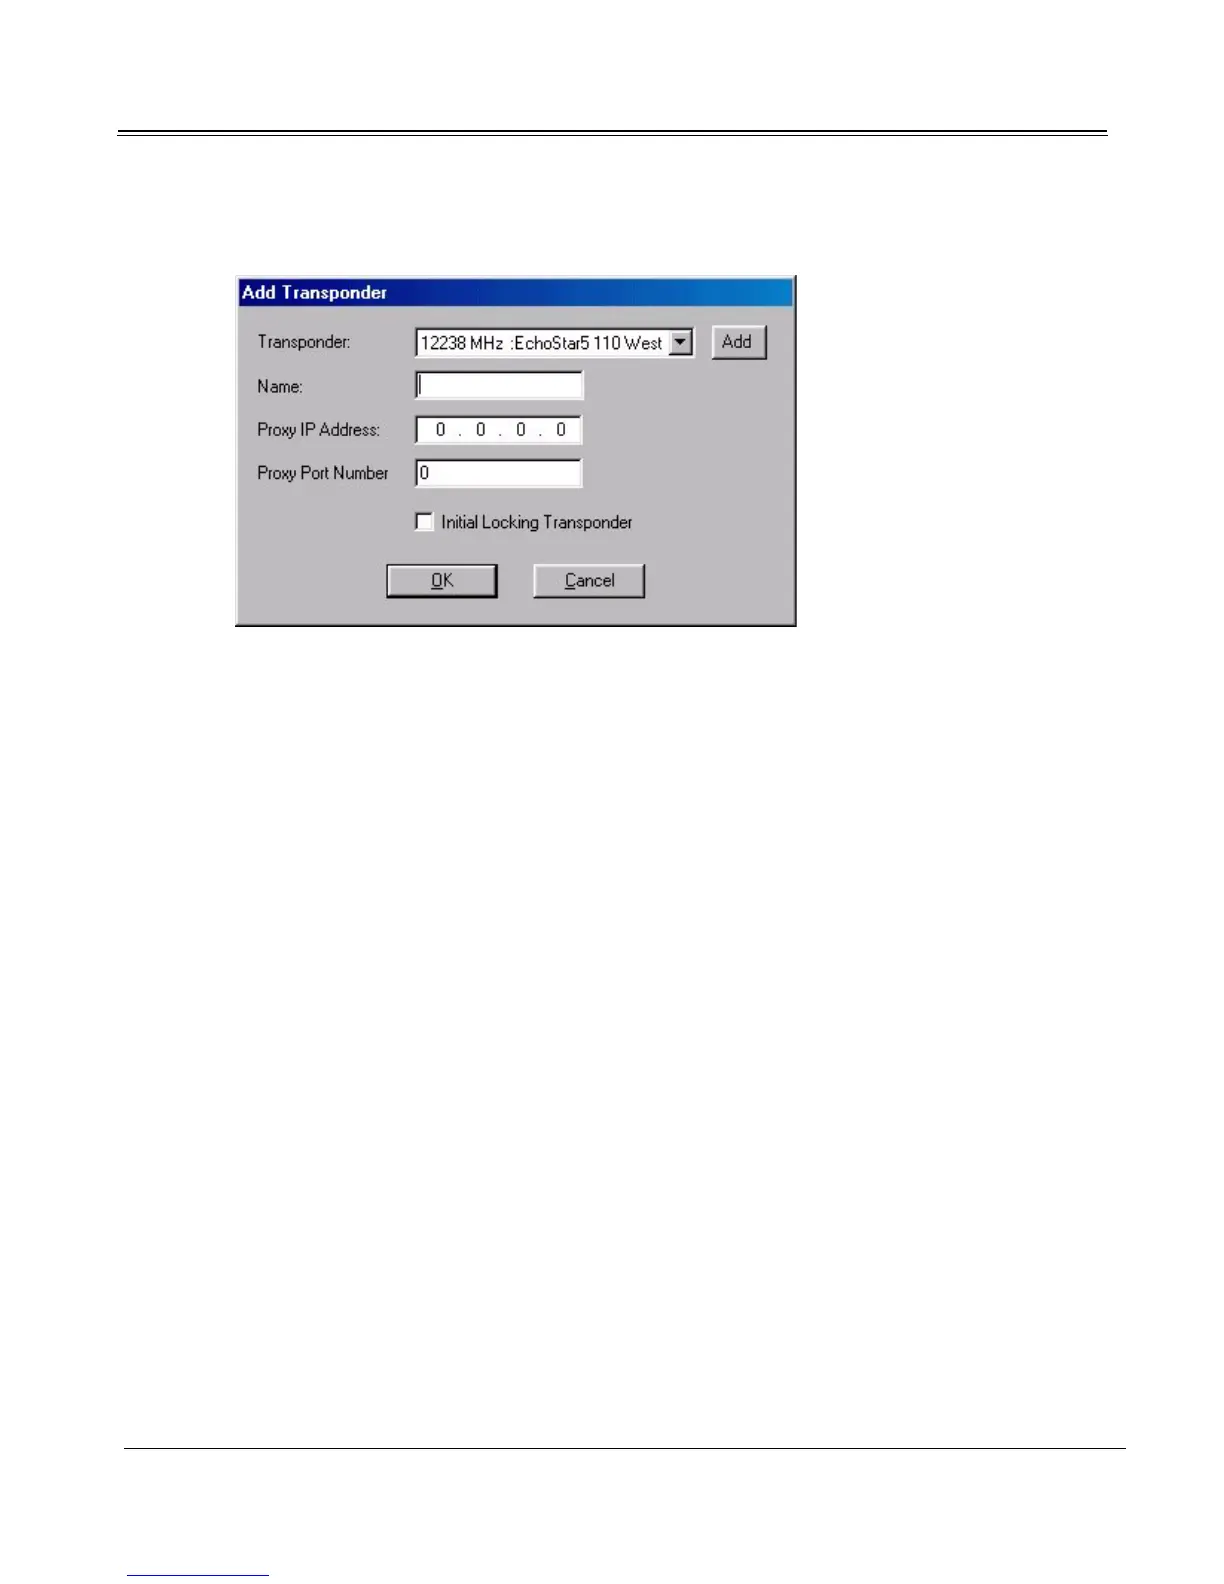
2. Select the channel’s data transponder from the Transponder list. If the transponder is not listed,
add its channel. (See “Adding an Individual Channel” on page 4-6.)
3. If you want this channel to be your default Internet/data channel, select the Initial Locking Tran-
sponder checkbox.
4. If you will be using the proxy server, enter the Proxy IP Address and Proxy Port Number of the
transponder’s proxy.
5. Click OK. Repeat this procedure for each data channel offered by the service.
6. Once all of the data channels have been added, click OK from the Data Services dialog to exit
Data Services.