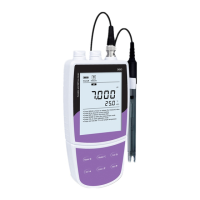
Viewing the Calibration Log
4.1 Press the MR key in the pH measurement mode and press the
key until the meter shows / (Electrode / Page 2).
4.2 Press the Enter key, the meter shows the last calibration date.
4.3 Press the key to view the zero-point offset.
4.4 Press the key to view the calibration points and electrode
slope.
4.5 To exit the calibration log, press the Meas key.
If the meter is not calibrated or custom buffers are used, the display
will show ---- only.
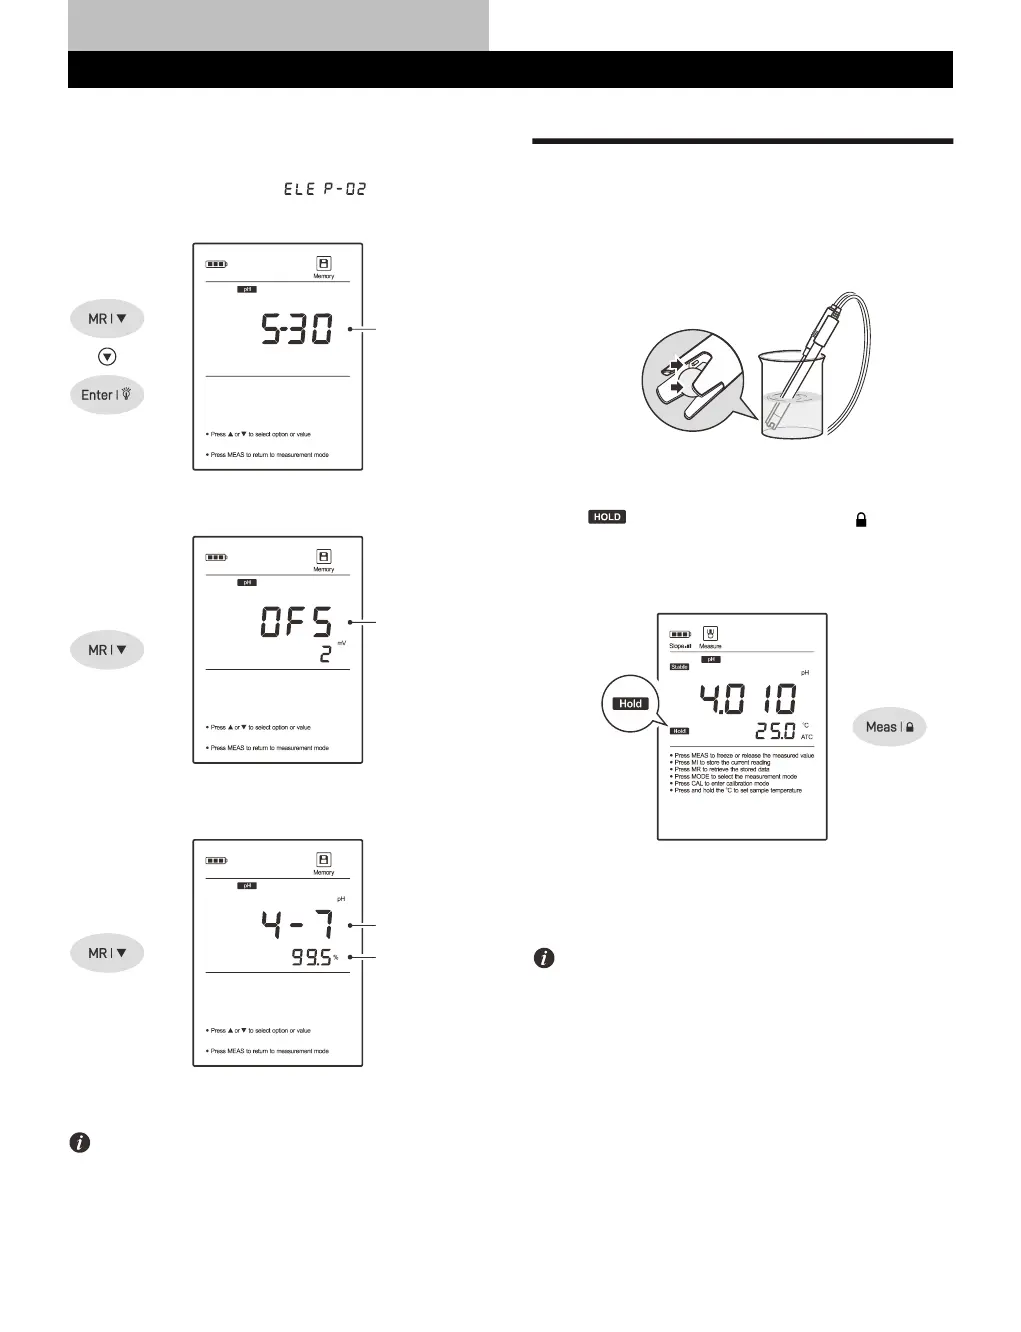
pH Measurement
1. Rinse the pH electrode with distilled water. Place the electrode
(and temperature probe) into the sample solution and stir gently.
Note, the pH-sensitive glass membrane and liquid junction must
be completely immersed into the solution.
2. If the Auto-Hold option in the setup menu is enabled, the meter
will automatically sense a stable reading and lock measurement,
the icon appears on the display. Press the key to resume
measuring.
If the option is disabled, the meter will continuously measure and
update the readings.
3. Wait for the measurement to stabilize and record the reading.
4. When all of the samples have been measured, rinse the electrode
according to the instructions in the Electrode Maintenance.
• During the measurement process, never wipe the pH-sensitive
glass membrane as this will cause static interference, blot dry
with a lint-free tissue to remove waterdrops on electrode.
• If the meter shows ---- indicating the measurement exceeds the
range, remove the electrode from the sample immediately.
• If your sample is pure water, low ionic or low conductivity water,
we recommend measuring the pH in the smallest sample volume
possible or adding 0.3 ml of the 3M KCl to 100 ml of the sample
solution. Note, only high purity KCl can be used.
• To record the measurement at the predefined time intervals, refer
to the Interval Readings section on page 40.
 Loading...
