8. Light processor assembly
8.7 Installatio n of th e light processor assembly
Necessary tools
• Flat s crew driver 8 x 150
• Allenwrench4mm
How to install
1. Make s ure there is no lens m ounted.
2. Check if the corner bracket is mounted on the new assembly. If not yet mounted, remove the corner bracket of the removed
assembly and mount it on the new one.
Image 8-10
Corner bracket light processor assembly
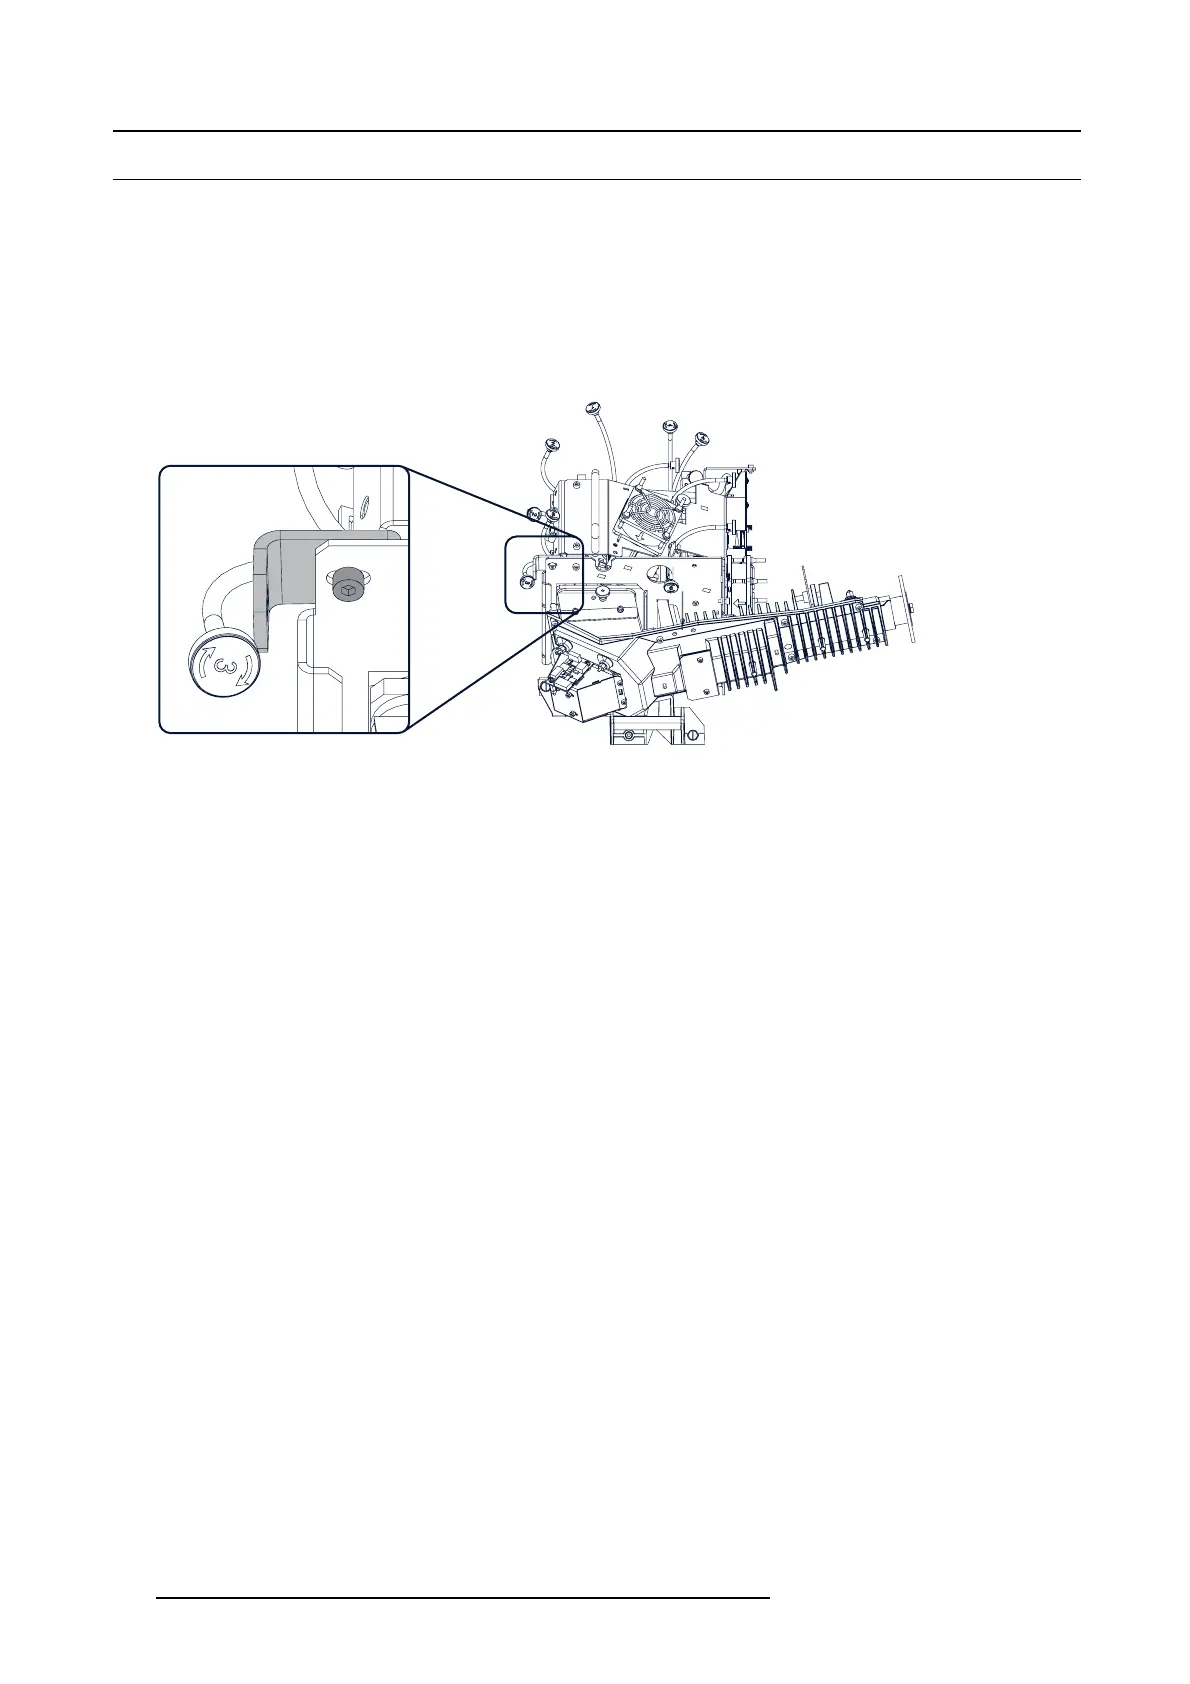
3. Take the light processor assembly by its hand les and gently slide in the assem bly into the c ompartm ent of the projector.
Make sure that the pos itioning pins (P) at the backside of the assembly match the positioning holes (H ) in the projector.
Note: While inserting the assem bly, guide the cables to the back plane si
de.
144
R5905043 DP2K-12C/11CX 19/02/2018

 Loading...


