3. ICMP installation
Necessary tools
• Communicator version 5.1.4 or later.
•7mmflat screwdriver.
• PH2 Phillips screwdriver.
• 2.5mm Allen wrench.
How to prepare th e projector for upgrading with ICMP?
1. Startup the projector and create a full backup clone package. For detailed instructions see user guide
of the Communicator.
2. Switch off the projector and wait 15 minutes before proceeding with this procedure. This to allow the
projector to complete the cooling down cycle and to discharge the capacitors.
3. In case this is not a DP2K S series projector remove the cover of the Card Cage. For detailed instruc-
tions see User & Installation manual of the projector. Use a 7 mm flat screwdriver.
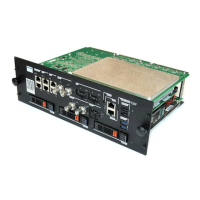
4. Remove the ICP module from the projector. Use a PH2 Phillips screwdriver to release the two retaining
screws (reference 1 image 3-1) at the front of the ICP module.
Note: This action requires to remove (destroy) the tamper label on front face of the ICP and IMB slot.
Note: The tamper label is required by DCI to provide easy visual indication if the equipment was tam-
pered with.
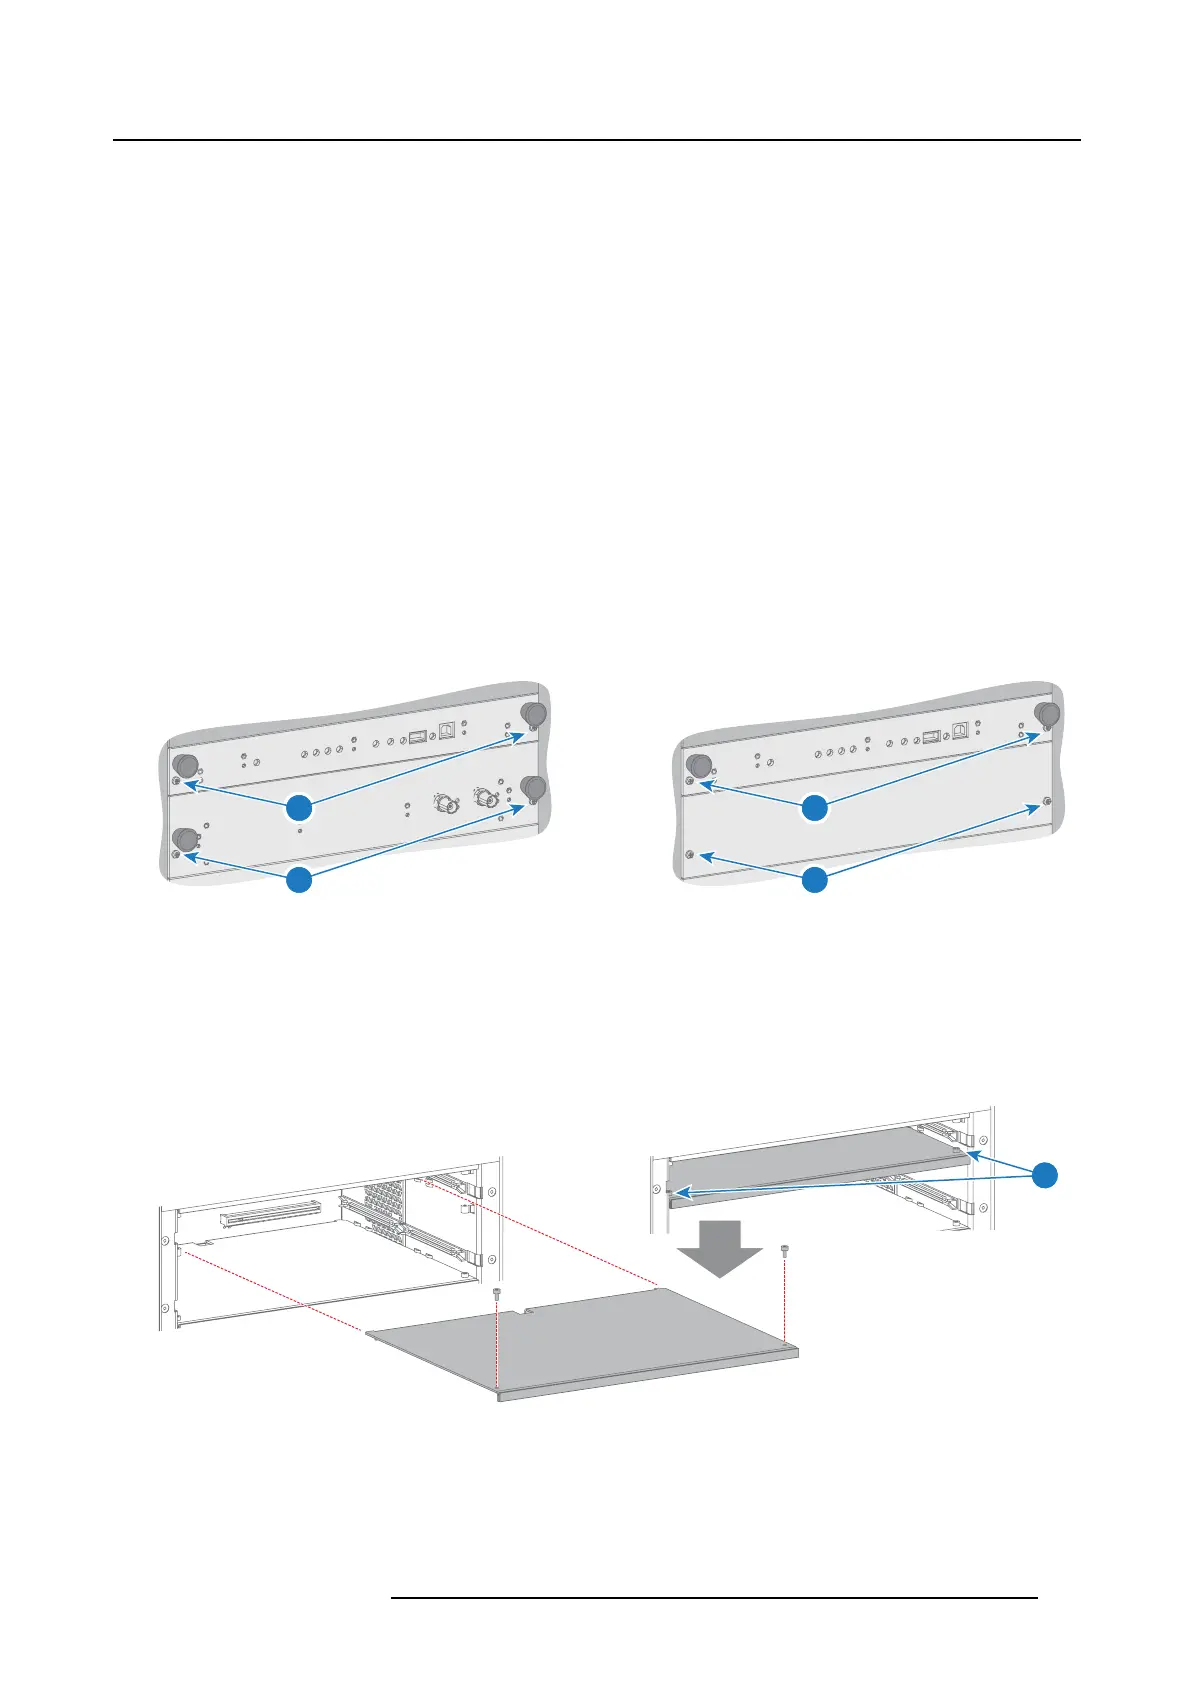
1
2
1
2
Image 3-1
5. Remove the cover from the IMB slot or remove the installed HDSDI or IMB or IMS module. Use a PH2
Phillips screwdriver to release the two retaining screws at the front (reference 2 image 3-1) .
6. Remove the partition plate from the Card Cage. Use a 2.5mm Allen wrench to loosen the two fixation
screws (reference 1 image 3-2 or image 3-3).
Note: Depending on the projector type the fixation screws of the partition plate are different oriented.
See illustration below.
1
Image 3-2
Partition plate with fixation screws in ver
tical direction.
R5905722 ICMP 09/11/2016 31
 Loading...