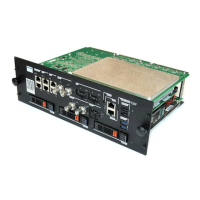
3. ICMP installation
1
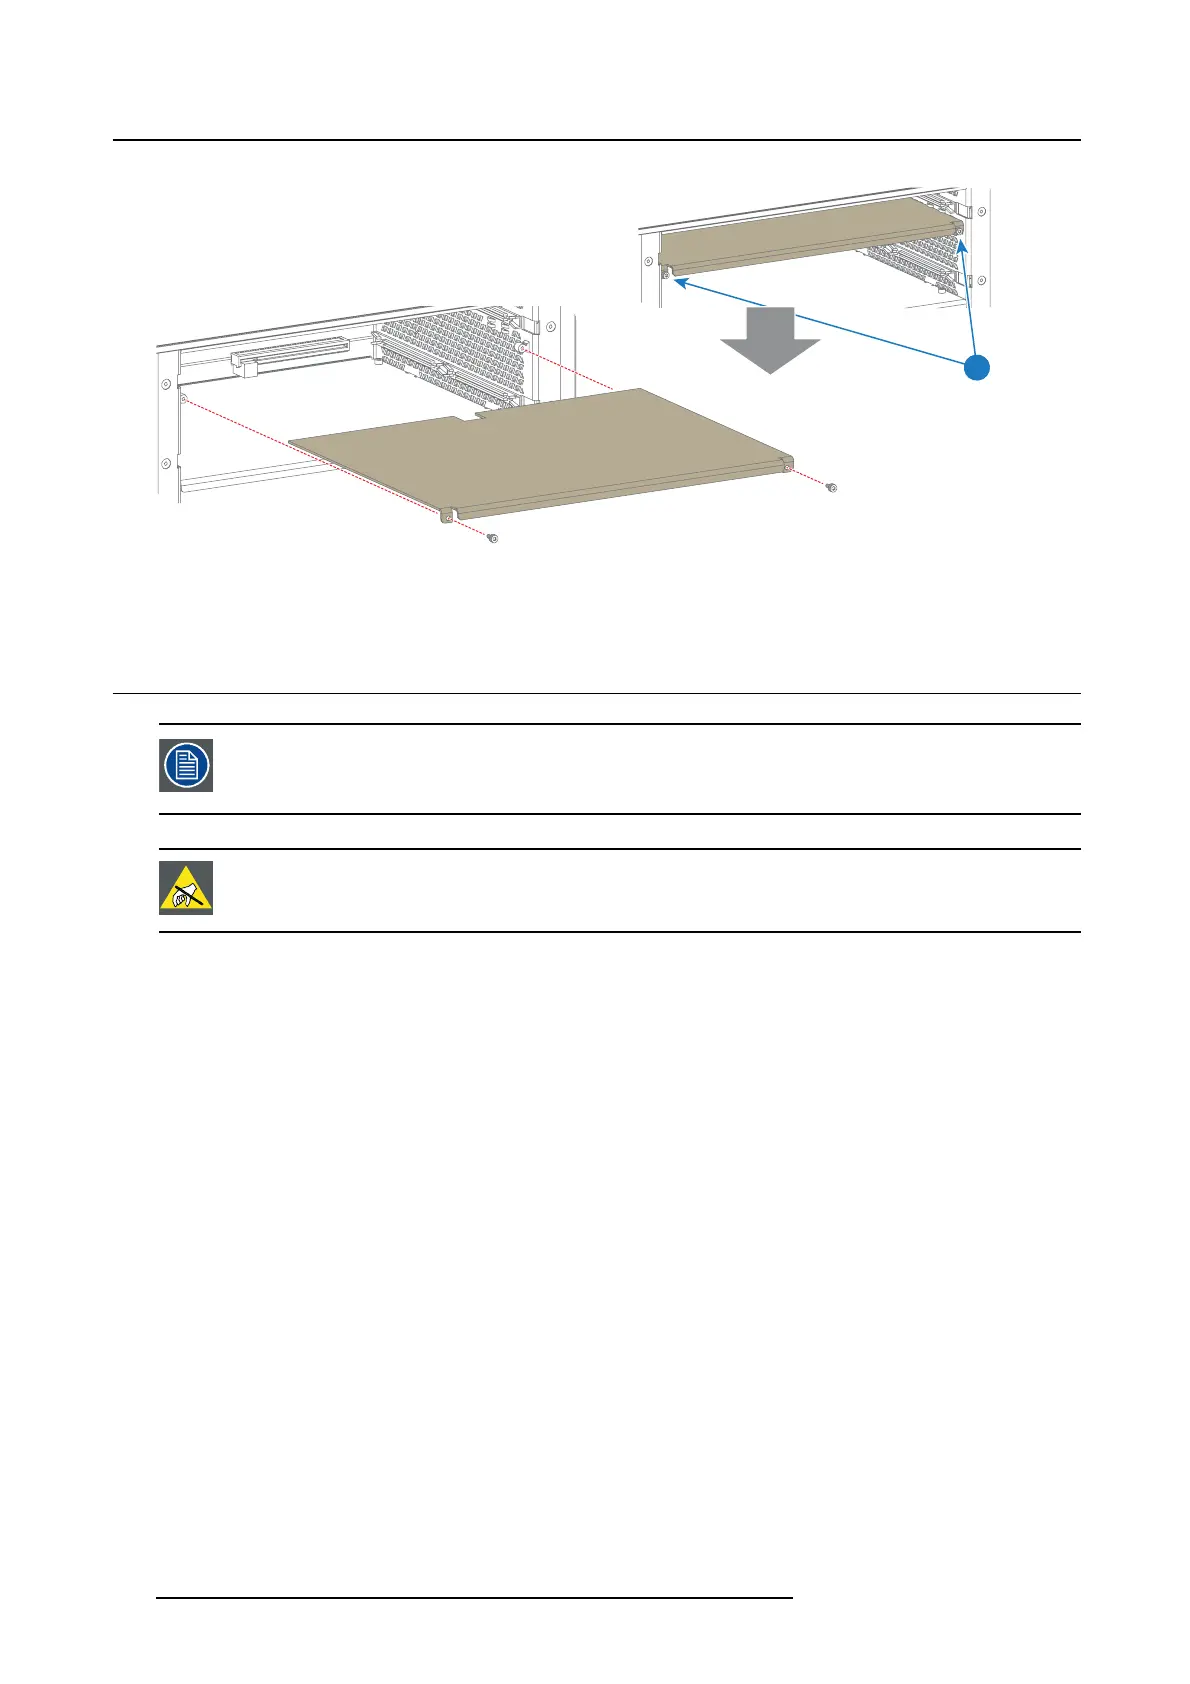
Image 3-3
Partition plate wit h fixation screws in horizontal direction.
3.3 Installing the ICMP
This procedure assumes that the projector has been made ICMP ready. In other words
the Card Cage slots wherein the ICMP has to be inserted are empty and the latest pro-
jector software package is installed.
CAUTION: Wear a wrist band which is connected to the ground while handling the elec-
trostatic discharge sensitive parts.
Necessary tools
•7mmflat screwdriver.
• PH2 Phillips screwdriver.
• ESD wrist band.
How to install the ICM P into the Card Cage?
1. Gently insert the ICMP in the guides of the Card Cage as illustrated below.
Caution: Ensure that the both sides of the ICMP are captured by the guides inside the Card Cage
compartment. See detail in image below.
2. Push (apply a little pressure) on both handles until the ICMP is fully inserted and the connection is made
with the back plane.
Note: All connections are made via the board to board connection with the back plane.
3. Alternately fasten the four screws (reference 1) at the front side of the ICMP. Use a PH2 Phillips screw-
driver.
Caution: Ensure to tighten the screws alternately!
4. Install the HDDs in case not yet installed. See procedure "Installing a HDD into the ICMP", page 33.
5. Install the cover of the Card Cage (not needed in case this is a DP2K S series projector). Use a 7 mm
flat screwdriver.
6. Reconnect the power cord and switch on the projector.
32
R5905722 ICMP 09/11/2016
 Loading...